1. Introduction
GBS CardScan is a web application that scans identification cards containing biometric data such as fingerprints, palmprints, faces, signatures, and textual biographical data and enrolls such data to the GBS biometric database. It employs customizable extraction fields, allowing operations with multiple card layouts.
This manual has been updated for CardScan version 1.6.2.
1.1. Access and Authentication
You should access CardScan with a browser, and we recommend Google Chrome. The URL for access is specific to each deployment.
Note
If necessary, contact the Griaule Support Team to obtain the correct URL.
Authentication is required to access the application. The credentials needed by CardScan are username and password.

Note
At the bottom of the screen there is an option to change the language to the desired one. This option is also available at the settings after login.
1.2. Two-factor Authentication (2FA)
When two-factor authentication (2FA) is turned on, the first time you try to log in, after entering your username and password, you’ll be shown a QR Code that must be registered in Google Authenticator.
Note
Google Authenticator is a time-based code generator that is available as an application for Android and iOS smartphones.
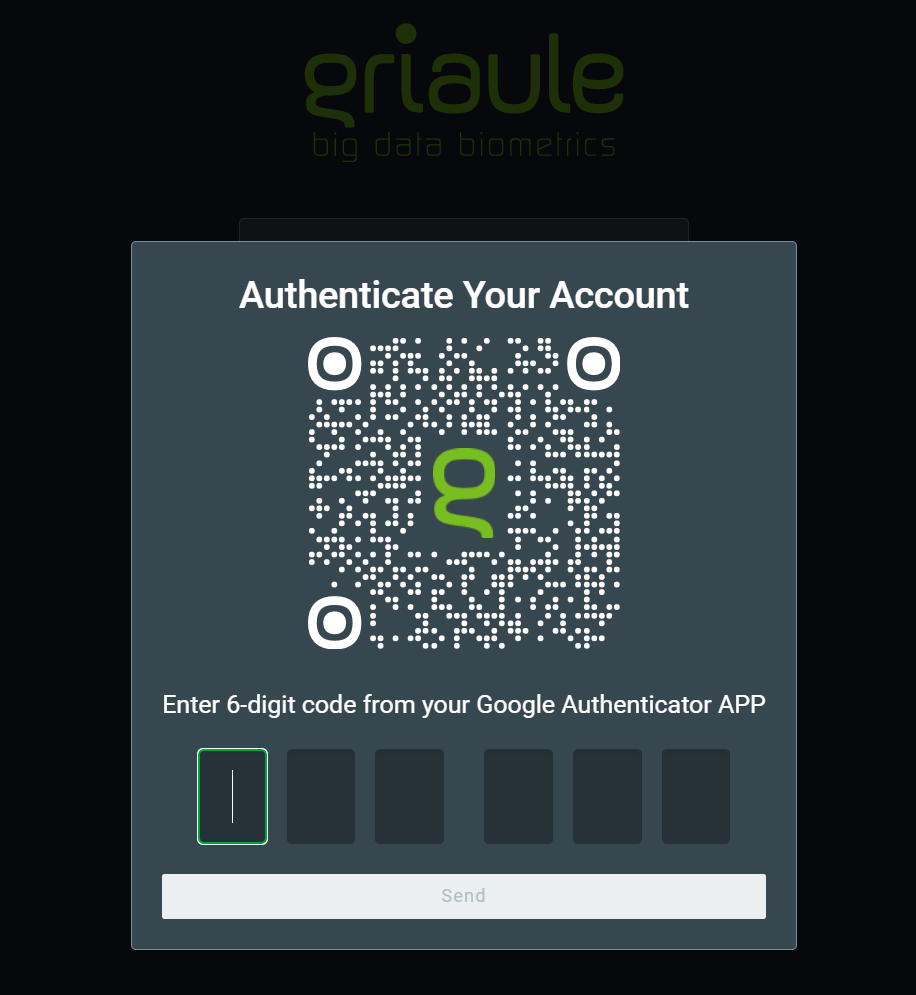
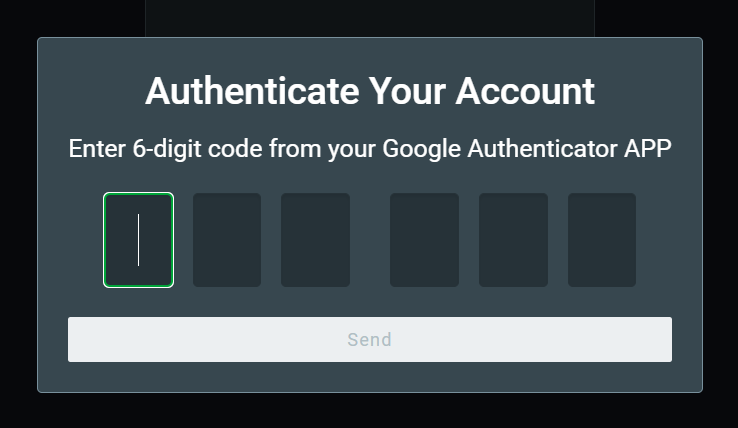
After successfully registering the QR Code in Google Authenticator, enter the unique time-sensitive 6-digit code and click on Send.
You will only need to register the QR Code once. But for each subsequent login, you will be asked to enter the 6-digit code generated by Google Authenticator.
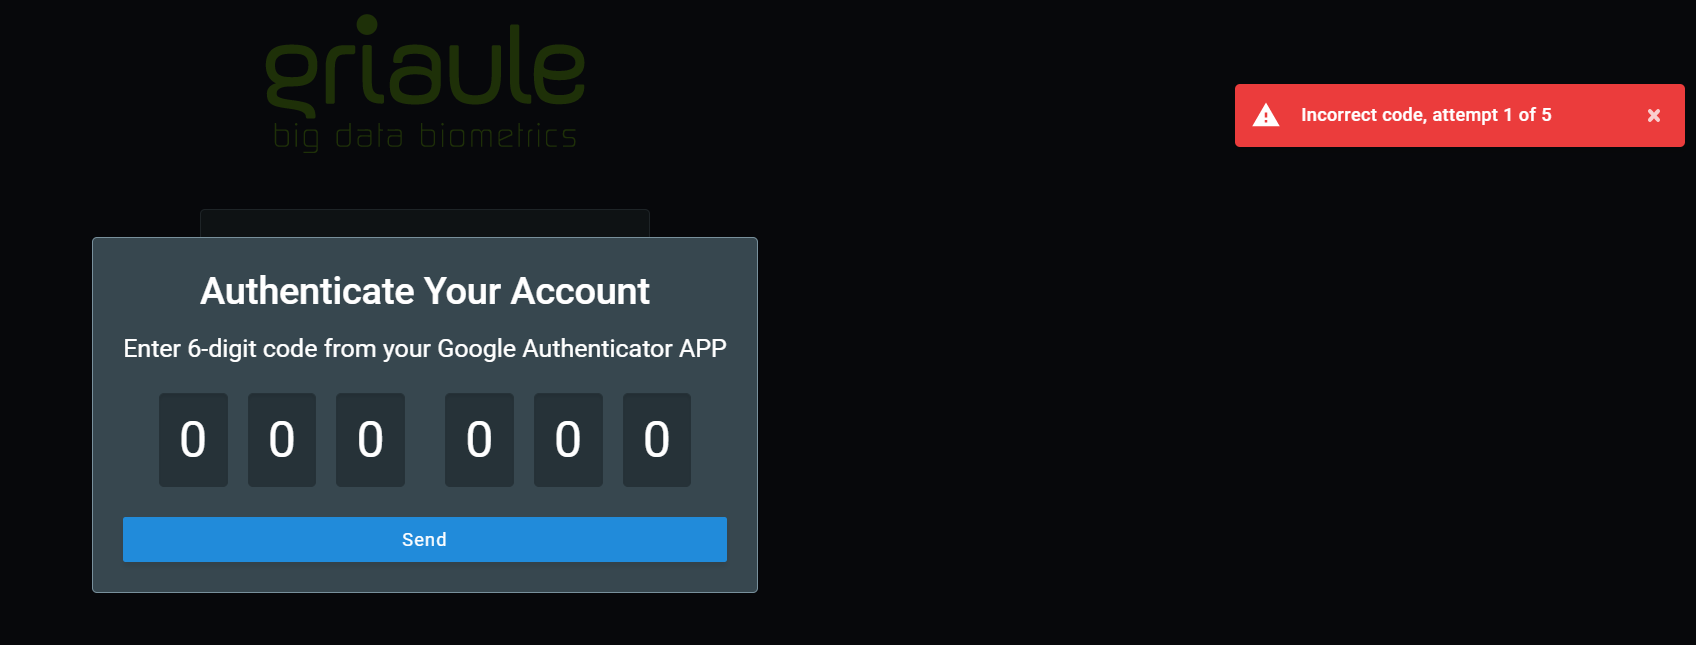
There is a limited number of unsuccessful login attempts a user can make. Every time an incorrect code is entered, an error message will be shown:
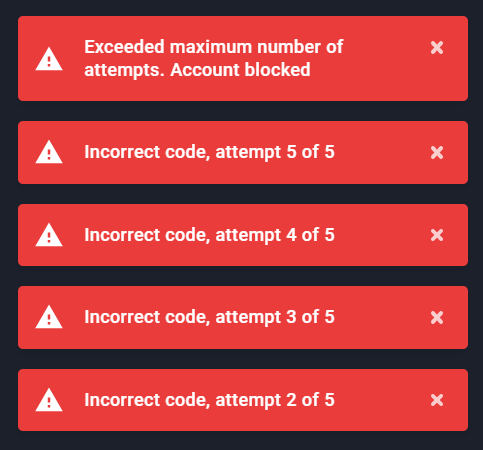
If you reach the maximum amount of unsuccessful login attempts, your account will be automatically blocked.
Warning
If your account is blocked, contact your system administrator.
1.3. Simultaneous Login and Browser Enrollment
Only one session per user is allowed. It is not possible to log in with the same profile more than once in the application. If an user is already logged in and another access happens using the same username and password, the user with the oldest session will be warned and logged out in their next action.
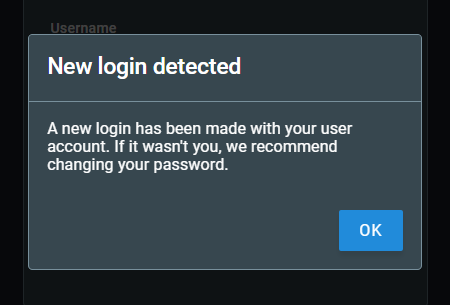
Also, only one browser may be used at a time. When trying to log in using a different browser, the user will be informed that it is necessary to authenticate the new browser. The authentication of a new browser will revoke the access from the previous one.
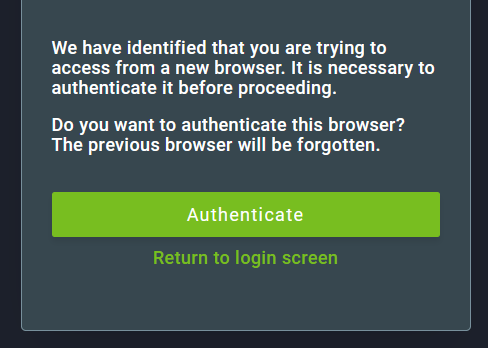
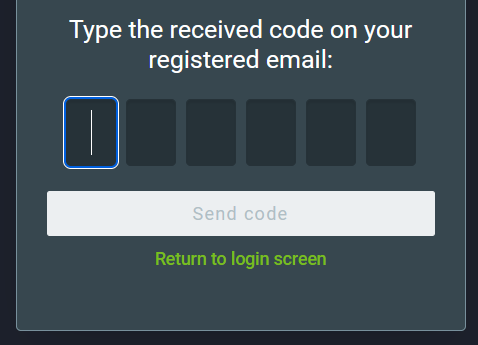
To authenticate a new browser, click on Authenticate and then enter the verification code that will be sent to the email linked to the user account.
If the authentication is successful, a notification will appear on the upper-right corner of the screen after logging in.

1.4. Reset your Password
You can reset your password if you forget it.
To reset your password, on the login screen, click on Forgot your password?:
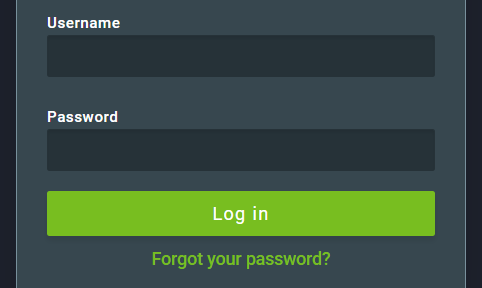
Then, enter the profile username and click on Send.
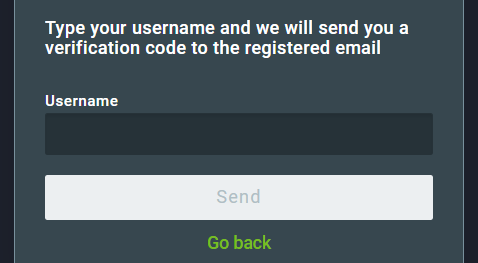
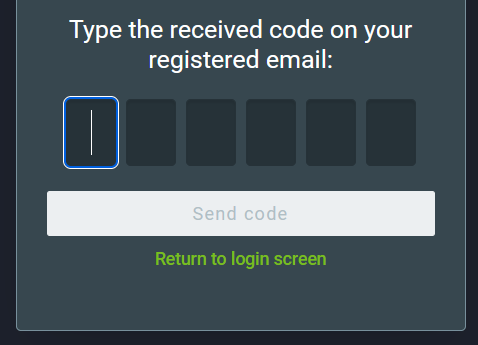
An email containing a verification code will be sent to the email address linked to that profile. Enter the verification code and click on Send code.
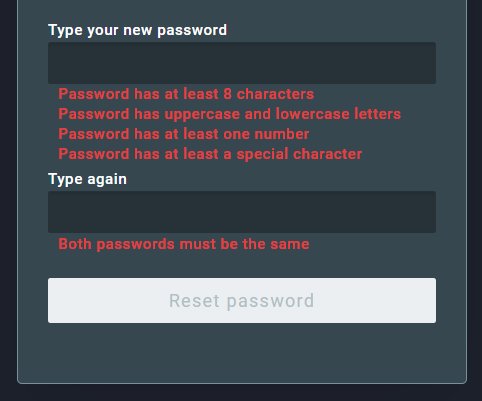
If the code is correct, you will be able to create a new password. Enter the new password two times. Make sure to meet the password requirements, they are listed under the new password field and will turn green when met. Finally, to confirm the reset, click on Reset password.
2. User Interface
2.1. Home Screen
The home screen shows the main features of the application:

These are distributed in 3 groups: Request, List, and Edit. These features can also be accessed from the navigation bar at the top of the page.
2.2. Request
This feature group is used to capture and enroll scanned cards with biometric, biographical, and label data. This can be performed in 3 ways: Unitary Card, Multiple on file cards, and Multiple on server cards.
2.2.1. Unitary Card
This request type is used to process a single form.
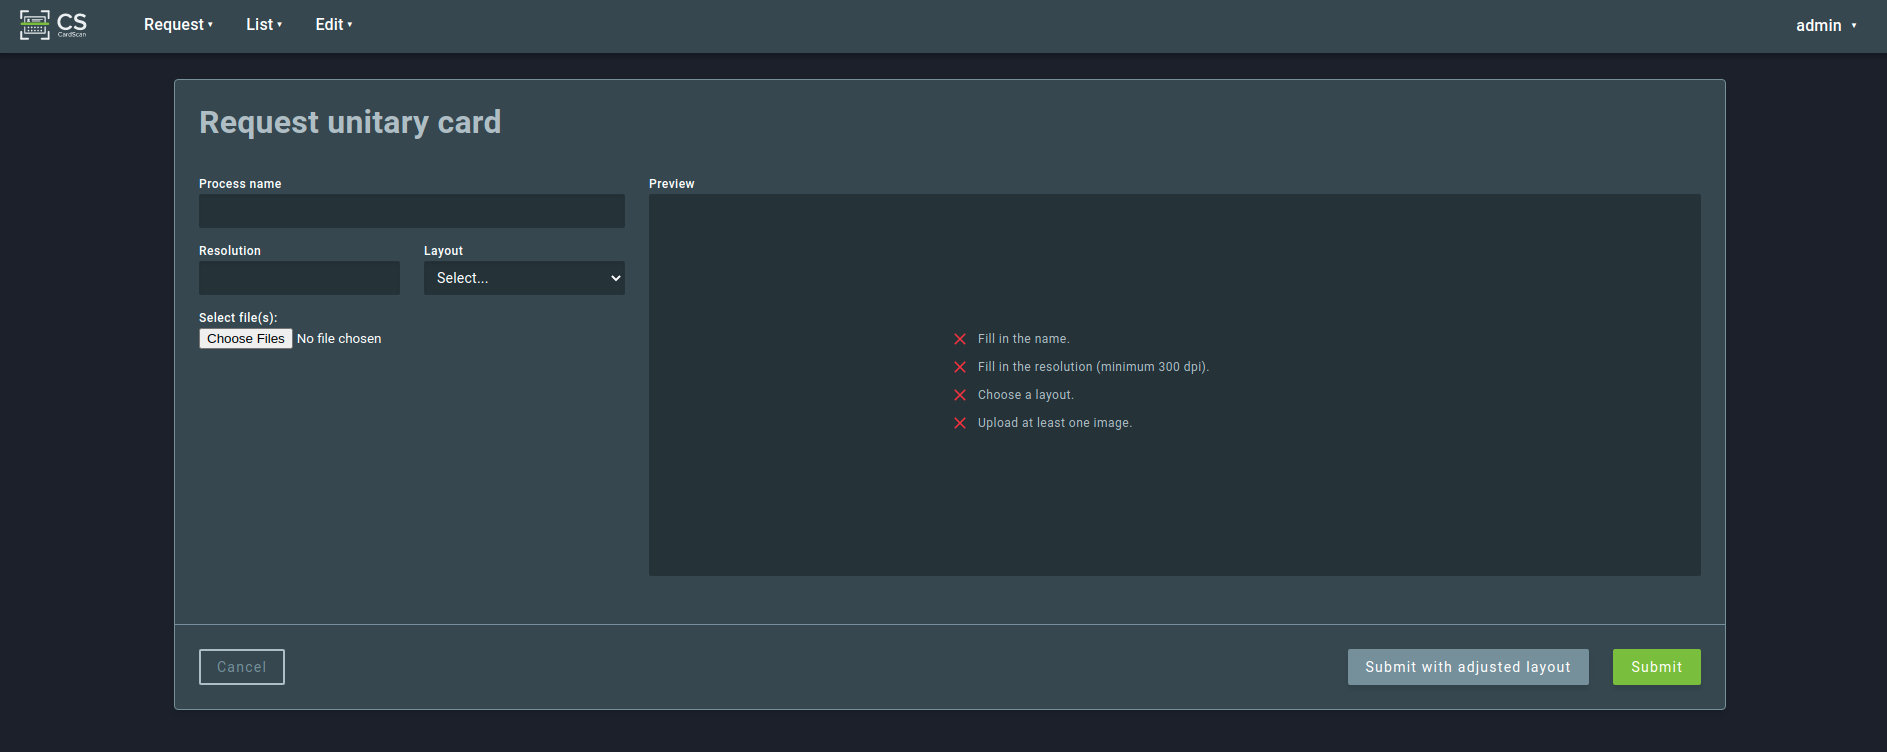
A unitary card request needs 4 parameters:
Process name
A free-form identifier for the request.
Resolution
Scanning resolution of the image(s). For best results, this should be the same resolution as the selected layout.
Layout
The form layout used for interpreting the image. A thumbnail of the selected layout will be shown.
Files
One or more images containing the scanned form. If the form has multiple pages and/or is double-sided, multiple images should be submitted, one per page.
After entering the parameters and submitting the images, the user can reorder the uploaded images to match the layout order by dragging the icons located on the left side of the screen. Images can also be deleted by clicking the “X” icon:
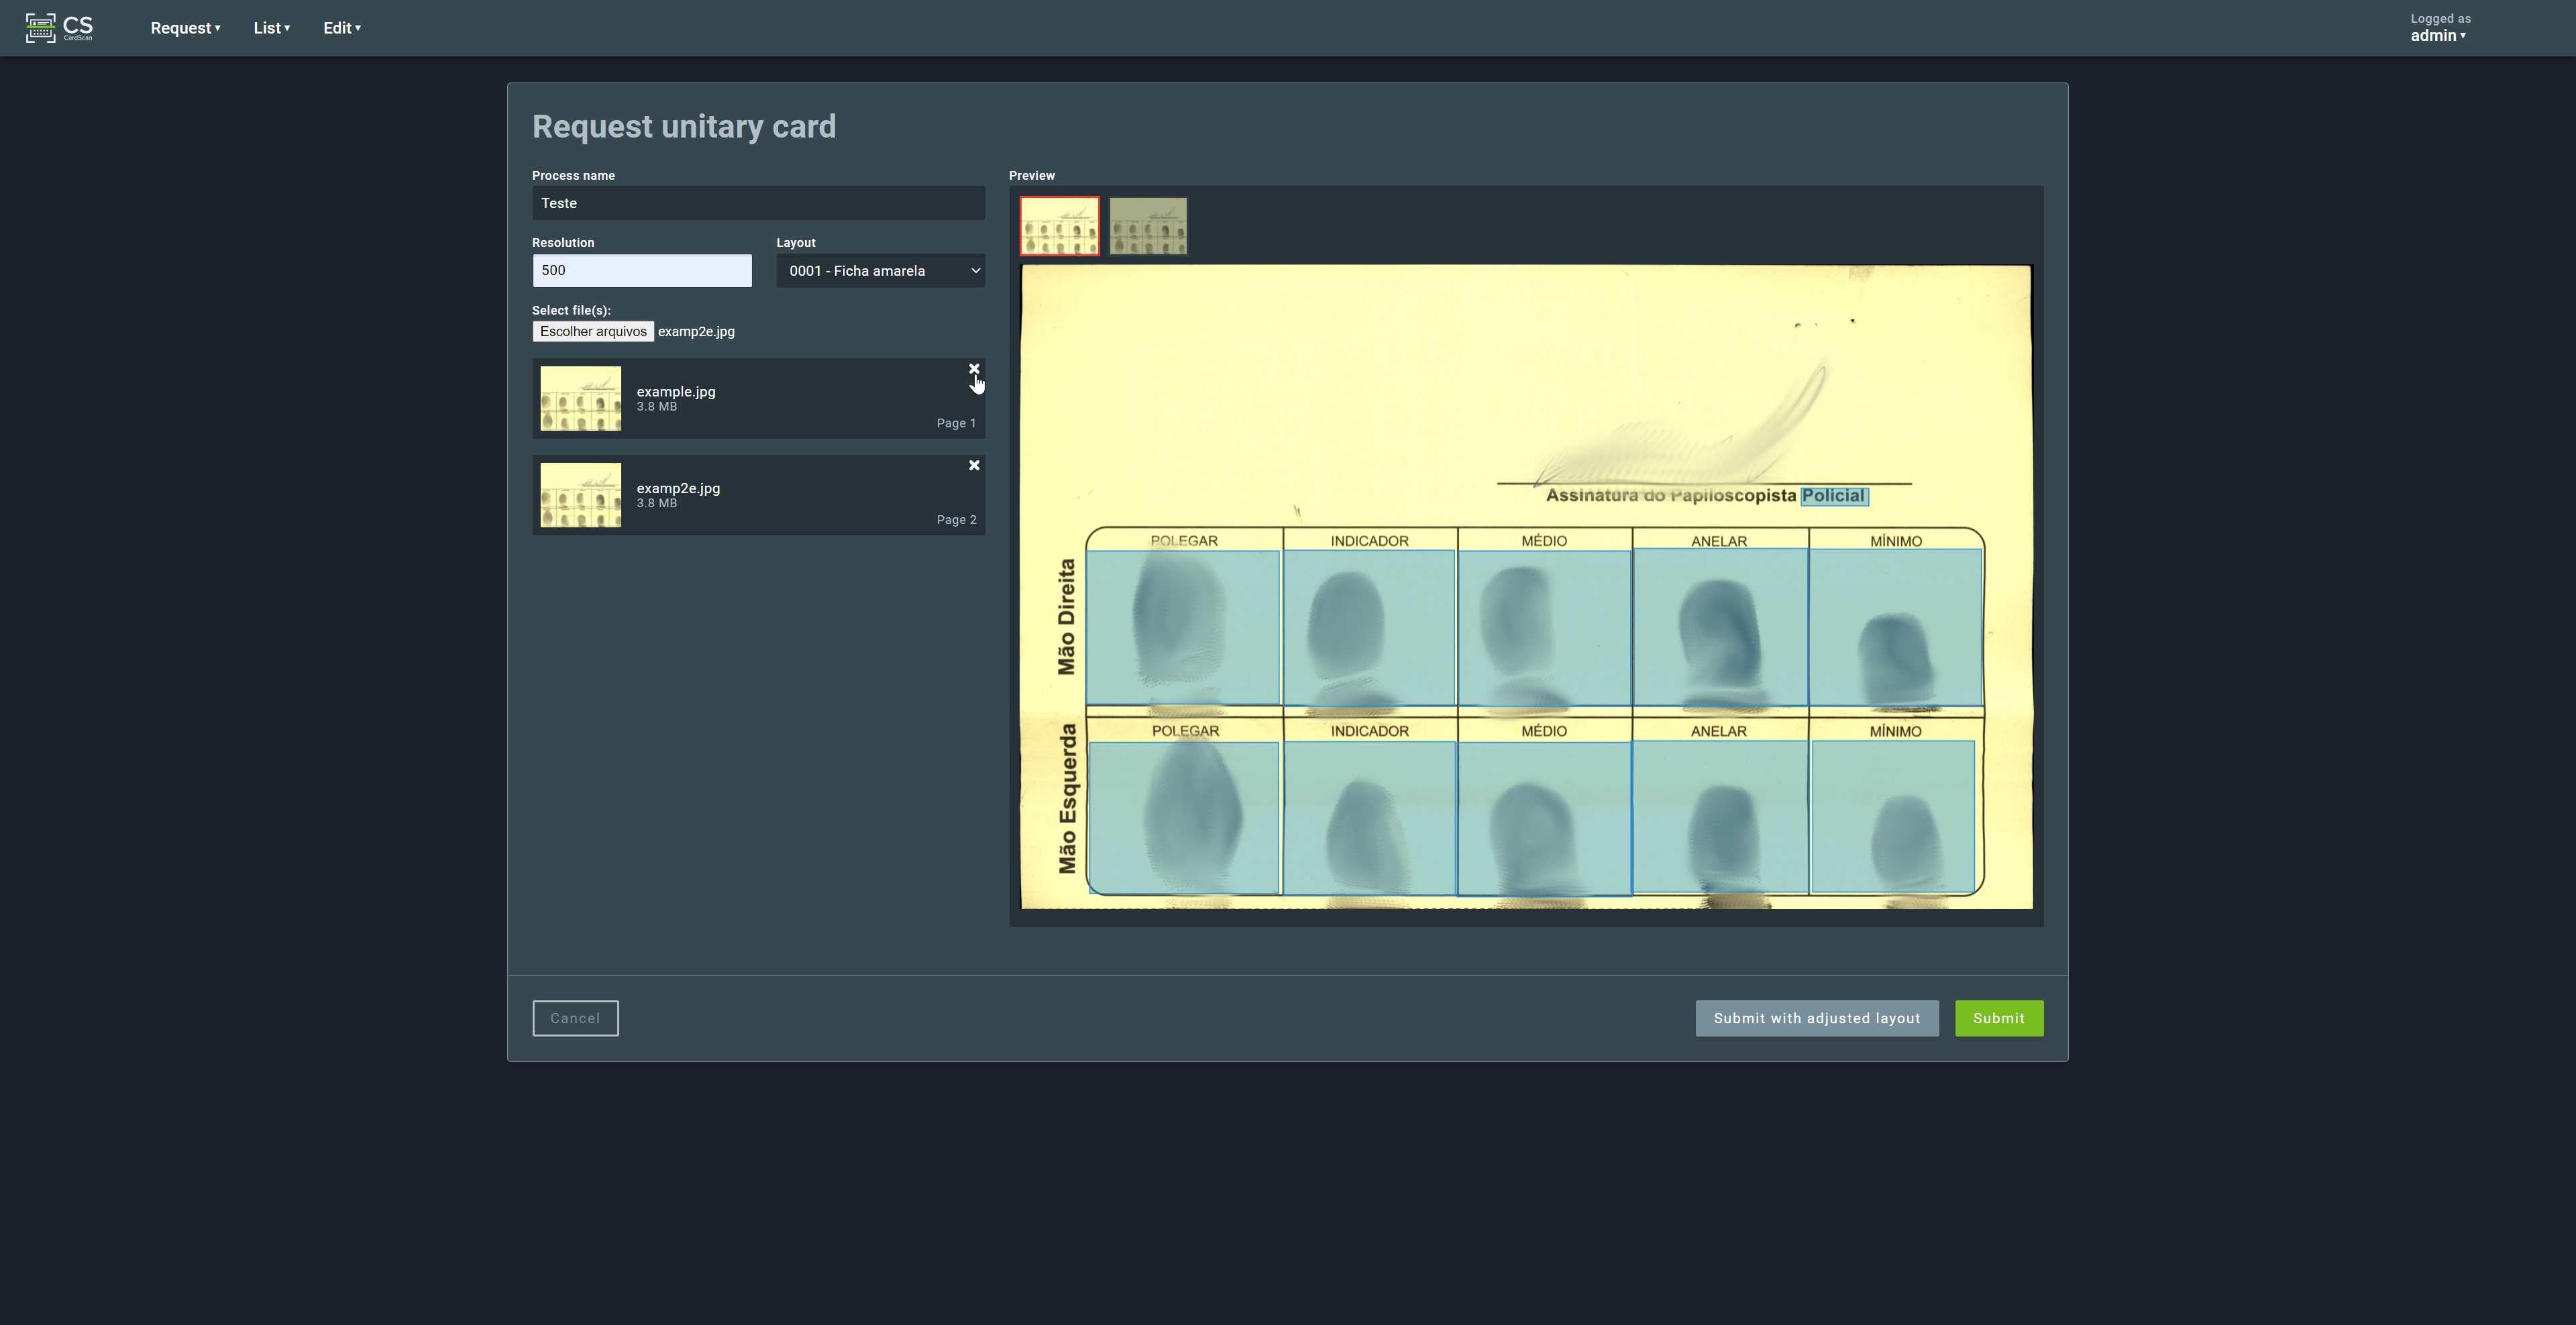
Click on Send request to send the image(s) to the server for processing.
To check the progress of the operation, go to List > Processes at the top menu.
2.2.2. Multiple on file cards
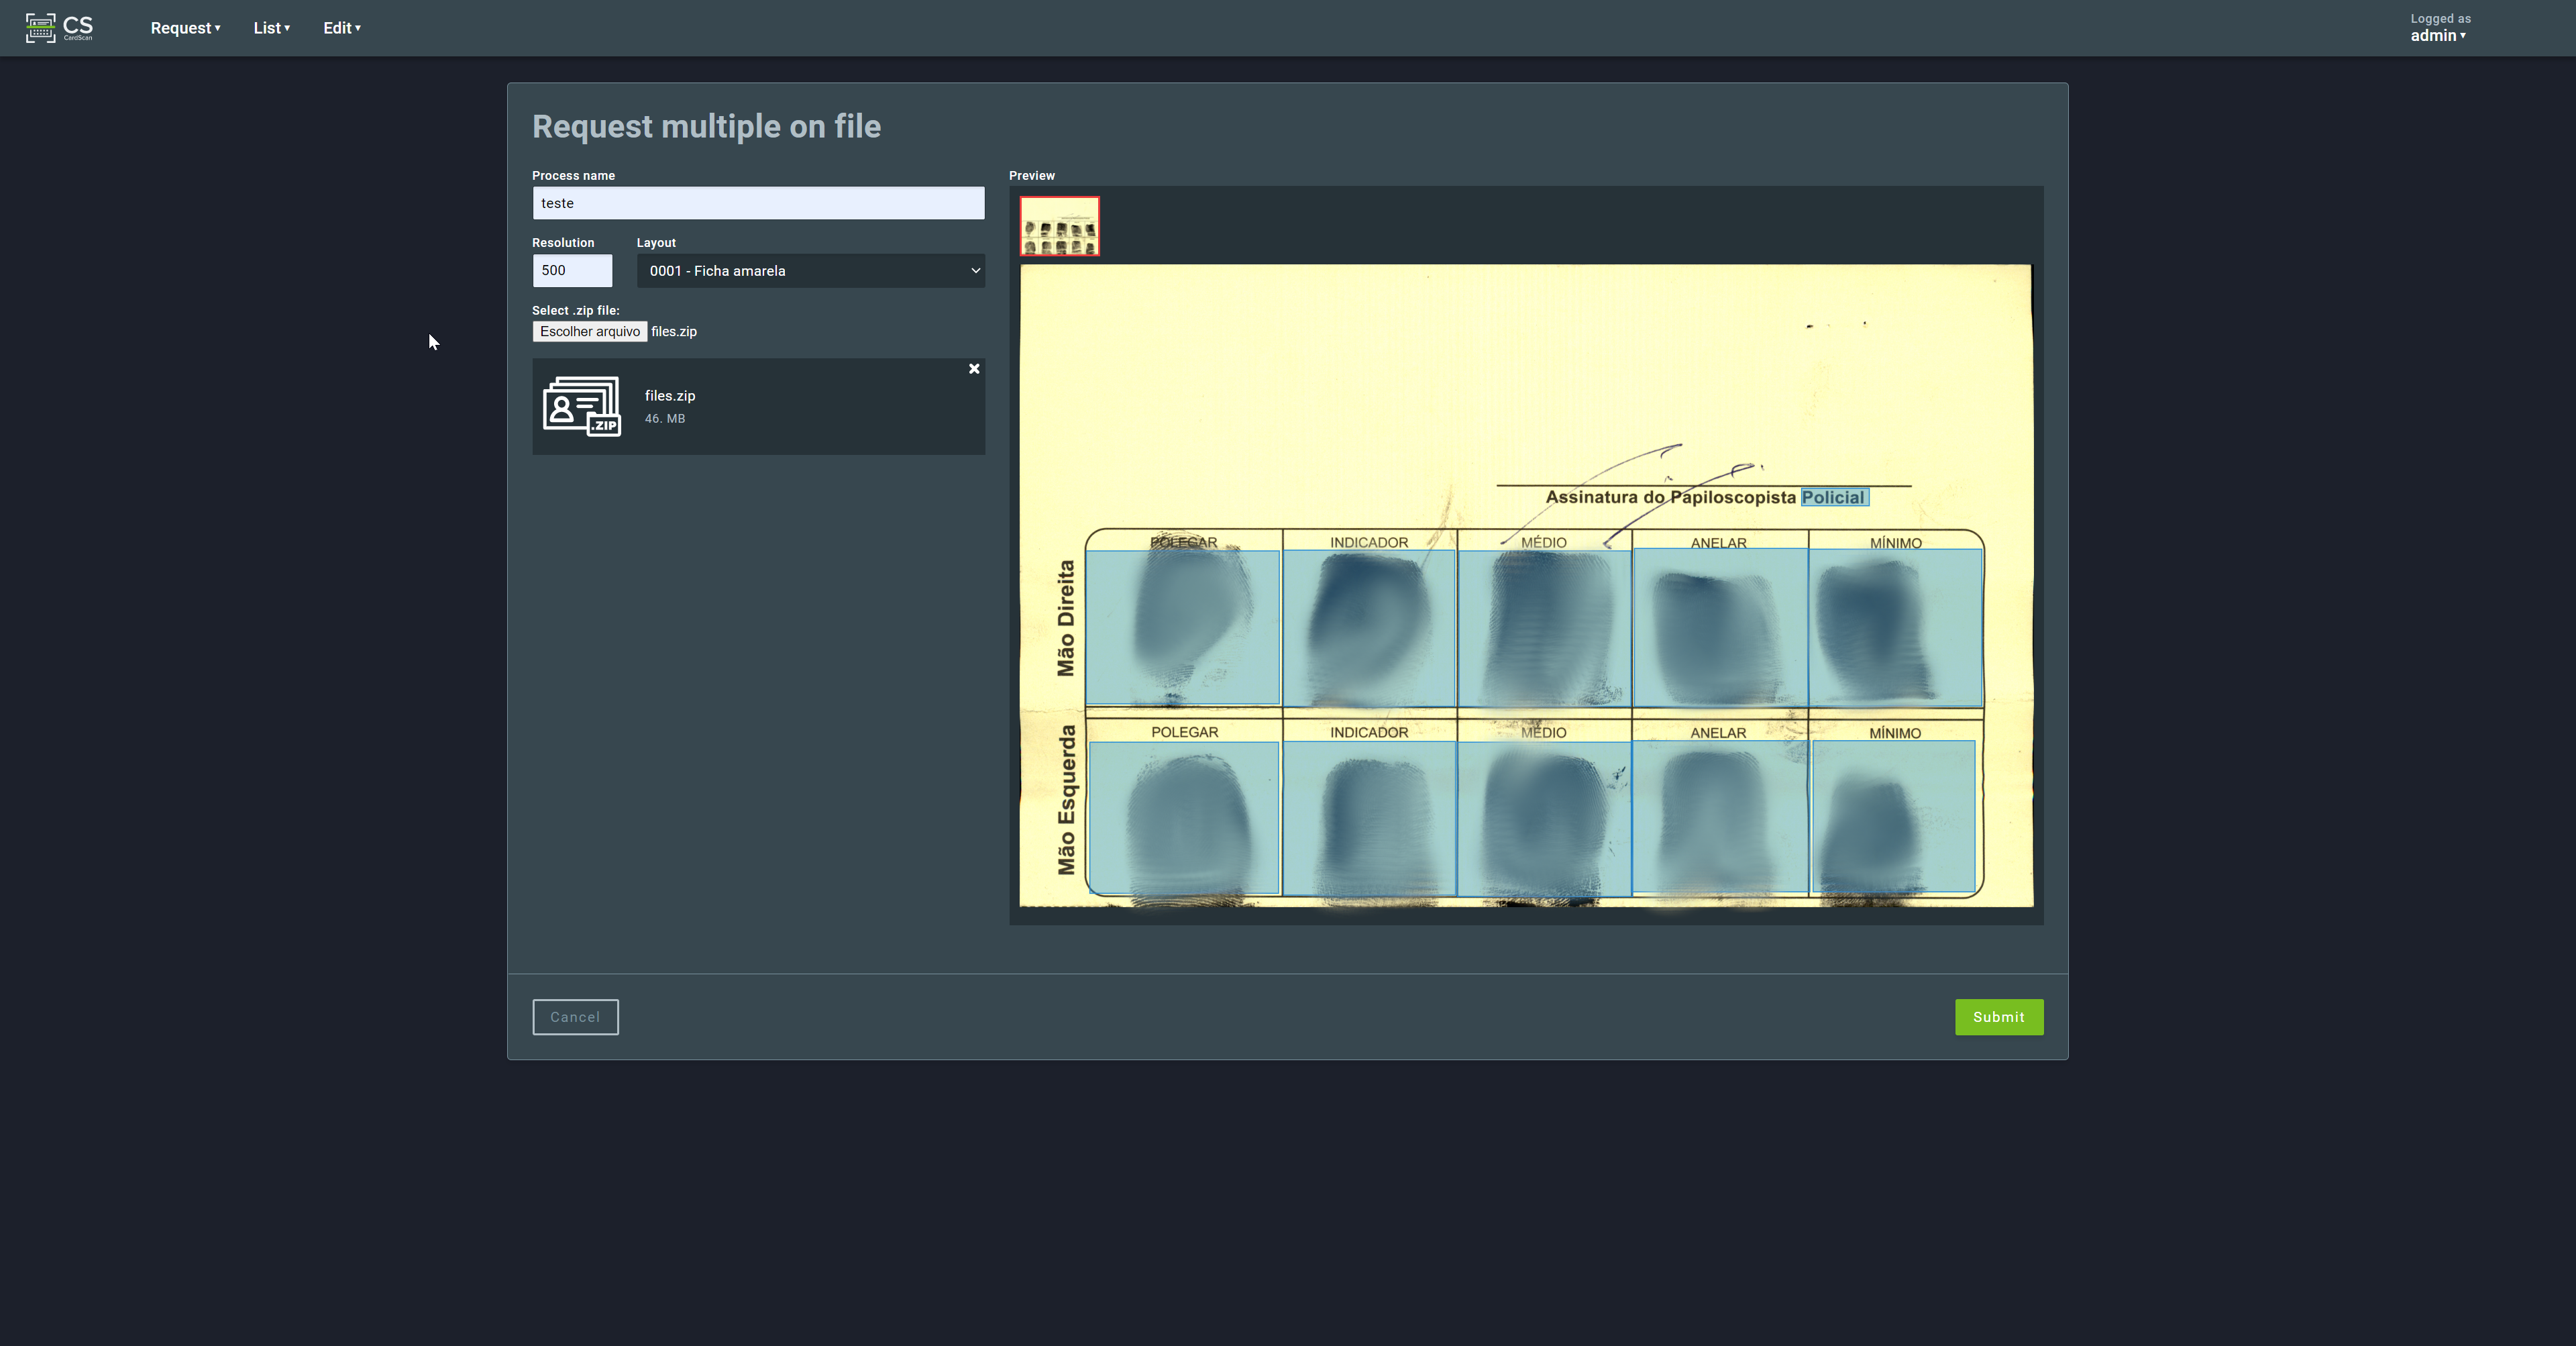
This request type is used to process an archive containing multiple scanned cards. This archive must be a single Zip file containing all the scanned images.
CardScan will process the files following the lexicographical order of their names. It is recommended to start each file name with numbers, to ensure a predictable processing sequence.
2.2.3. Multiple on server cards
This request type is used to process a list of files located on the server that runs the CardScan service. It will process the files following the lexicographical order of their names. It is recommended to start each file name with numbers, to ensure a predictable processing sequence. This request type is intended for large-scale data migration and may require administrator credentials on the server.
2.3. List
This feature group allows the user to list the profiles generated for enrollment when processing requests, to list submitted requests and inspect their status, and inspect operation logs.
2.3.1. Profiles
This section shows a list of the existing profiles created by the system. It is possible to filter the list by process ID, profile ID, key, biographic, and/or status to locate specific profiles.

Clicking on a profile line shows the details of the selected profile such as the original card image(s) and the biometric images (fingerprints, palmprints, face, signature, etc.) extracted from the card.
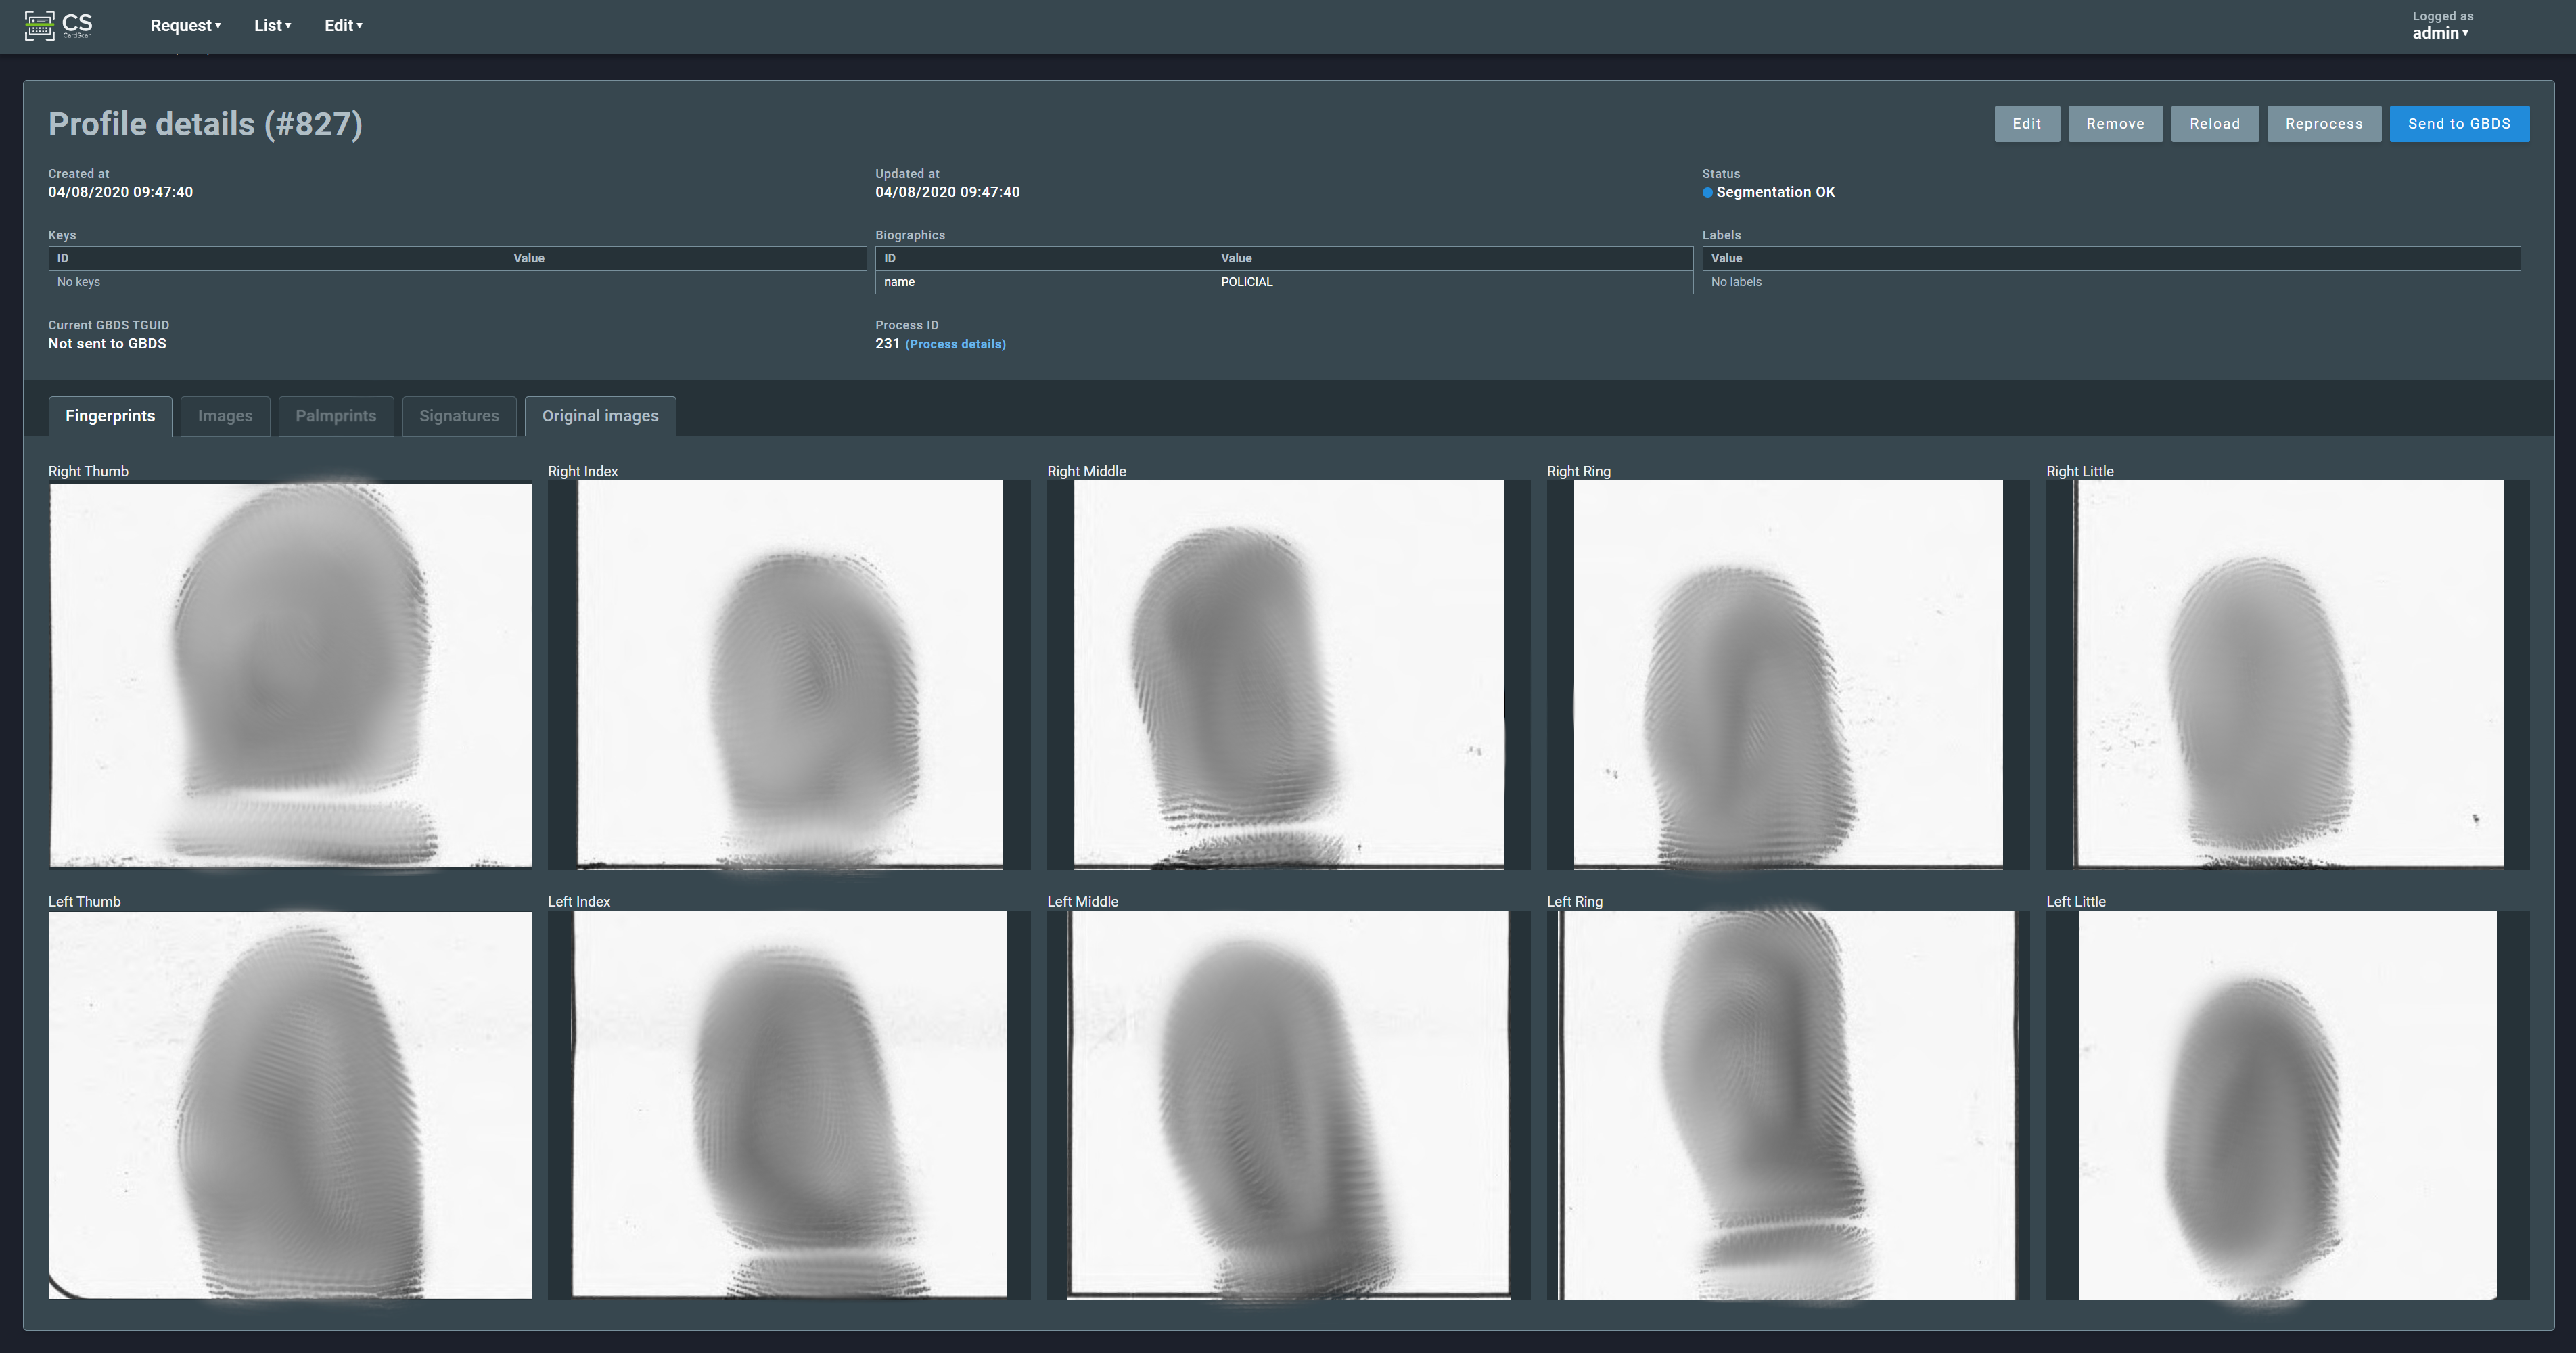
On this page is also possible to edit textual fields obtained by OCR (optical character recognition), remove the profile, refresh the page and reprocess the profile info.
2.3.1.1. Editing OCR fields
In the profile details page the user can edit textual fields such as Biographics, Keys, and Labels by clicking on Edit:

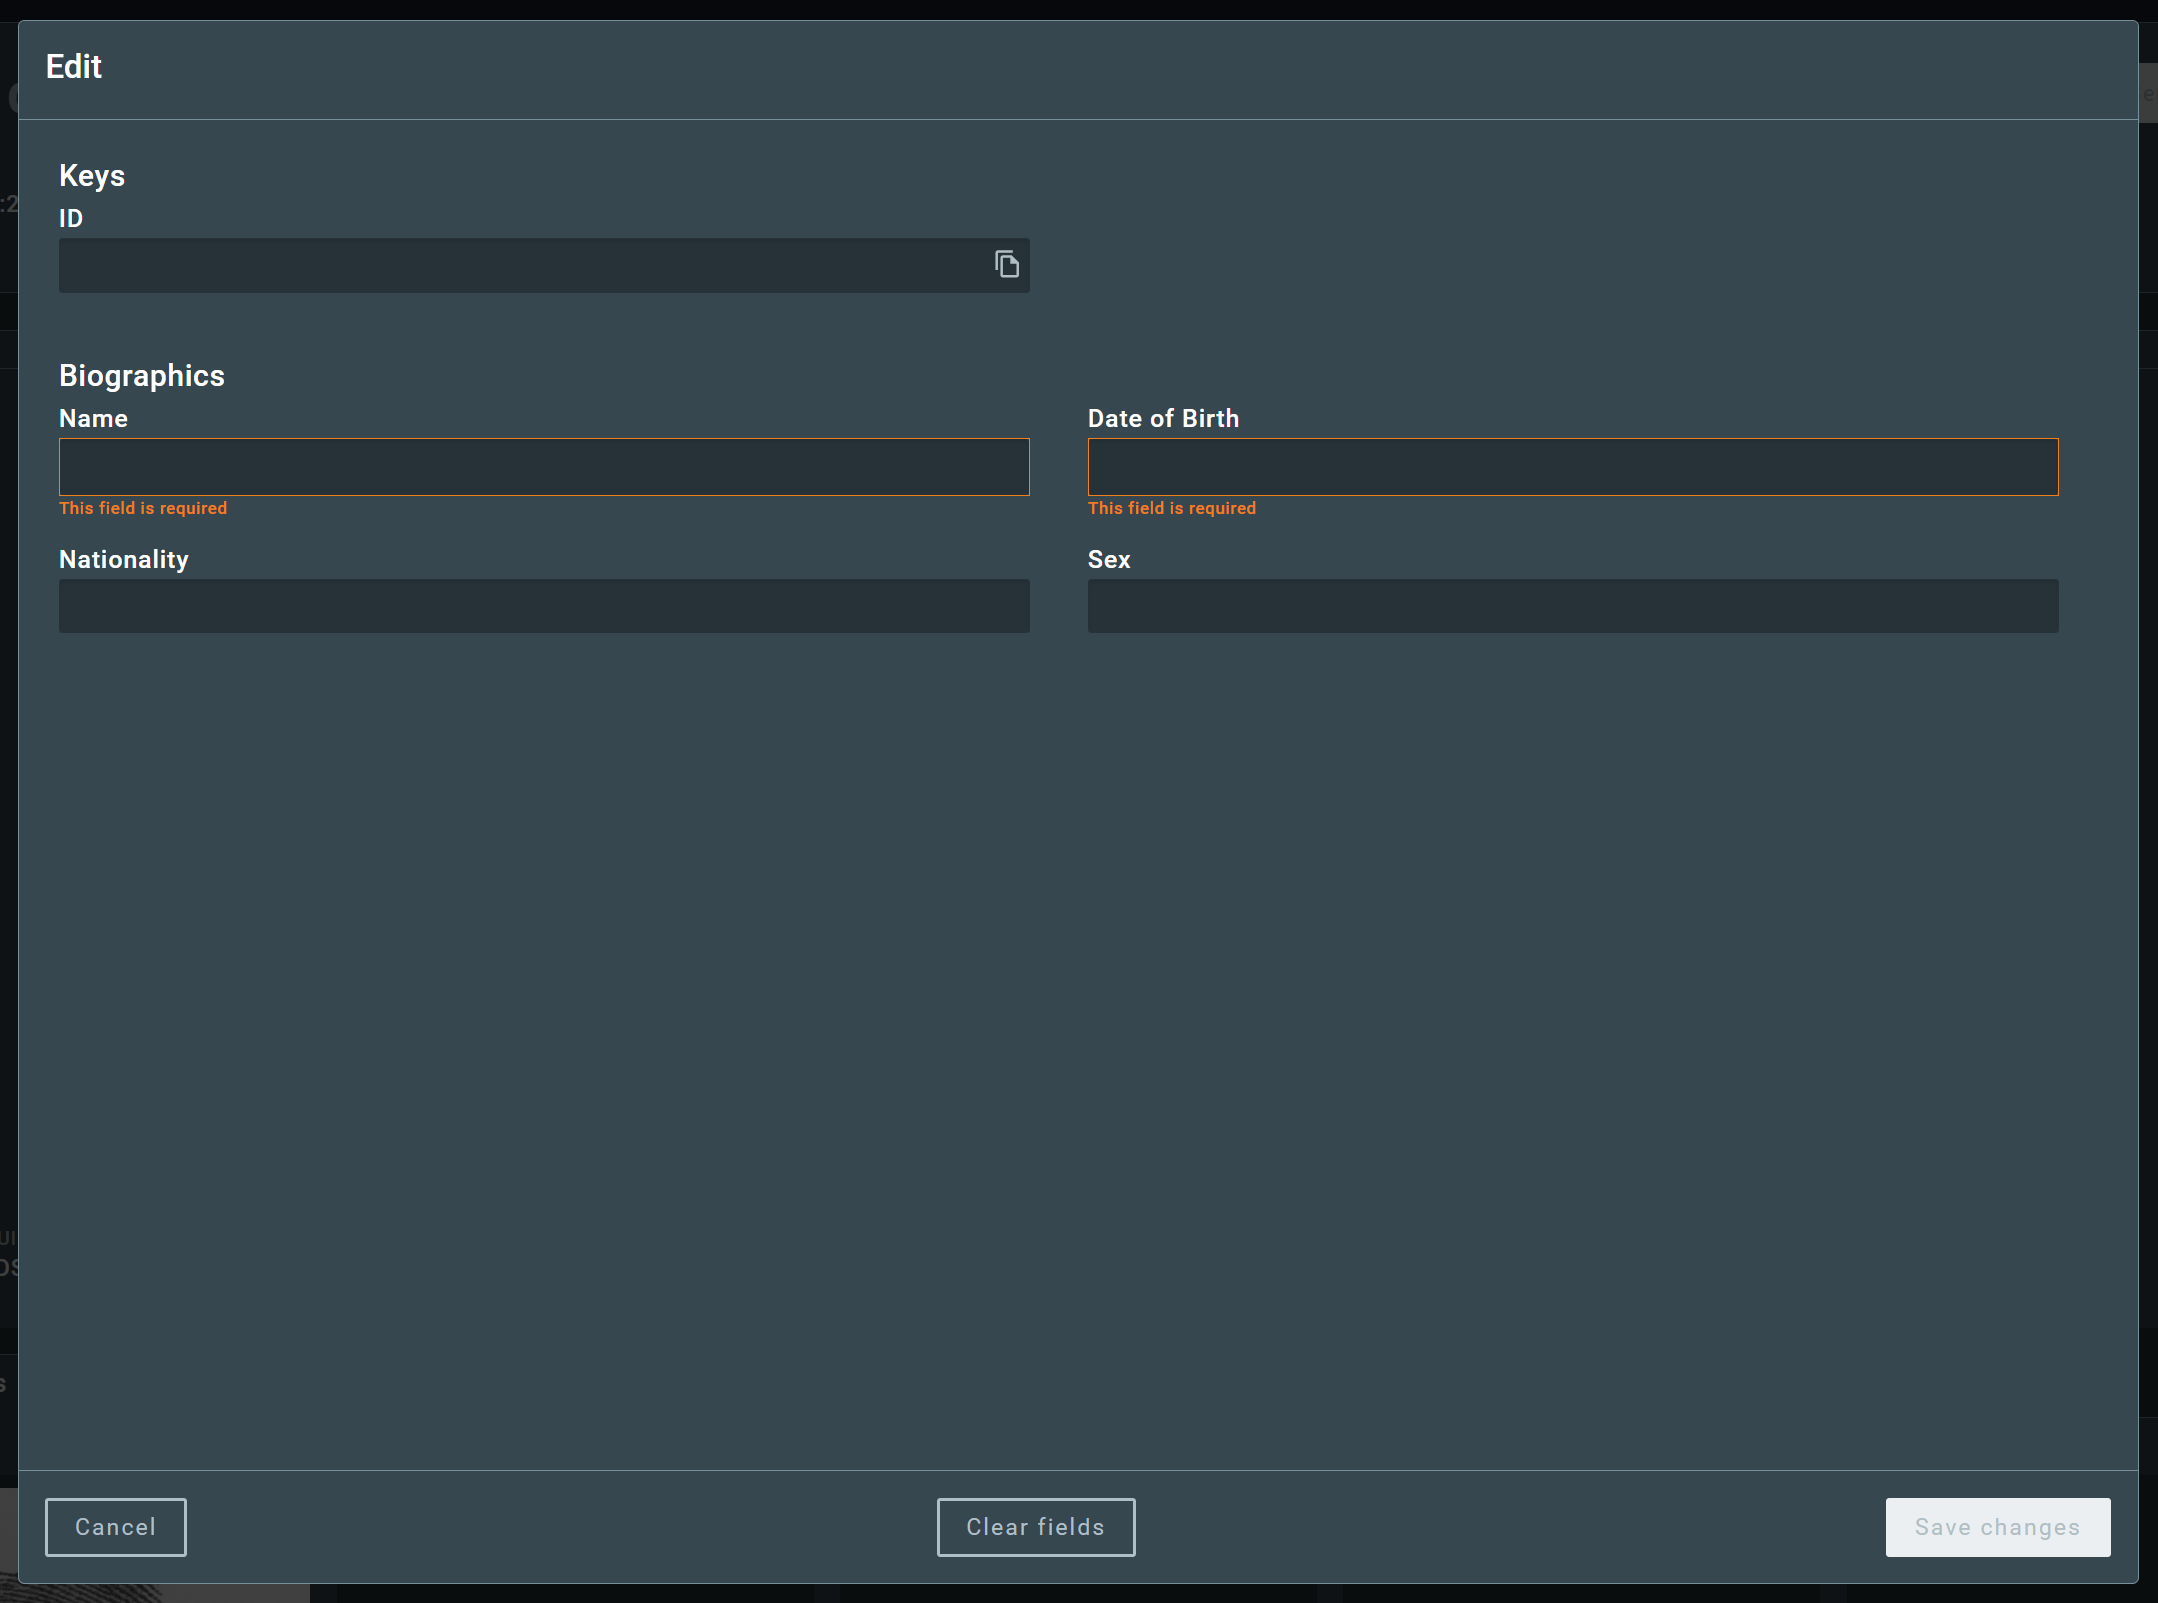
After clicking on Edit, the profile fields can be manually edited by the user. The fields can be Keys, Biographics, or Labels. When the OCR is unable to extract the information of Biographics, Keys, or Labels from the scanned image, they should be manually entered with using option.
The fields displayed are the ones configured by the system administrator. If you have the required permissions, you can see and modify these fields in the GBS BCC application. For further information, check the Fields section in the GBS BCC manual.
After editing the fields, click on Save changes to confirm the changes. If the user wants to cancel the changes, click on Cancel. To clear the fields, click on Clear fields.
Note
Some fields may be mandatory, they are indicated by the message “This field is required”. If a mandatory field is left blank, the user will not be able to send the profile to GBDS.
2.3.1.2. Manual review
When using the Multiple on server cards request type, depending on your environment configuration, the profiles may require manual review if the OCR-read ID number isn’t included in a range indicated in the name of the server folder.
For example, if the folder name is cards_1000_2000 and this feature is activated in your environment, the system will check if the OCR-read ID number is between 1000 and 2000. The ones that are not within this range will receive a Manual review pending status and will await manual review.
Upon opening a profile that requires manual review, the user will be presented with the profile screen with the fields in an editable state. The user should then review the scanned document, edit or insert the necessary information and click on Save.
Important
Some information, such as identification keys, may be checked against the ABIS database to ensure they are unique. If the key is already in the database, it will be displayed as invalid.
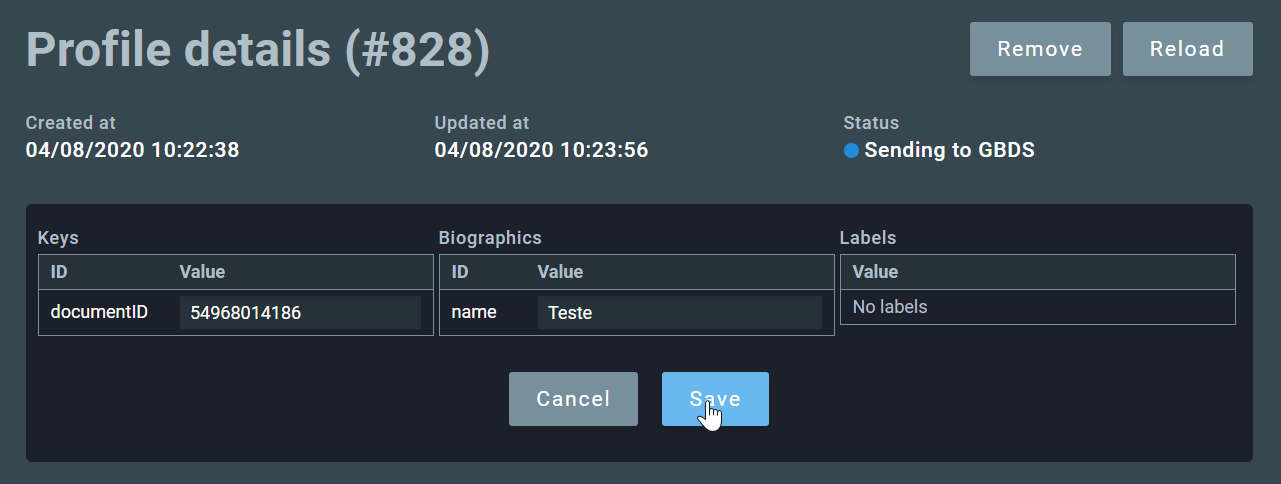
2.3.1.3. Sending the profile to GBDS
If the card was processed without errors, the button Send to GBDS will be enabled, allowing the user to submit the profile for enrollment in the GBS biometric database.
Note
Some biographic fields may be mandatory. If a mandatory field is left blank, the user will not be able to send the profile to GBDS. To proceed, click on Edit and fill in the required fields.

Warning
Once the profile is sent to GBDS, OCR fields can no longer be edited.
2.3.1.4. Profile status
All profiles have a status indicating its current situation. The profile status is often related to its process’s status.
When a process has the Processing status, the profiles associated with it may have the following status values:
| Status | Description |
|---|---|
| Created | Profile created. |
| Segmenting | Segmentation in progress. |
| Validation | Validation in progress. |
| Segmentation error | Error in the segmentation process. |
| Segmentation OK | Segmentation finished successfully, waiting for the user to send it to GBDS. |
Once processing is complete, the profile status may assume one of the following values:
| Status | Description |
|---|---|
| Manual review pending | The OCR-read ID is not in the expected range. Manual review is needed. |
| Manual review done | Manual review completed, waiting for the user to send it to GBDS. |
| Deleted | Profile deleted before being sent to GBDS. |
| Reprocessed | The profile layout was edited, and the profile was reprocessed with the new layout. |
| Validation | Validation in progress. |
| Segmentation error | Error in the segmentation process. |
| GBDS ready | Ready to be sent to GBDS. |
| Sending to GBDS | Sending to GBDS. |
| Sent to GBDS | Successfully sent to GBDS. |
| GBDS OK | Successfully enrolled in GBDS, can transition to Done. |
| Done | Enrollment completed in GBDS and profile workflow concluded in CardScan - this is a final state. |
| Error | Error when processing the profile. |
| GBDS failed | Failure in GBDS enrollment. |
| GBDS refused | The profile was refused by GBDS. |
| Pending analysis (MIR) | Waiting for manual quality review in GBS MIR. |
| Approved (MIR) | Approved in the quality review in GBS MIR, can transition to Done. |
| Rejected (MIR) | Rejected in the quality review in GBS MIR. |
| Pending analysis (ETR) | Enrollment generated an exception, pending resolution in GBS ETR. |
| Same biometrics (ETR) | GBS ETR resolution: same biometrics found (enrollment fraud). |
| Different biometrics (ETR) | GBS ETR resolution: different biometrics found (update fraud). |
| Recollect (ETR) | GBS ETR resolution: recollection needed. |
| Approved (ETR) | GBS ETR resolution: approved, can transition to Done. |
2.3.2. Processes
The processes section shows a list of existing processes and their details. The list also can be filtered by date, username, process ID, process name, process ID, and/or status.

Clicking on a process line opens a page with its details and options to reload the process information, show the associated profiles and process logs:
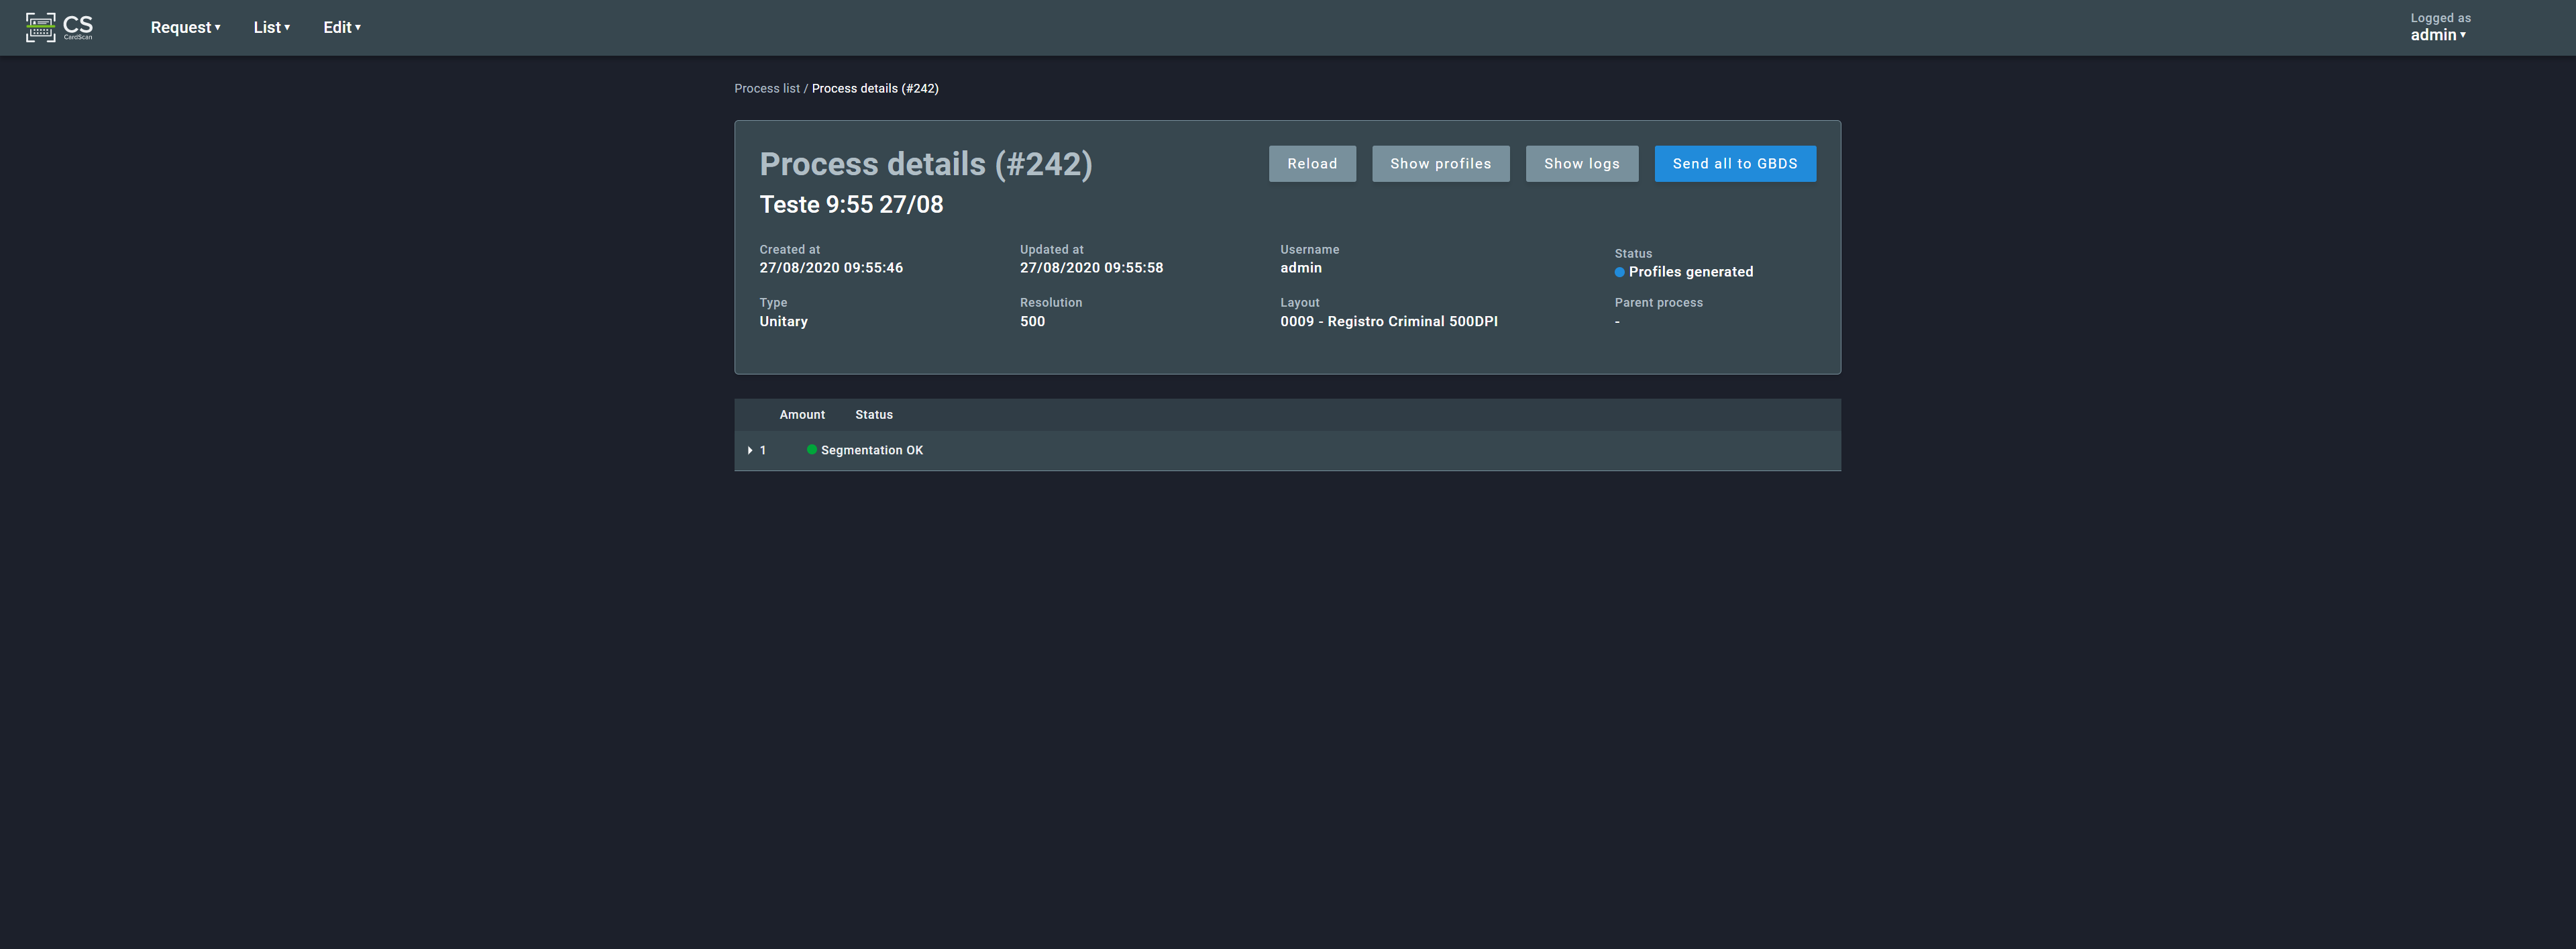
2.3.2.1. Process Status
Every process has a status indicating its current situation. It may assume the following values:
| Status | Description |
|---|---|
| Received | Process received and created. |
| Validating | Process being validated. |
| Detecting layout | Detecting layout automatically. |
| Layout not detected | Error: Unable to detect layout. |
| Layout detected | Layout detection successful: Valid layout detected. |
| Segmentation Ready | Ready to be segmented. Waiting for user validation. |
| Processing | Processing profiles. |
| Profiles generated | Profiles generated successfully, the user may send them to GBDS. |
| Processed | Processing completed. |
| Error | Error in the process. |
2.3.3. Operation Logs
The operation logs section shows a list of the existing operation logs and their details.
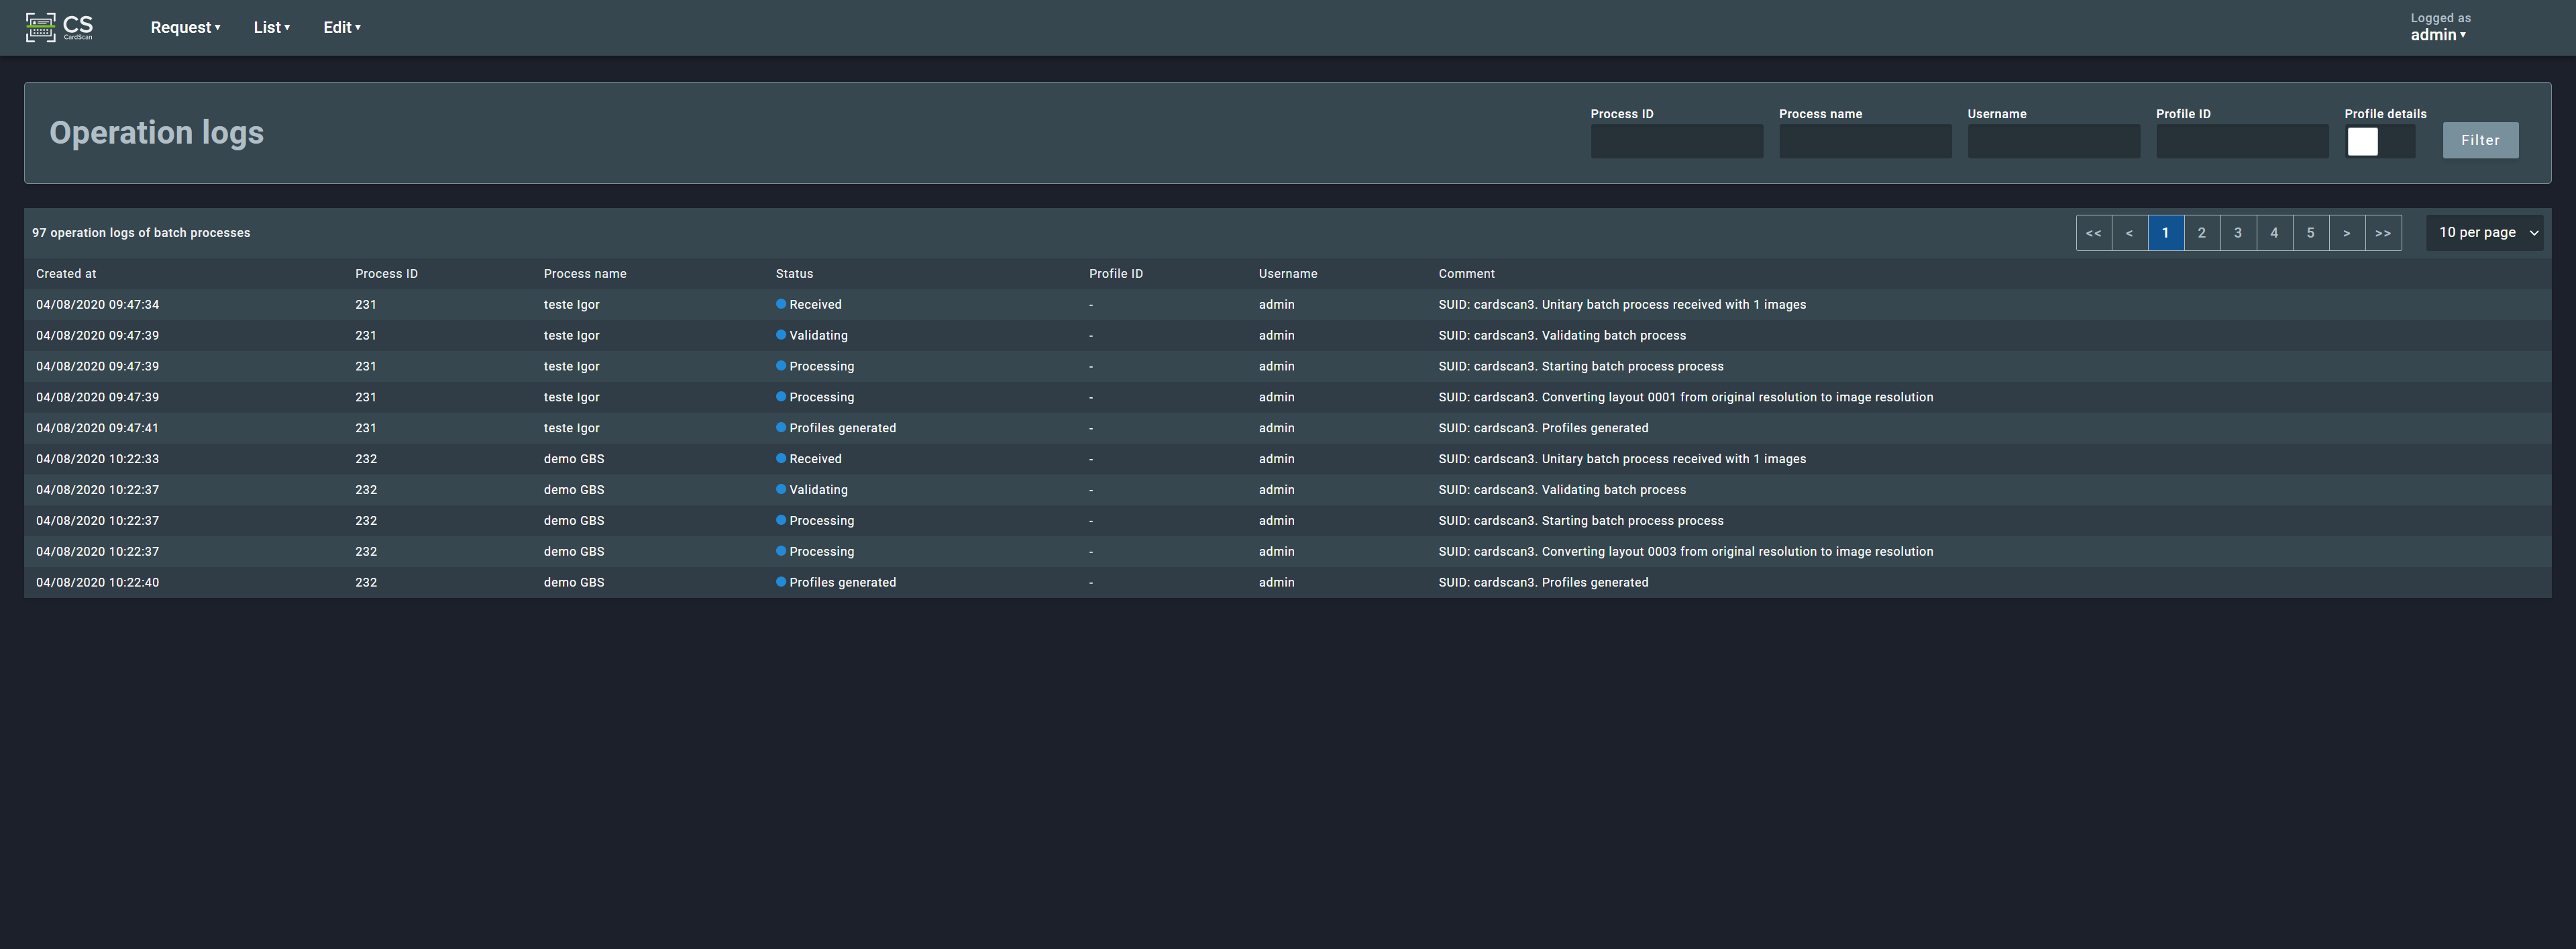
Unlike the previous lists, the operation logs do not offer a detailed view of each log entry.
2.4. Edit
This feature group allows the user to edit the application settings, as well as layouts.
2.4.1. Settings
This section allows the user to change general configurations of the application:

It is possible to change the application theme from dark to light, the language, the date/time format, and the search type. These settings affect only the user interface, not the card processing operations.
2.4.2. Layouts
This section shows a list of the existing layouts and allows the user to edit, clone, and remove them. Please notice that a layout can only be edited and deleted when there’s no process are associated with it.

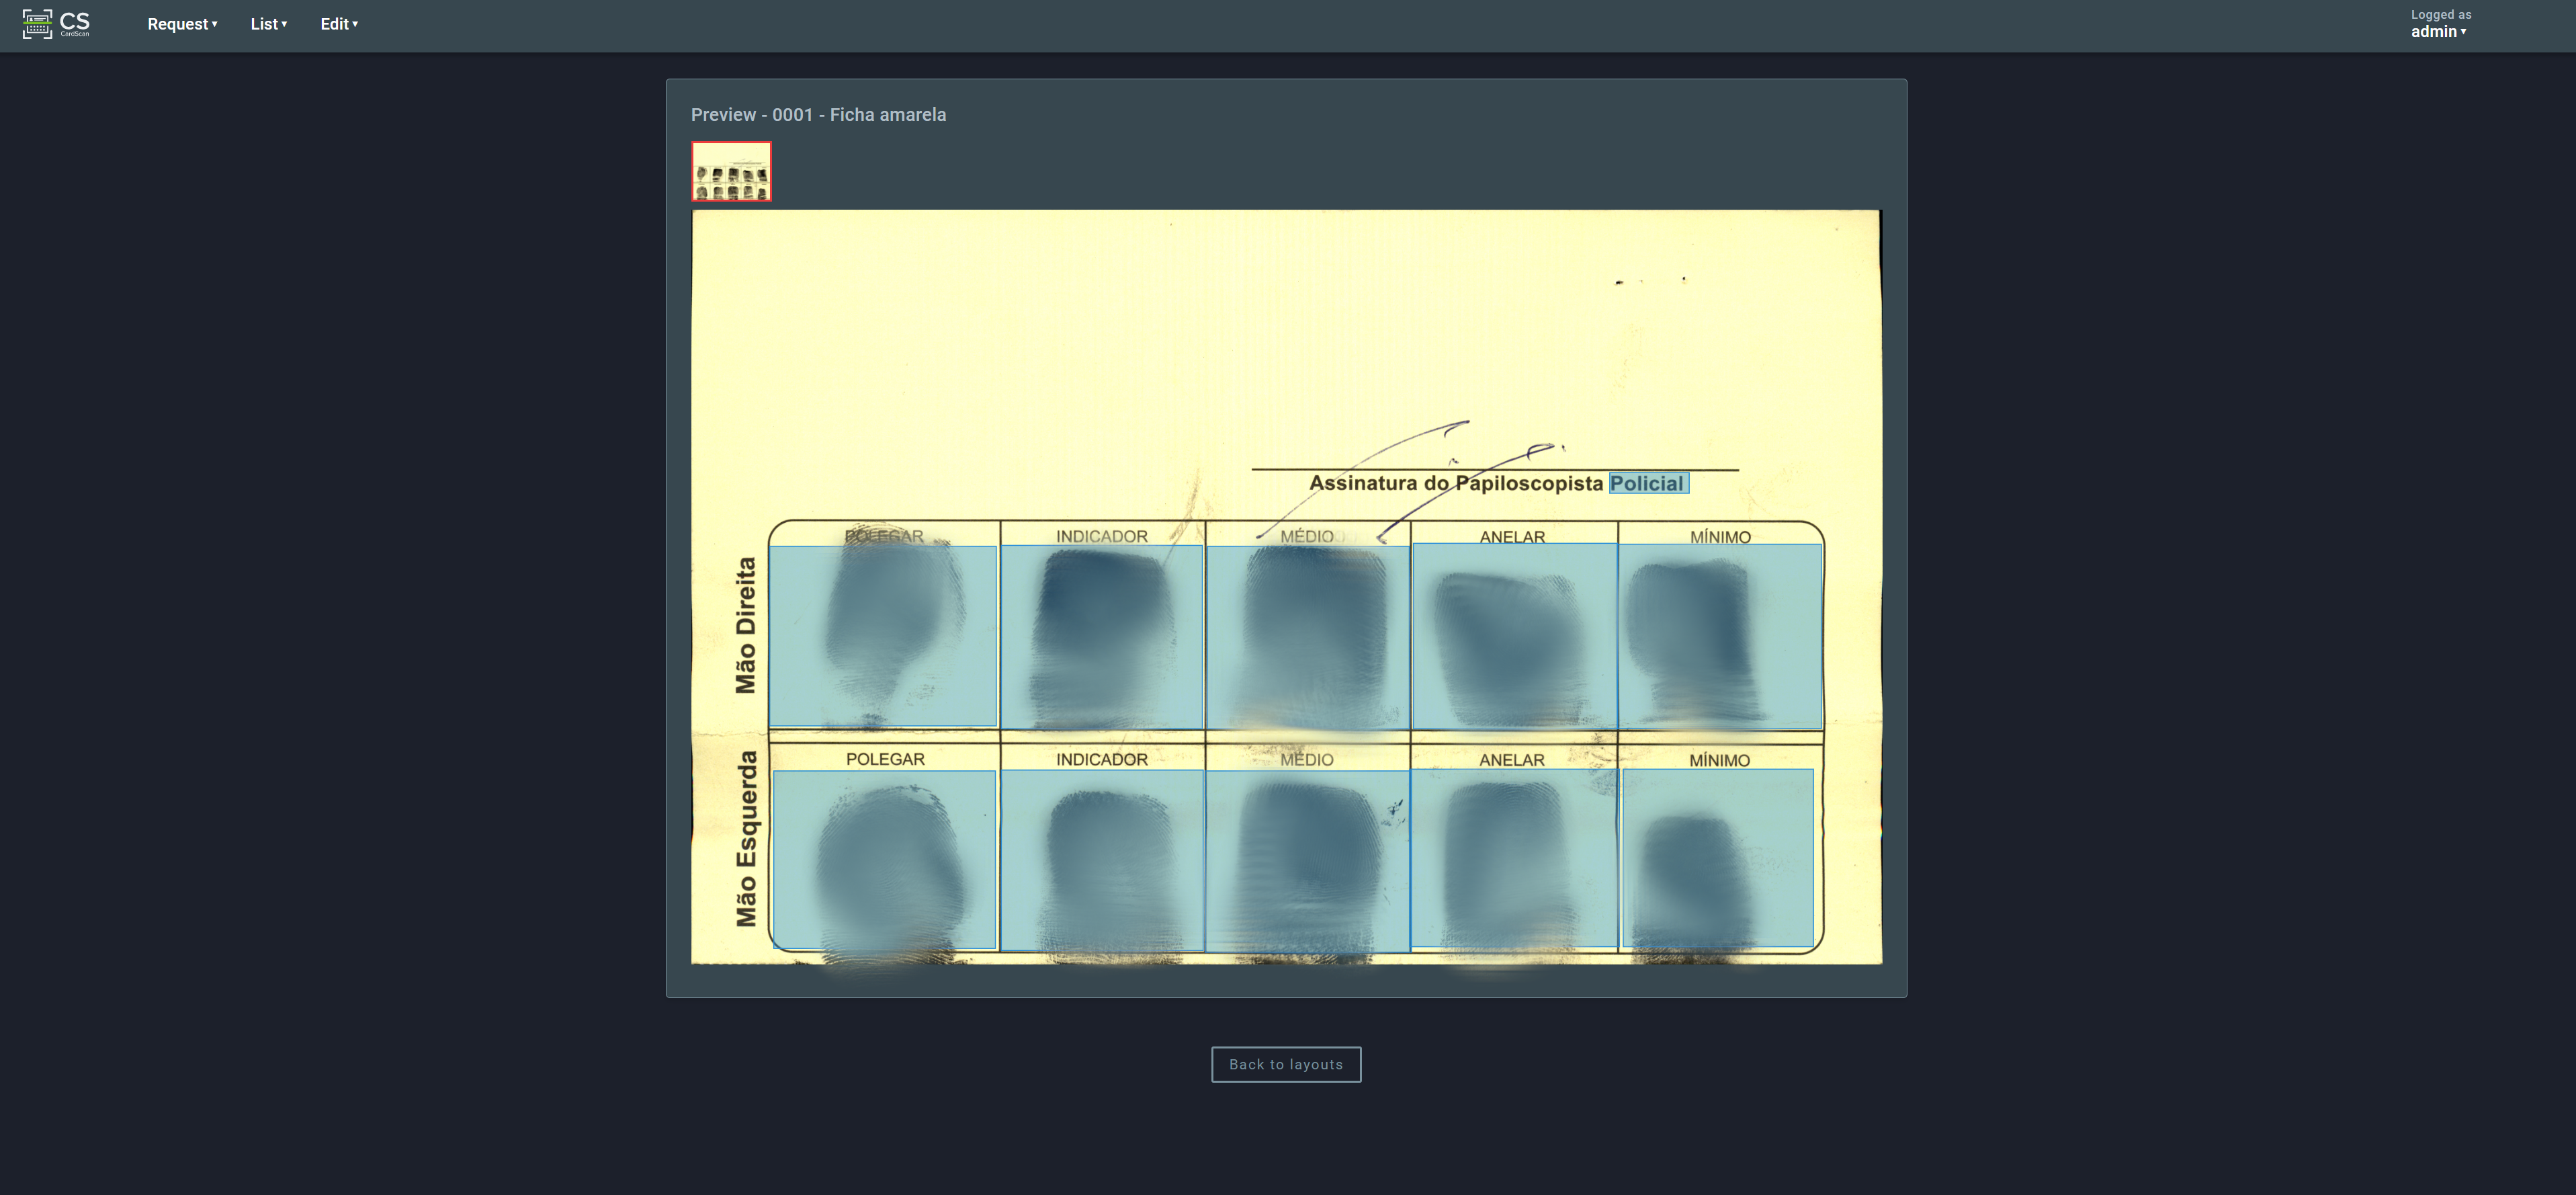
Clicking on a layout in the list will open a page showing a preview of the highlighted areas:
3. Layouts
A layout is a representation of a specific model of biometric card. Each distinct card model should have a corresponding layout in the system.
In the following example, we can see the redacted fingerprints, sequence control, and biographic information of a person:

To create a corresponding layout, the user needs to specify the regions of the image where there is biometric, biographic, and label data.
3.1. Creating a new layout
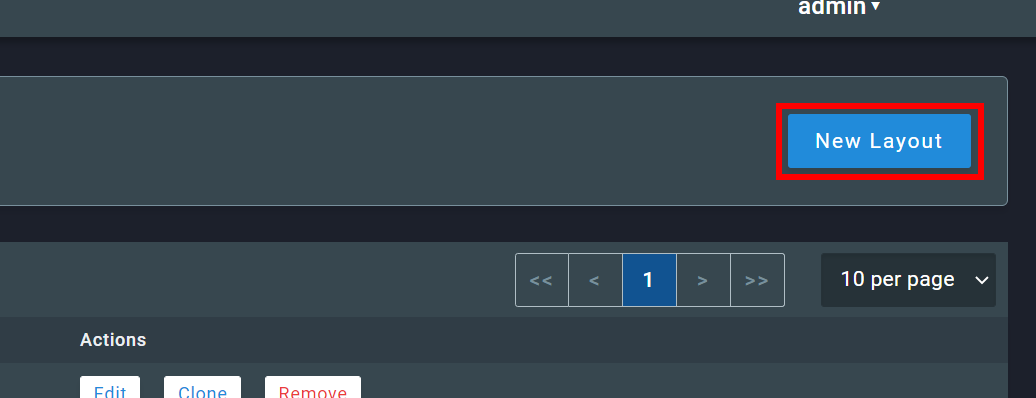
To create a layout, click on New Layout:
The layout creation screen will be shown:
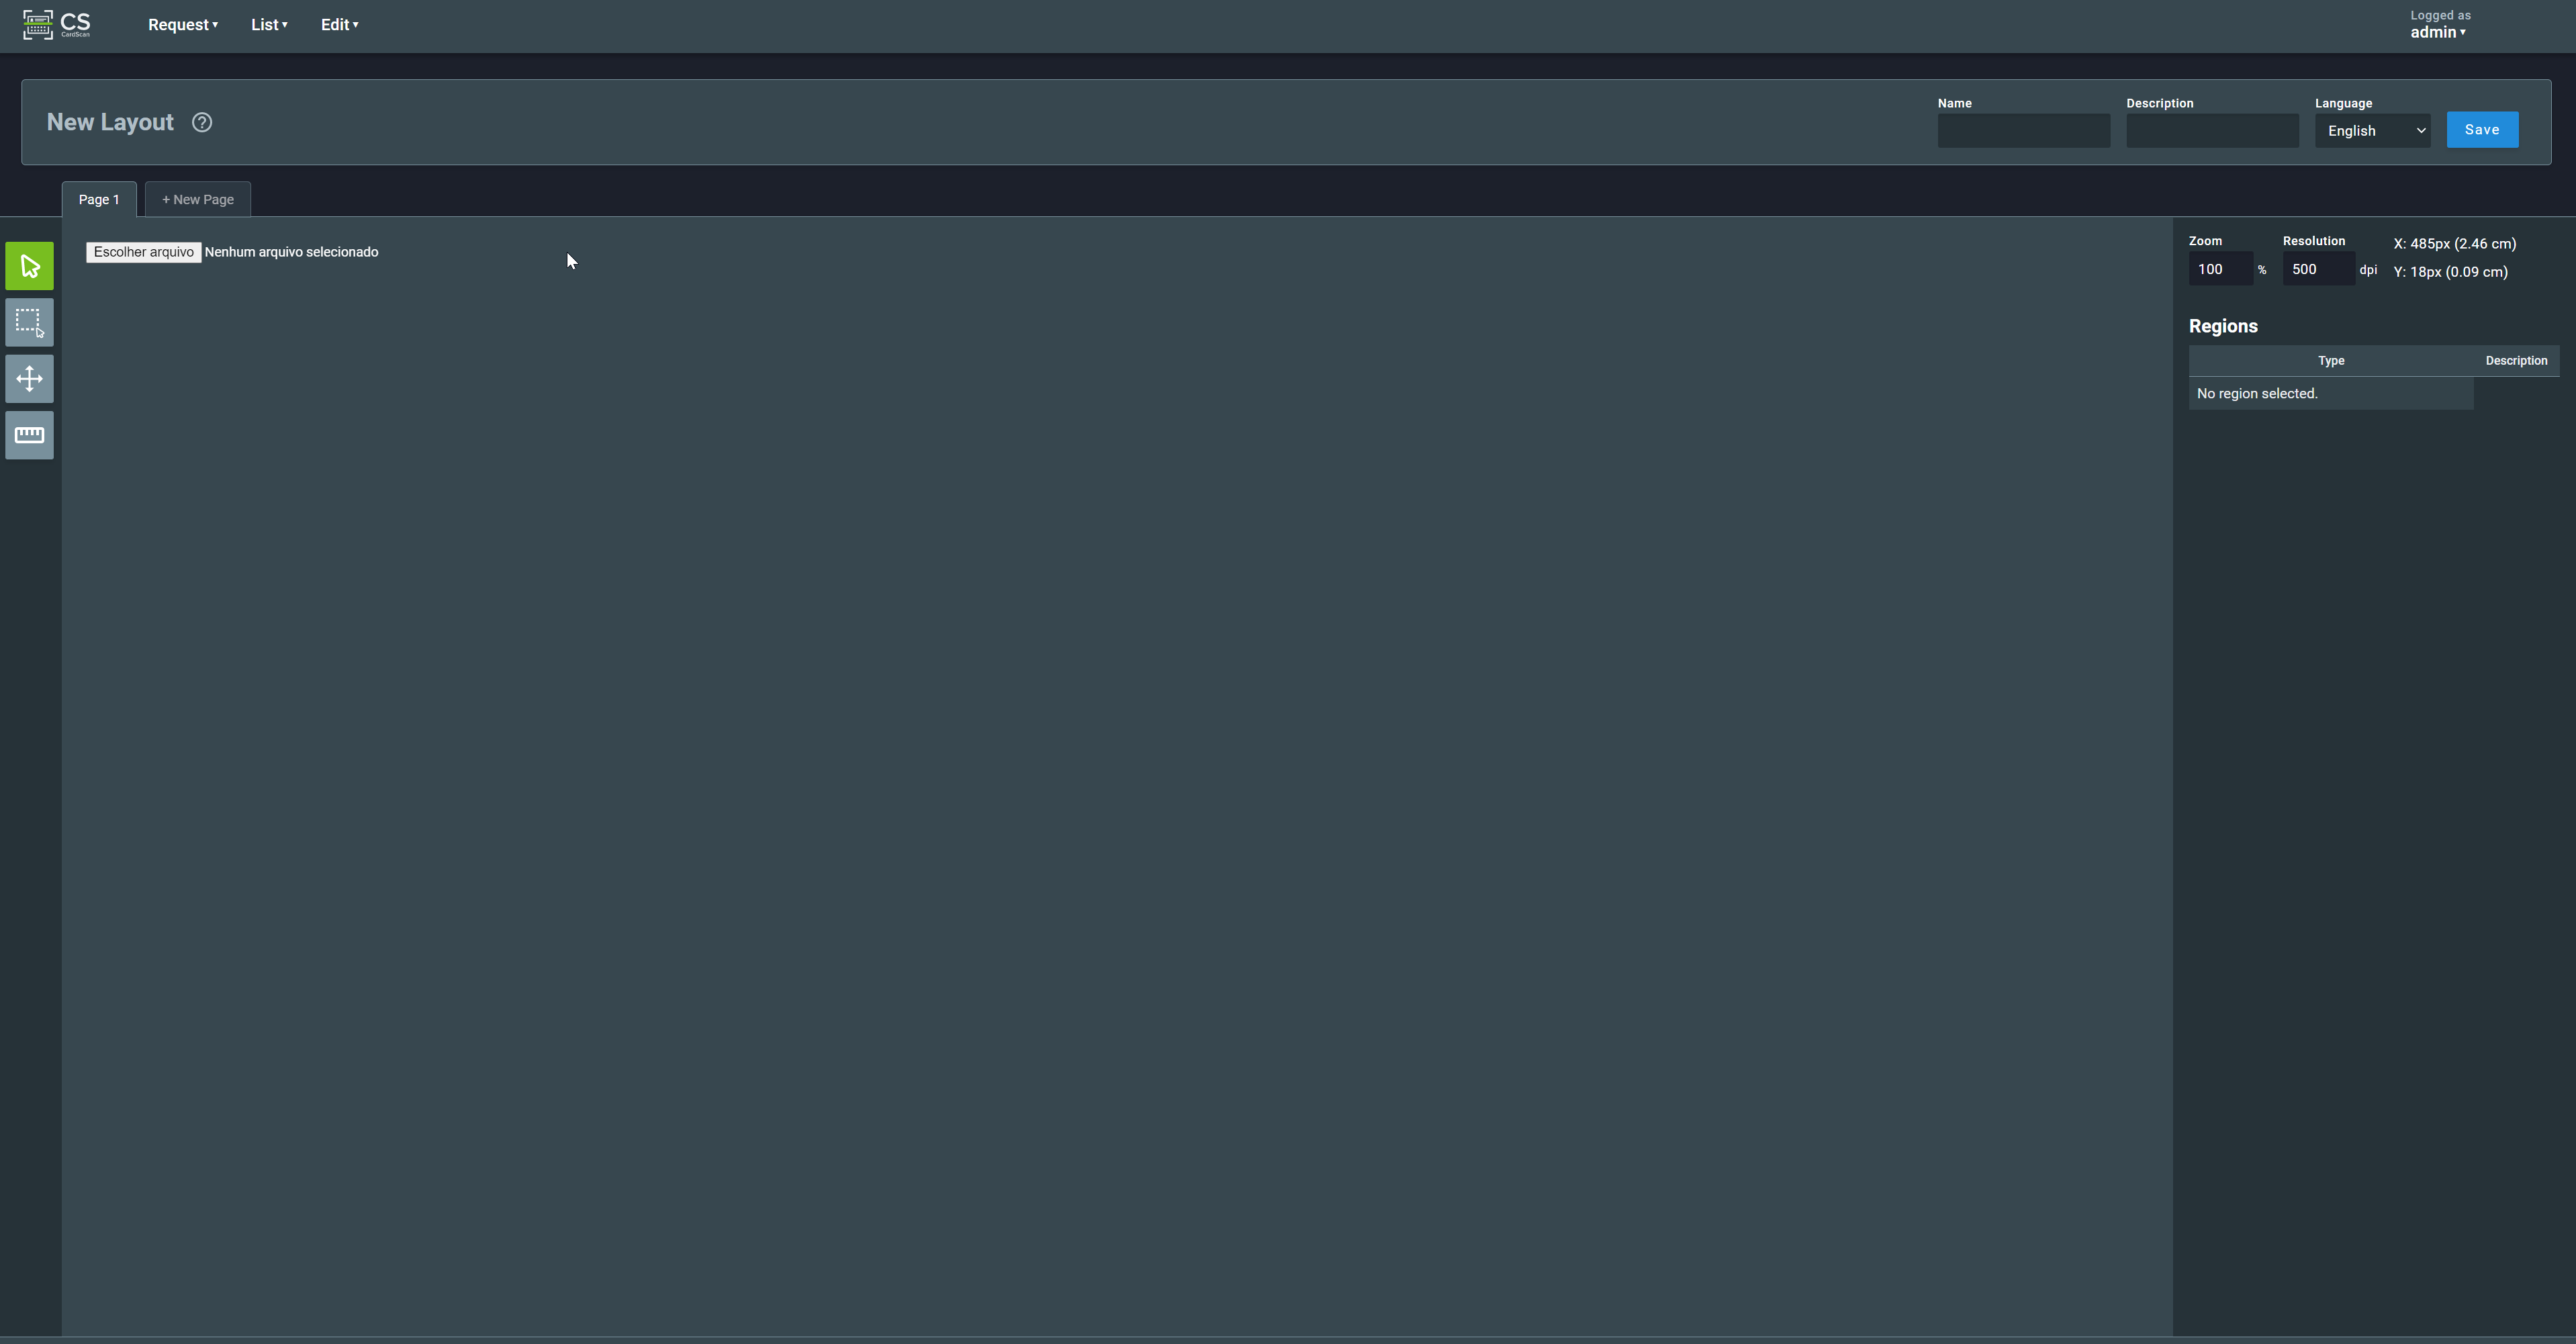
3.1.1. Import file or Acquire image
The first step in creating a layout is to import an image file to be used as its basis:
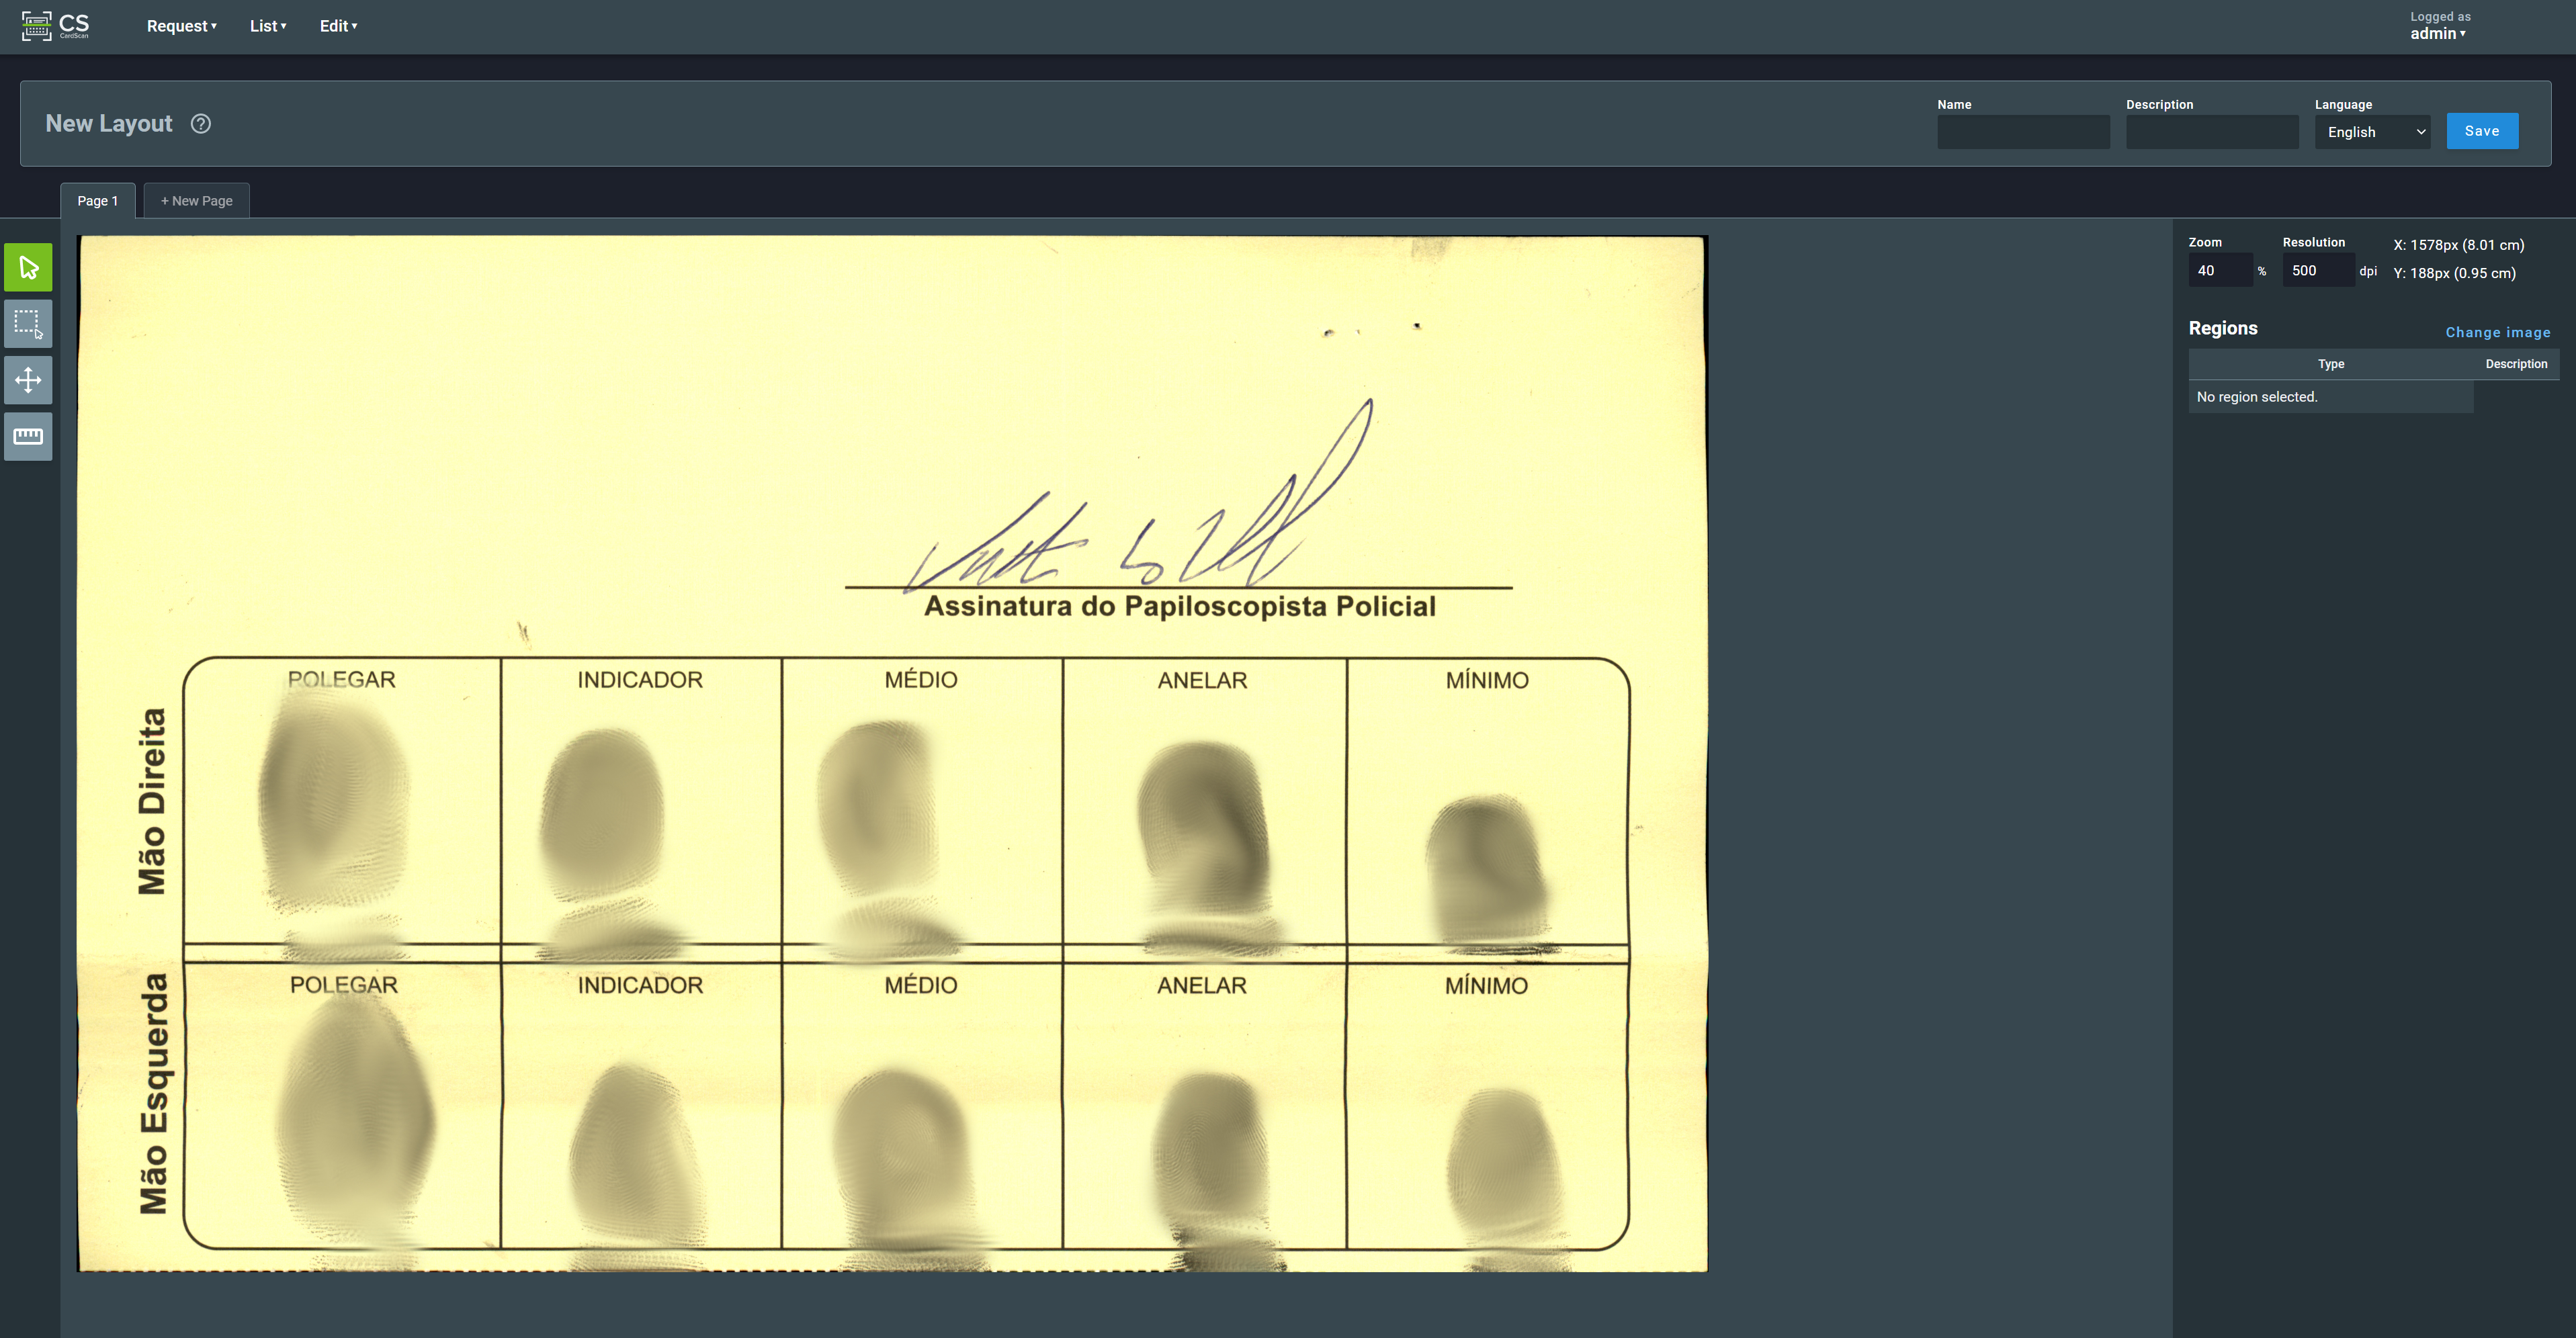
3.1.2. Resolution
An important step is to specify the resolution of the imported image (given in dots per inch, dpi). The resolution can be manually set on the right sidebar:
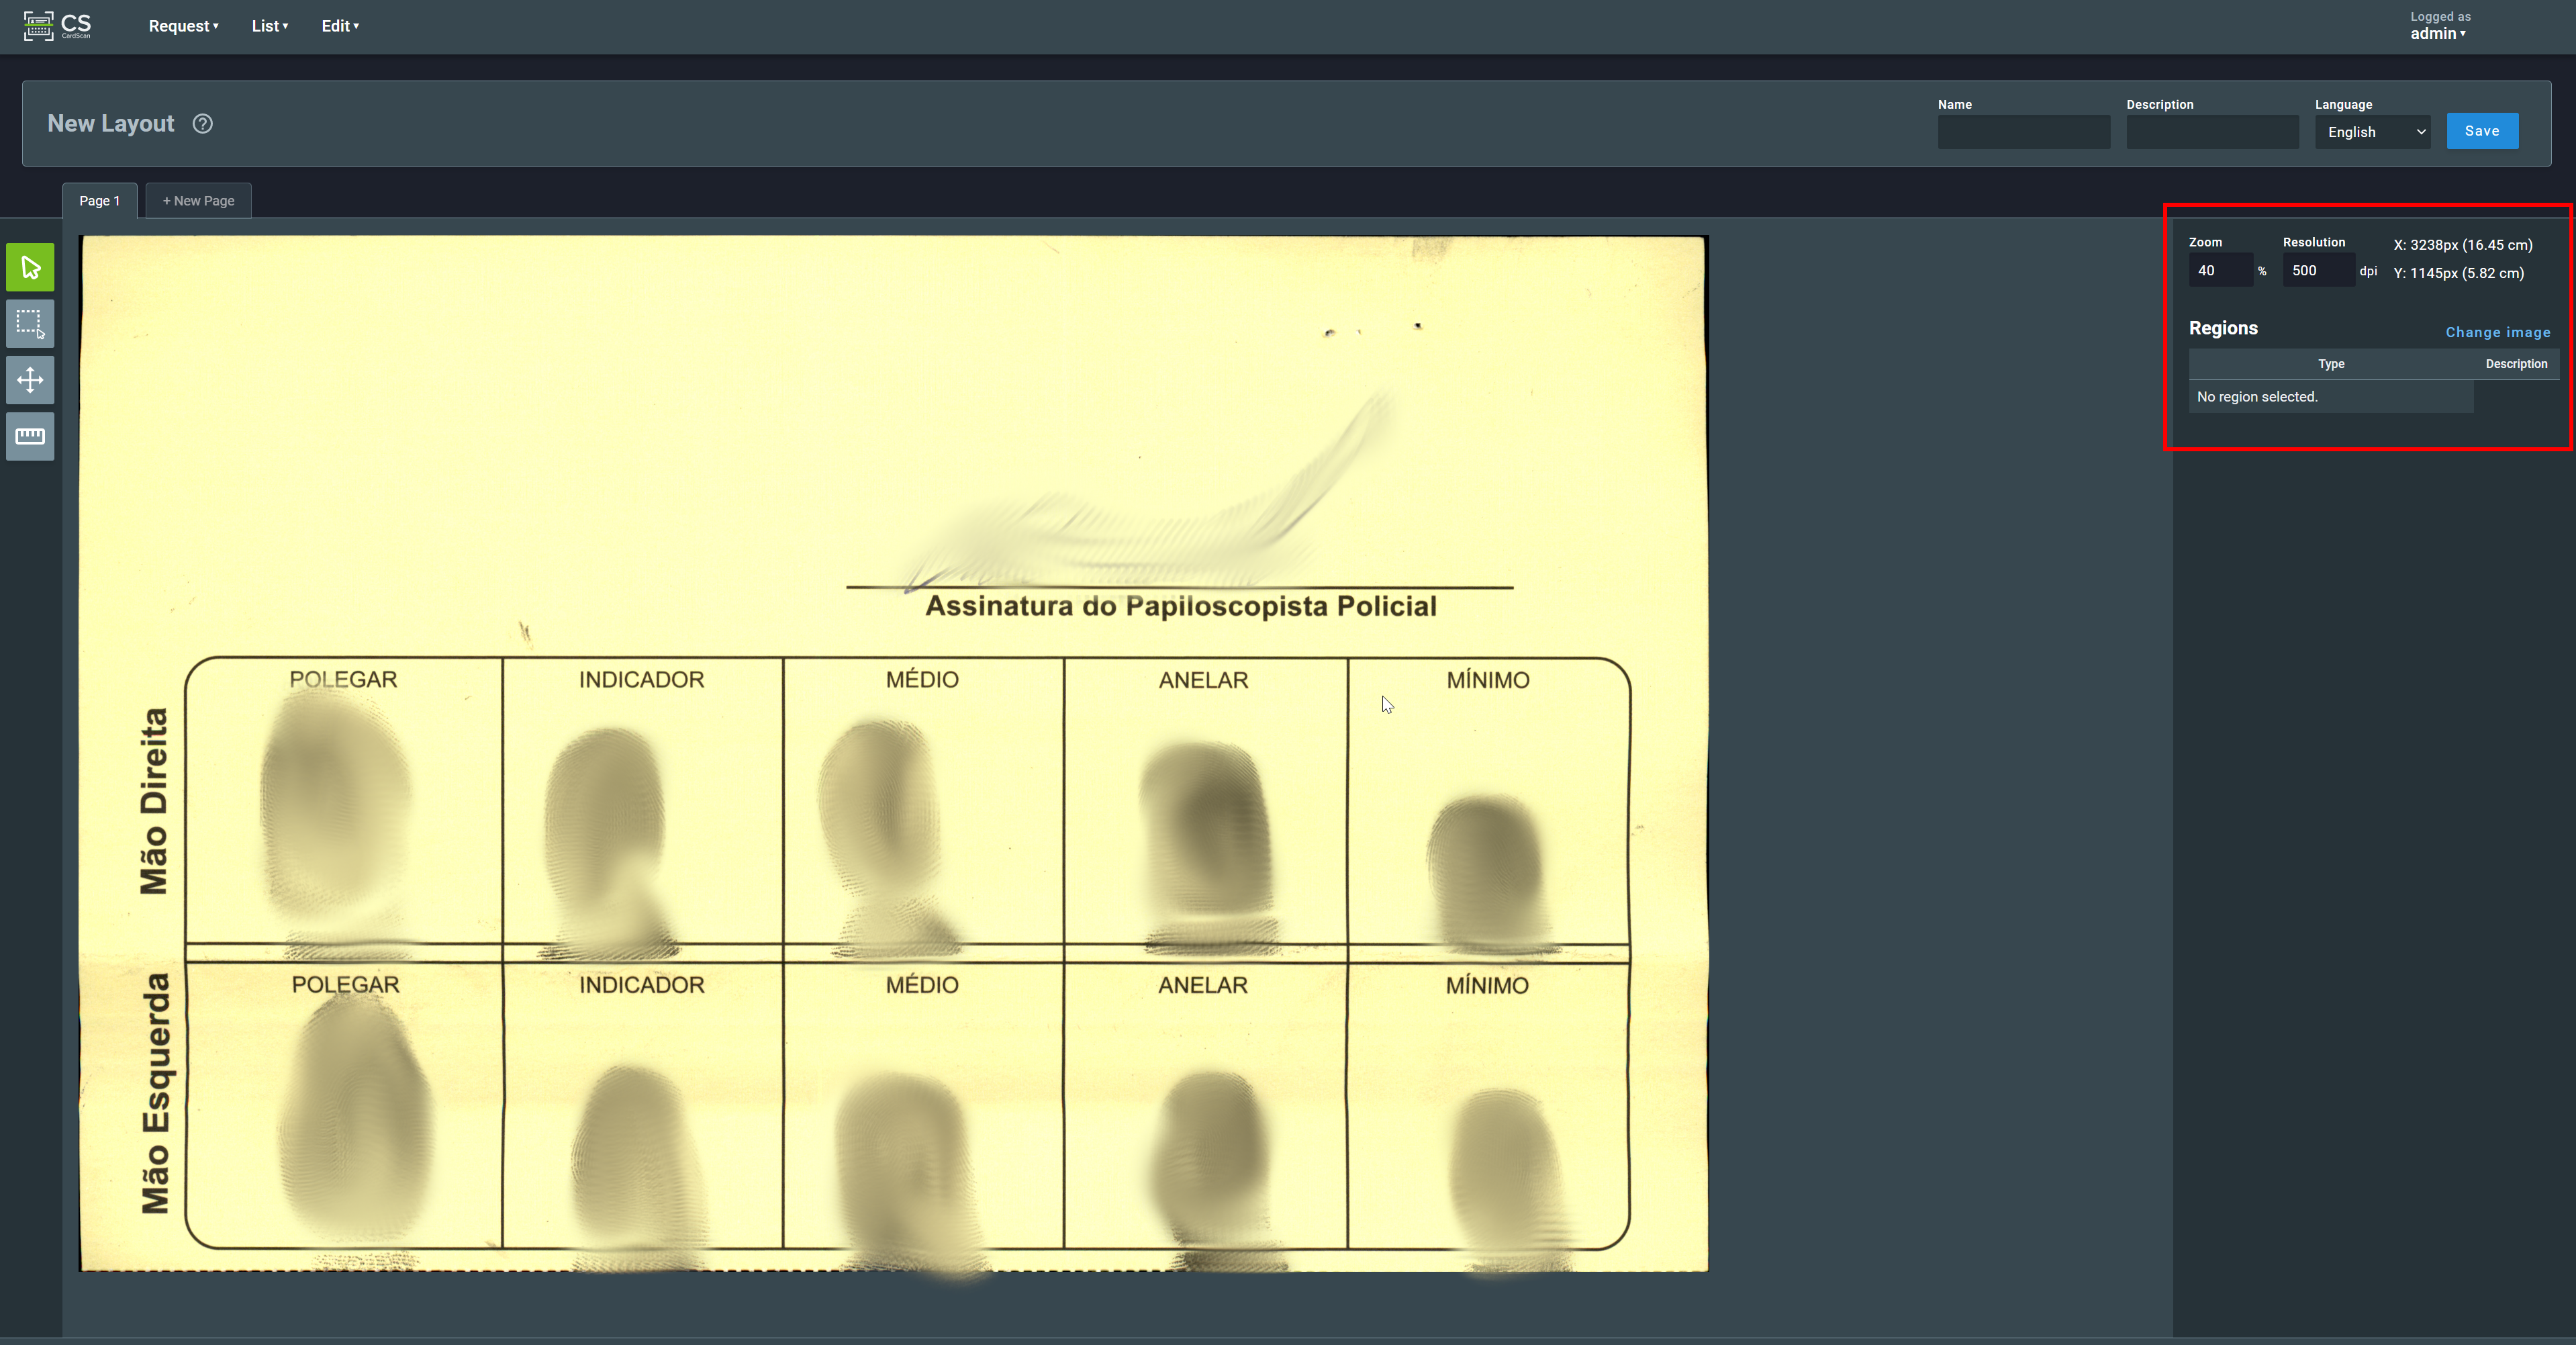
The user can also click on Adjust resolution on the toolbar on the left side:
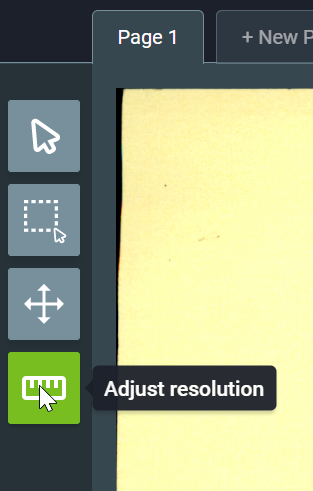
Select the desired unit of measurement and inform the distance that will be marked on the image:

In this example, the first (1) step informs 5 cm as the distance that will be marked on the image for measurement. The second step (2) is marking the distance on the image. After steps 1 and 2, the application will automatically inform the resolution (3), in this case: 354 dpi.
Warning
The minimum resolution allowed is 300 dpi.
The following information can be added to the layout:
Name
A free-form identifier for the layout.
Description
Description of the layout. A description of the layout (e.g.: “state records form, 1985-1993”)
Language
The language the information is written on the cards.

3.1.3. Create region
Next, the user should specify one or more regions of the image that contain biometric, biographical, or label data.
In the tools menu, click on Extract region from rectangle tool:
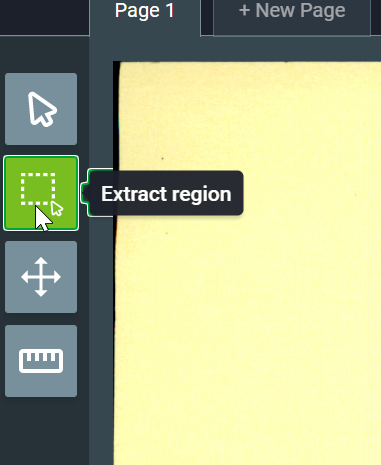
Click and drag the mouse to define a rectangle, and then use the right sidebar to enter the details of the region:

It is possible to adjust the position and size of the region. In this screen, the user can also alter the following settings:
Angle:
- No rotation: no change in the region created
- Rotate 90° Clockwise: rotate the created region by 90 degrees clockwise
- Rotate 90° Anti-Clockwise: rotate the created region by 90 degrees anti-clockwise
- Invert: 180° rotation
Type:
- Fingerprint: choose this option if the region has fingerprints.
- Palmprint: choose this option if the region has palmprints.
- Signature: choose this option if the region has a signature.
- Key: choose this option if the region has a key for this person. This key will be stored on the GBS database.
- Biographic: choose this option if the region has biographic information for this person. This information will be stored on the GBS database.
- Label: choose this option if the region has a label for this person. This label will be stored on the GBS database.
Fingerprint capture subtype:
- Single Fingerprint: choose this option if the created region corresponds to a single finger capture.
- Two Thumbs: choose this option if the created region corresponds to a capture of two thumbs.
- Two Fingerprints: choose this option if the created region corresponds to a capture of two fingers.
- Four Fingerprints: choose this option if the created region corresponds to a capture of four fingers.
Fingerprints:
This option is affected by the subtype. If the subtype is a single finger, the user should select the index of one finger. If the subtype is a two-finger, the user should inform the indexes of the two fingers.
Palmprint capture subtype:
- Left Interdigital
- Left Thenar
- Left Hypothenar
- Right Interdigital
- Right Thenar
- Right Hypothenar
- Left Full
- Left Writer
- Right Full
- Right Writer
Face capture subtype:
- Frontal face
- Left Mugshot
- Right Mugshot
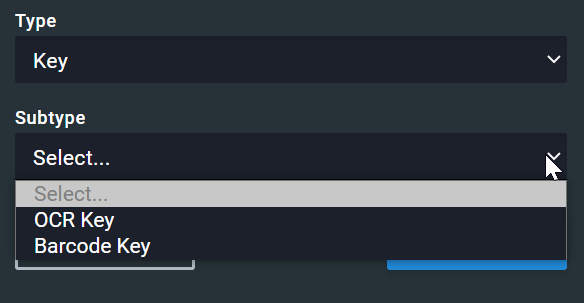
Key subtype:
- OCR (key): This option indicates a key field that will be interpreted by OCR (optical character recognition)
- Barcode (key): This option indicates a key field that will be read as a barcode
Key fields:
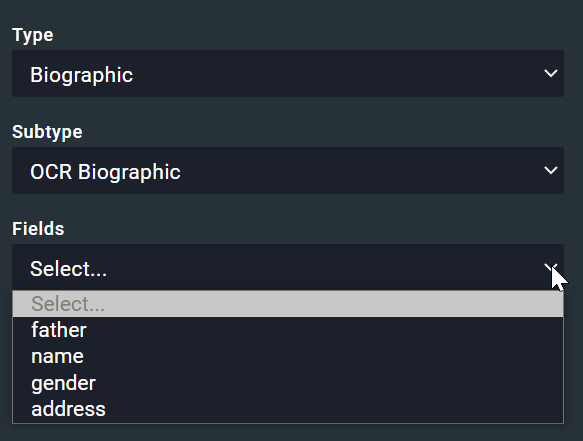
Biographic subtype:
- OCR (biographic): This option indicates a biographic field that will be interpreted by OCR
- Barcode (biographic): This option indicates a biographic field that will read as a barcode
Biographic fields:
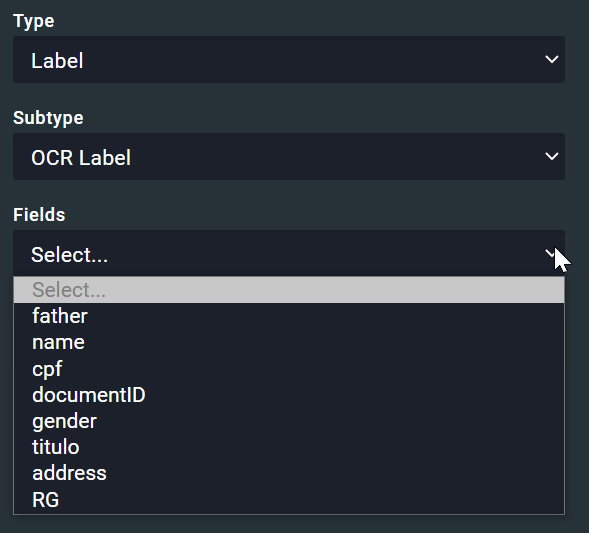
Label subtype:
- OCR (label): This option indicates a label field that will be interpreted by OCR
- Barcode (label): This option indicates a label field that will read as a barcode
Label fields:
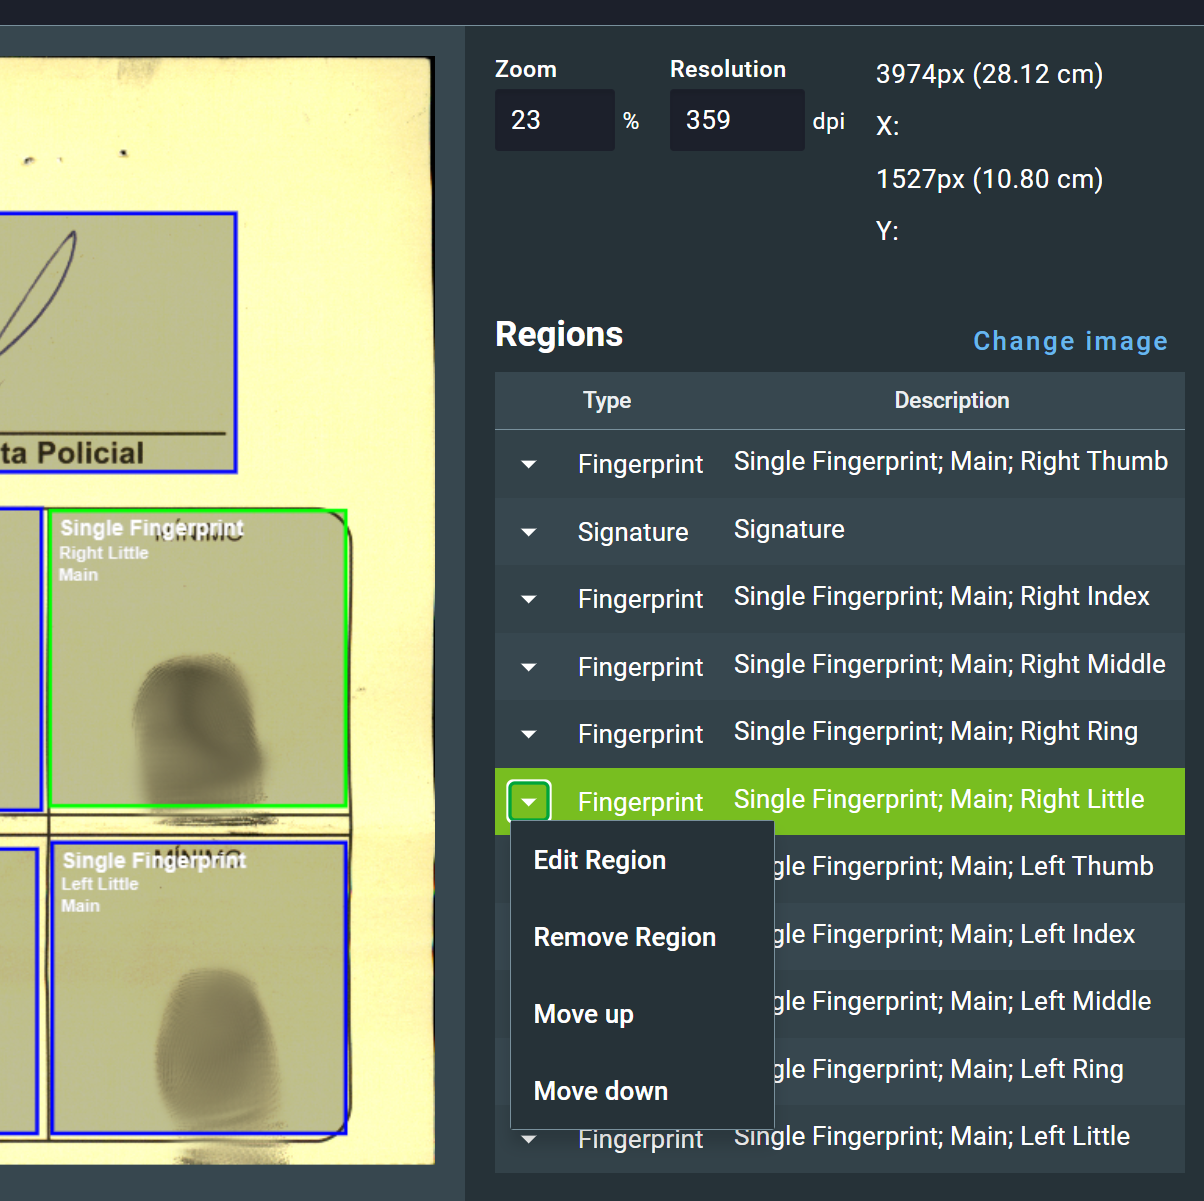
When region creation is completed, the image will have the regions assigned as shown below:
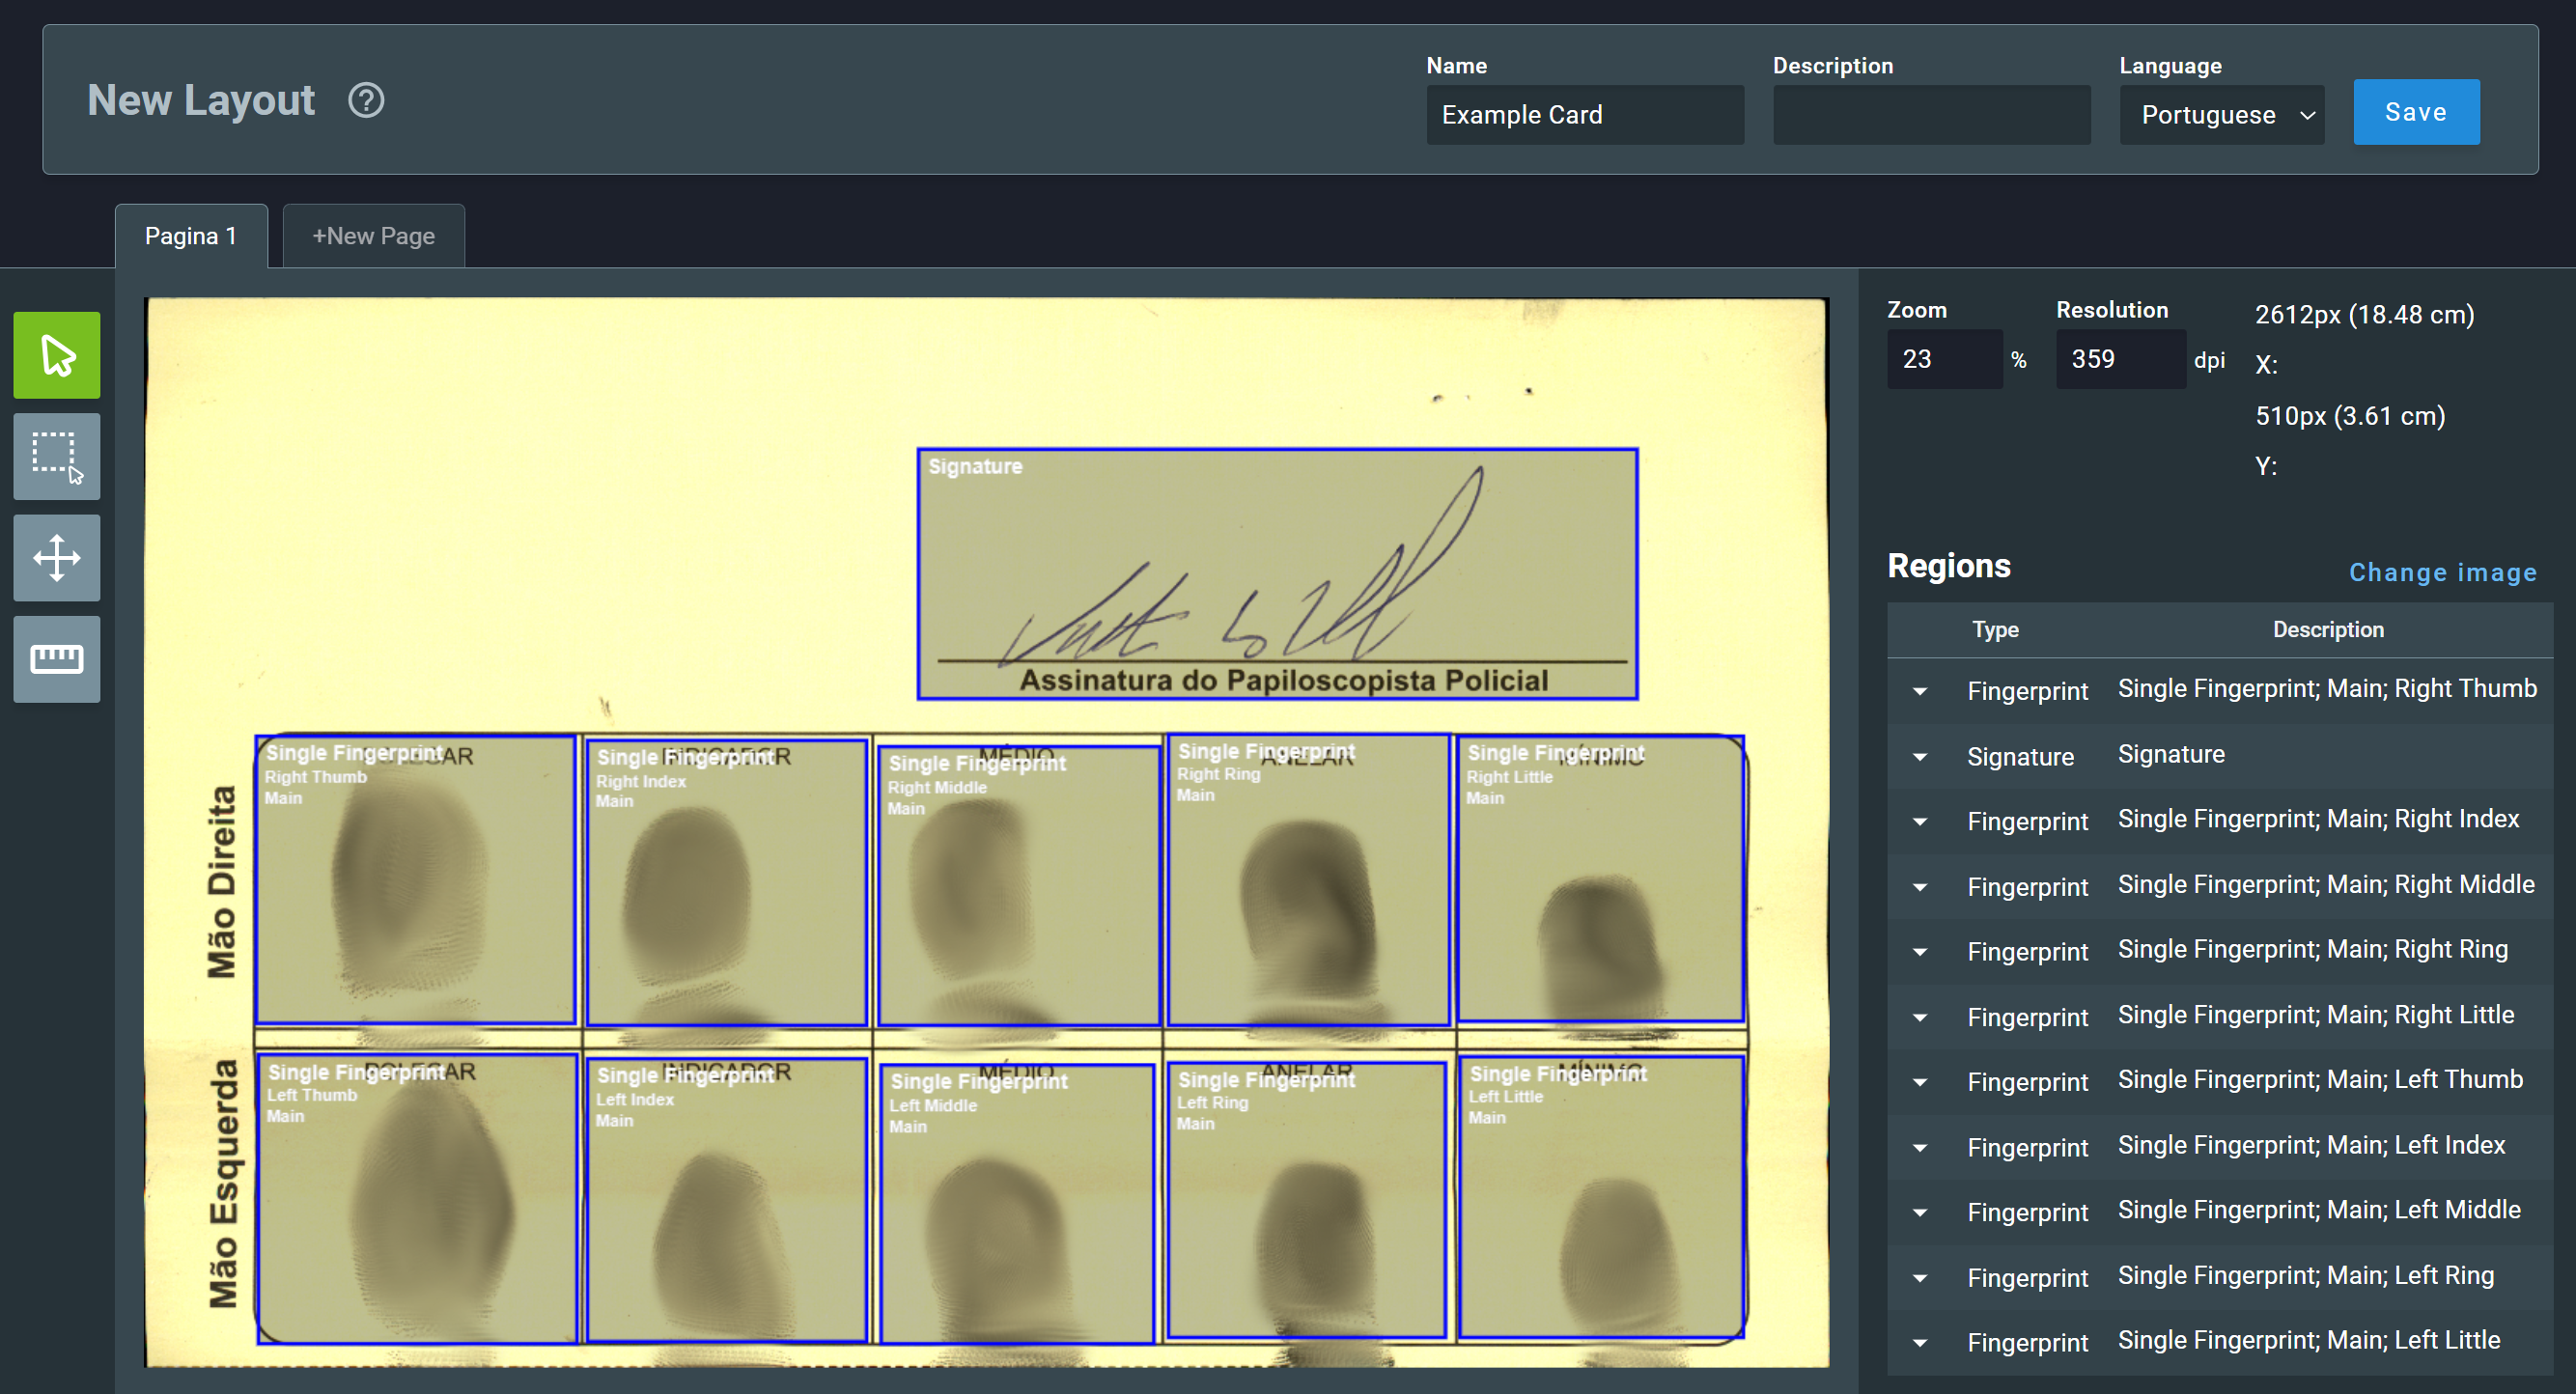
To adjust any created region, click on it. Its details will be highlighted on the sidebar and a list of options will be shown:
