1. Introduction
GBS Intelligence is a web application that performs searches on GBDS database to match textual values in identifiers (PGUID, TGUID), key, biographical, and label fields.
This manual is updated for Intelligence version 1.6.1.
1.1. Access and Authentication
You should access Intelligence with a browser, and we recommend Google Chrome. The URL for access is specific to each deployment.
Note
If necessary, contact the Griaule Support Team to obtain the correct URL.
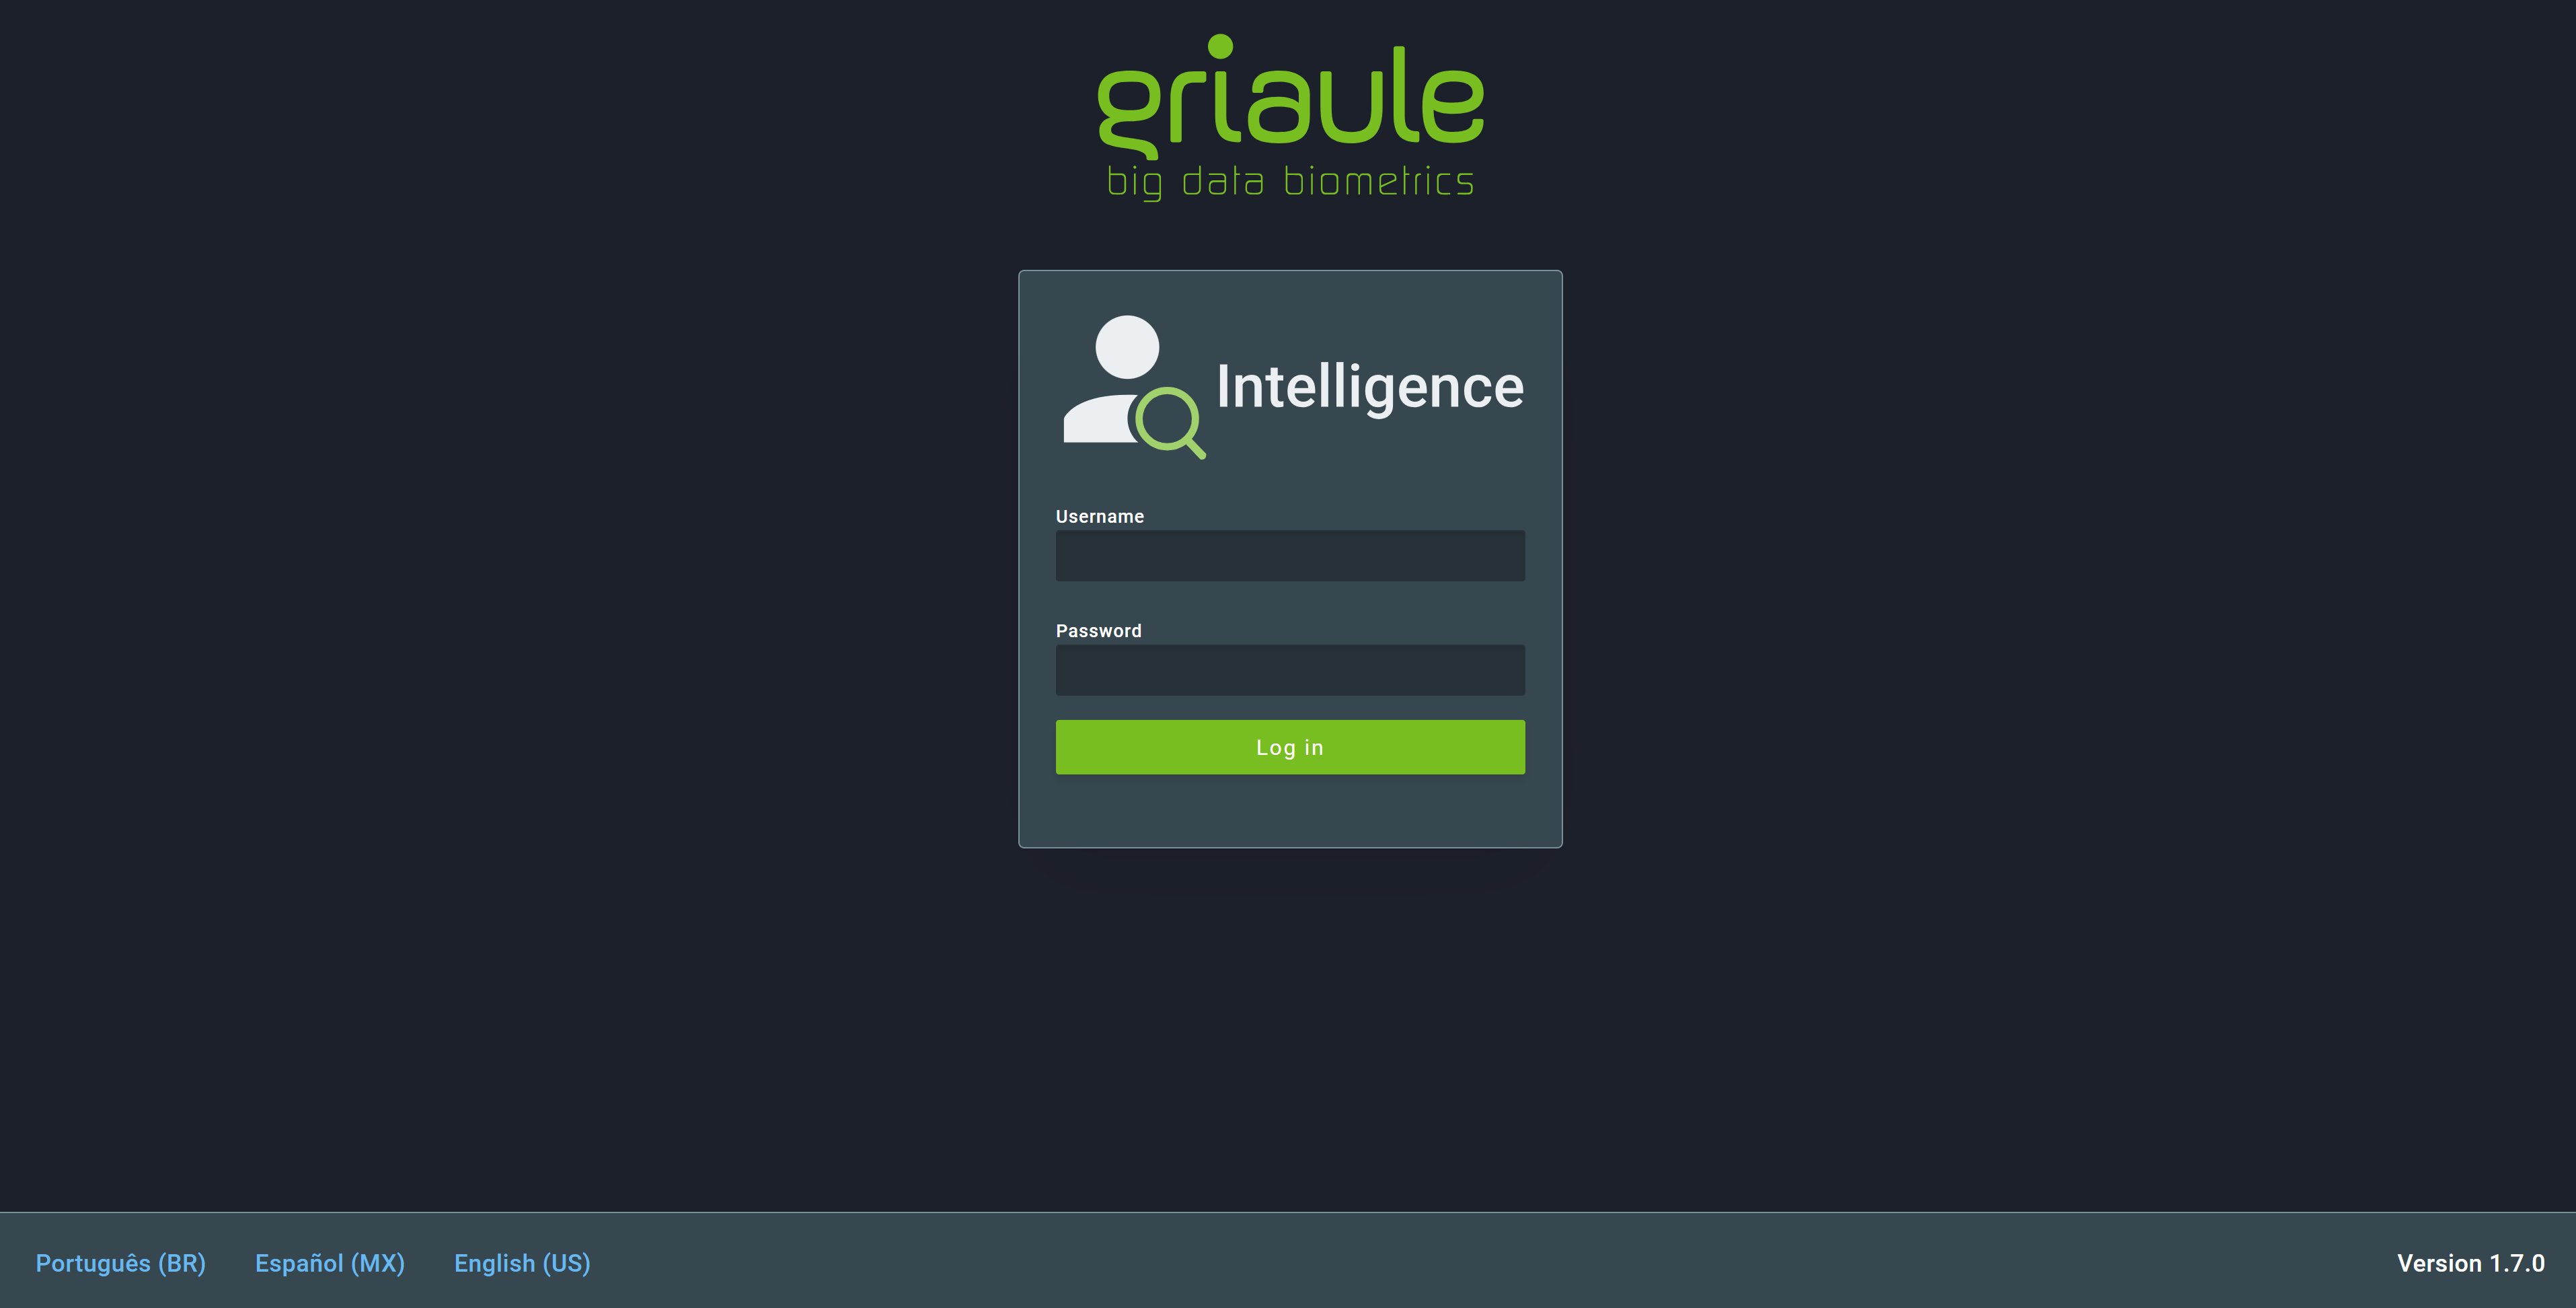
Authentication is required to access the application. The credentials needed by Intelligence are username and password.
Note
At the bottom of the screen there is an option to change the language to the desired one. This option is also available at the settings after login.
1.2. Two-factor Authentication (2FA)
When two-factor authentication (2FA) is turned on, the first time you try to log in, after entering your username and password, you’ll be shown a QR Code that must be registered in Google Authenticator.
Note
Google Authenticator is a time-based code generator that is available as an application for Android and iOS smartphones.
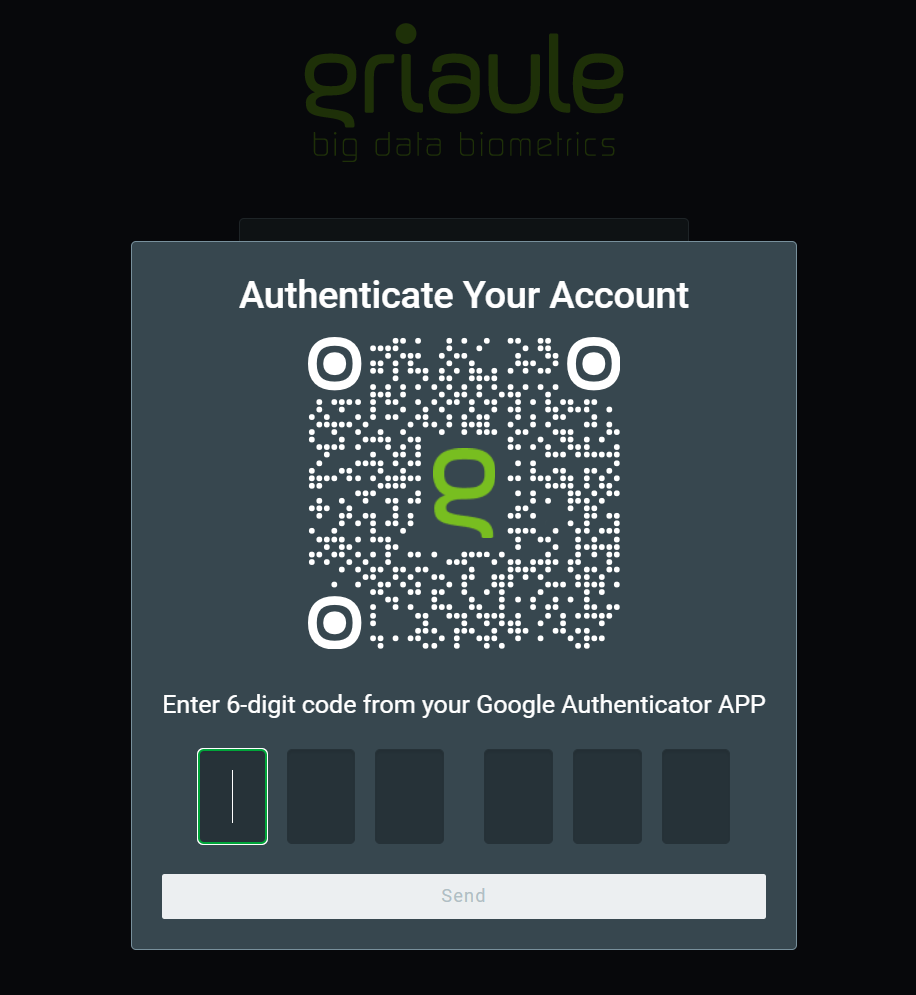
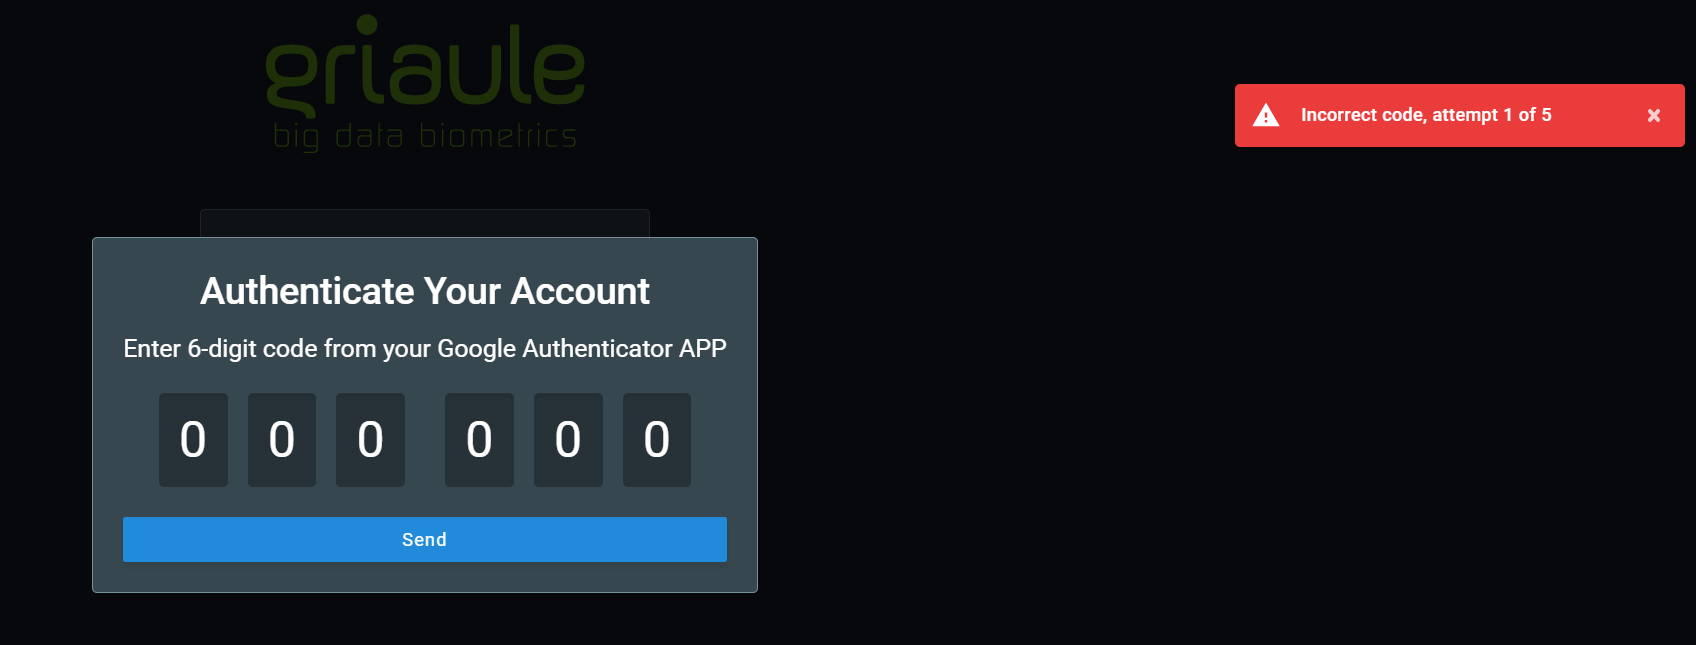
After successfully registering the QR Code in Google Authenticator, enter the unique time-sensitive 6-digit code and click on Send.
You will only need to register the QR Code once. But for each subsequent login, you will be asked to enter the 6-digit code generated by Google Authenticator.
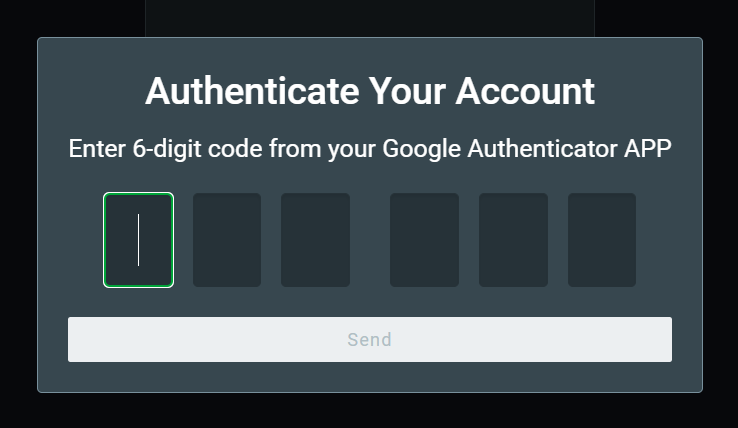
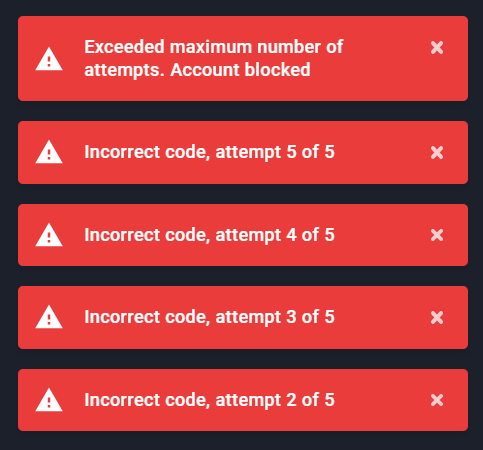
There is a limited number of unsuccessful login attempts a user can make. Every time an incorrect code is entered, an error message will be shown:
If you reach the maximum amount of unsuccessful login attempts, your account will be automatically blocked.
Warning
If your account is blocked, contact your system administrator.
1.3. Simultaneous Login and Browser Enrollment
Only one session per user is allowed. It is not possible to log in with the same profile more than once in the application. If an user is already logged in and another access happens using the same username and password, the user with the oldest session will be warned and logged out in their next action.
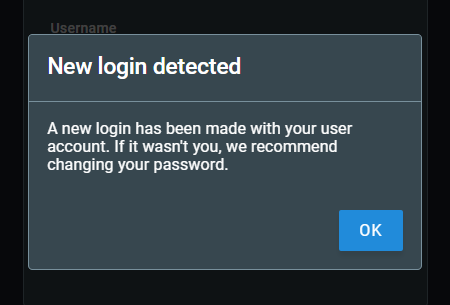
Also, only one browser may be used at a time. When trying to log in using a different browser, the user will be informed that it is necessary to authenticate the new browser. The authentication of a new browser will revoke the access from the previous one.
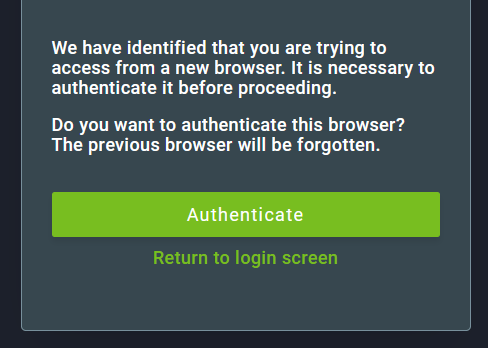
To authenticate a new browser, click on Authenticate and then enter the verification code that will be sent to the email linked to the user account.
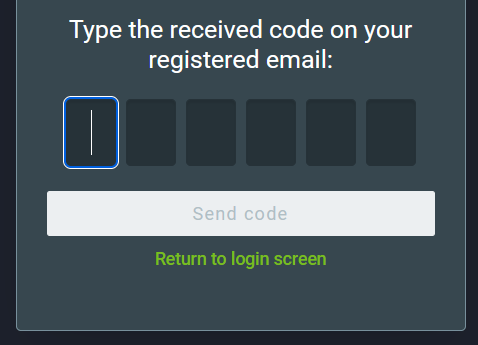
If the authentication is successful, a notification will appear on the upper-right corner of the screen after logging in.

1.4. Reset your Password
You can reset your password if you forget it.
To reset your password, on the login screen, click on Forgot your password?:
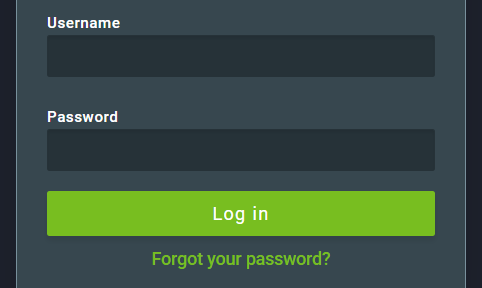
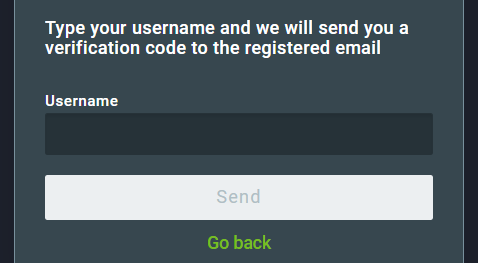
Then, enter the profile username and click on Send.
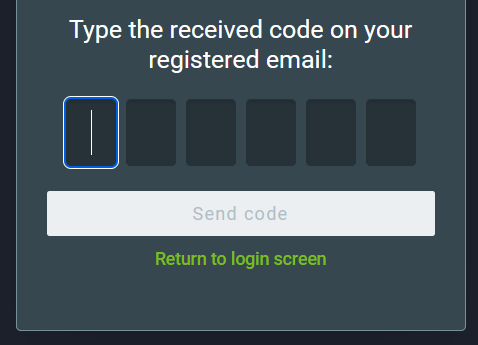
An email containing a verification code will be sent to the email address linked to that profile. Enter the verification code and click on Send code.
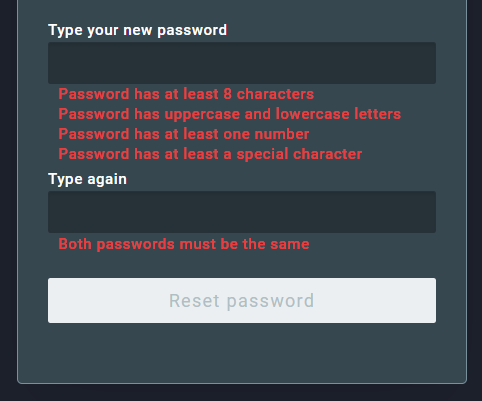
If the code is correct, you will be able to create a new password. Enter the new password two times. Make sure to meet the password requirements, they are listed under the new password field and will turn green when met. Finally, to confirm the reset, click on Reset password.
2. User Interface
2.1. Home Screen
The home screen shows a simple search page:
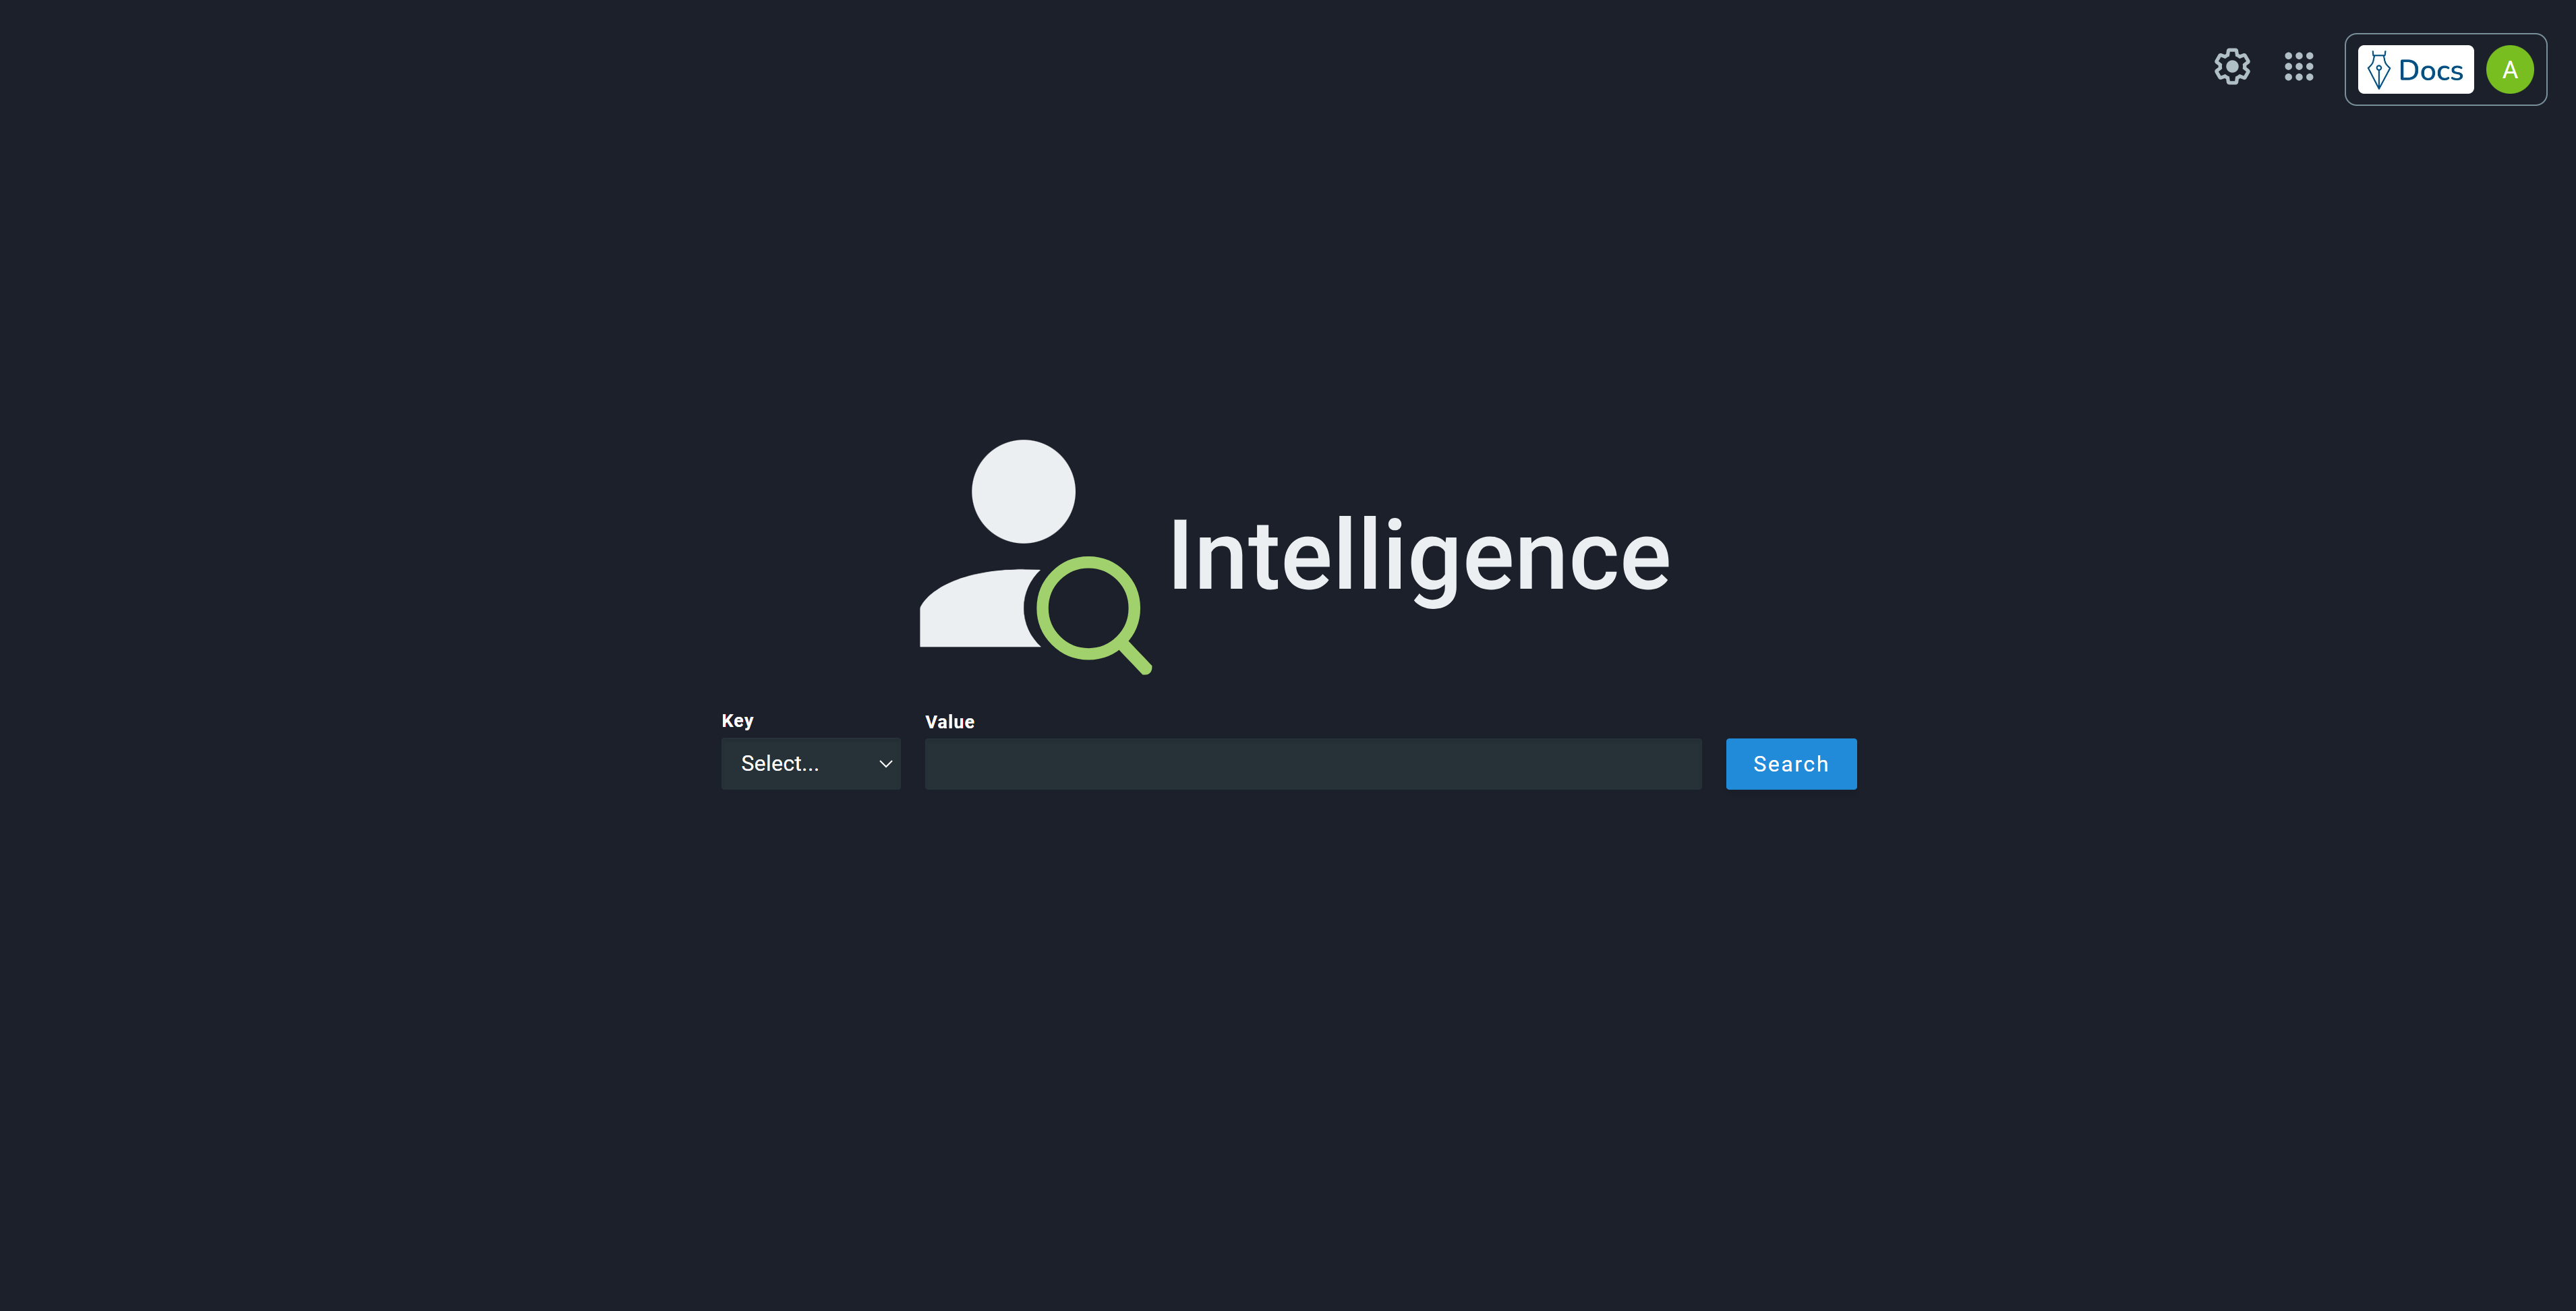
The TGUID and PGUID as well as the existent keys and biographics configured in the settings database are shown in the dropdown menu on the left:

The text typed in the search bar refers to the selected option. For example: typing “John” with the “name” key selected will perform a search for the word “John” in the name field. By filling the search items with valid information, clicking on the “Search” button will redirect the user to the search results page.
2.2. Search Results Screen
If no results were found with the given parameters, the search results page will show a “No results found” message.
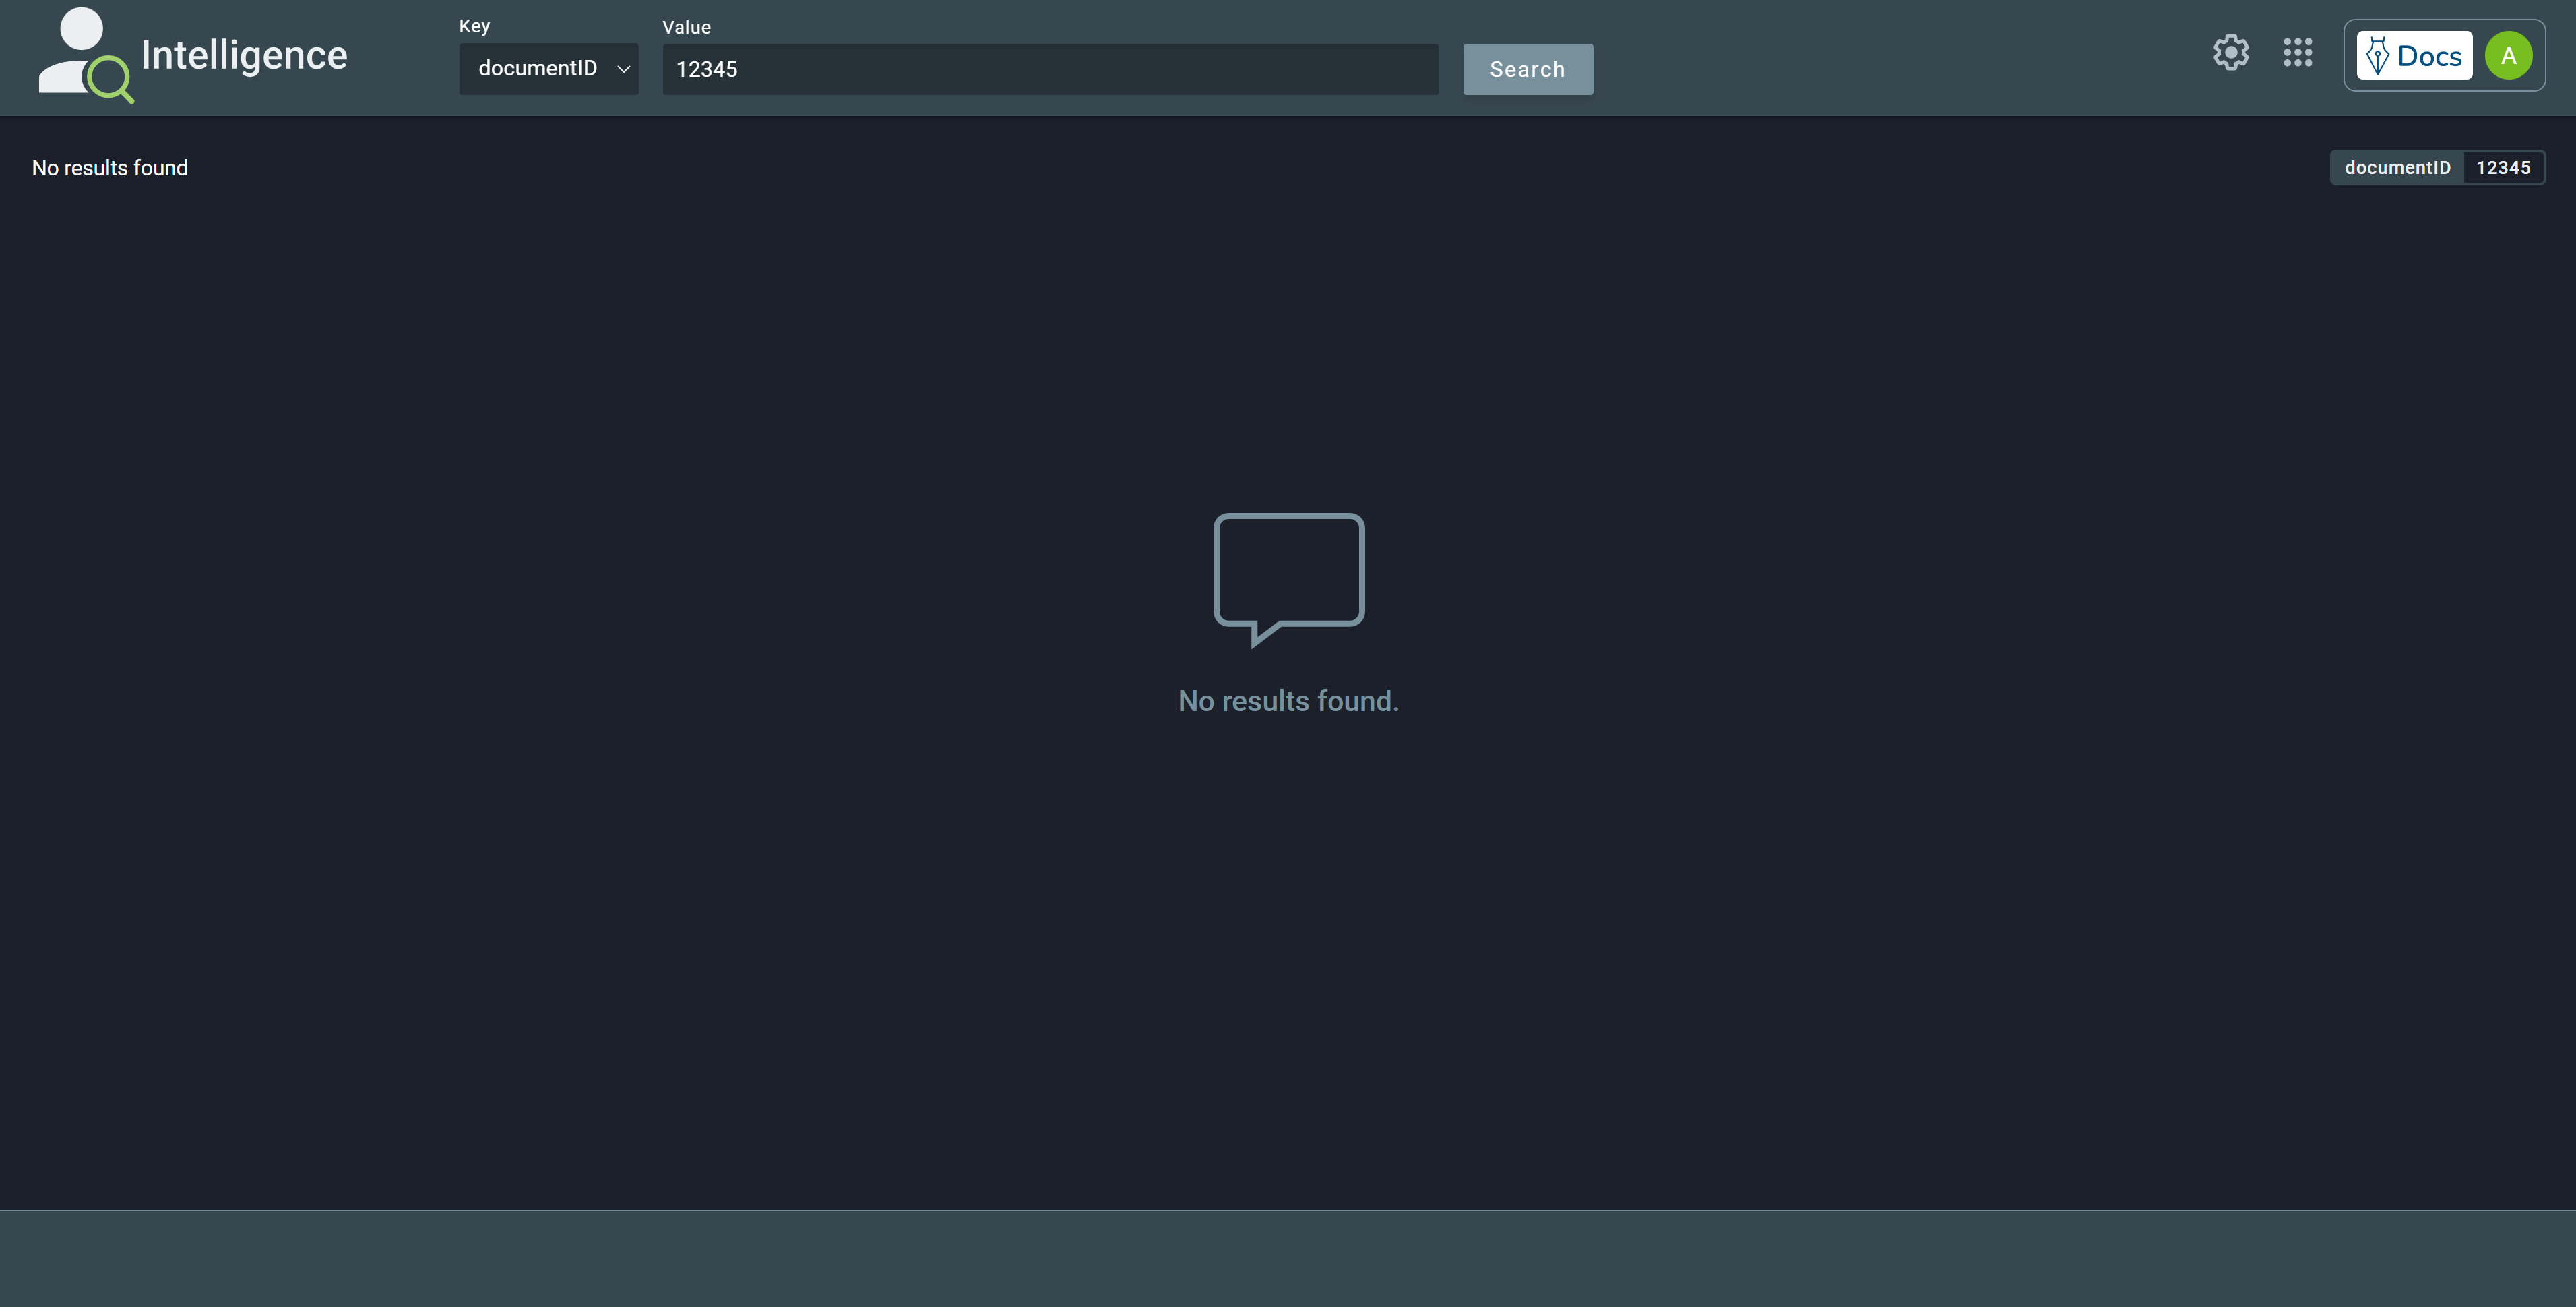
The current search parameters are shown on the top right. Using the header bar, it is possible to edit the parameters and submit a new search.
If valid results are found, a list of items will be shown on the search results page.
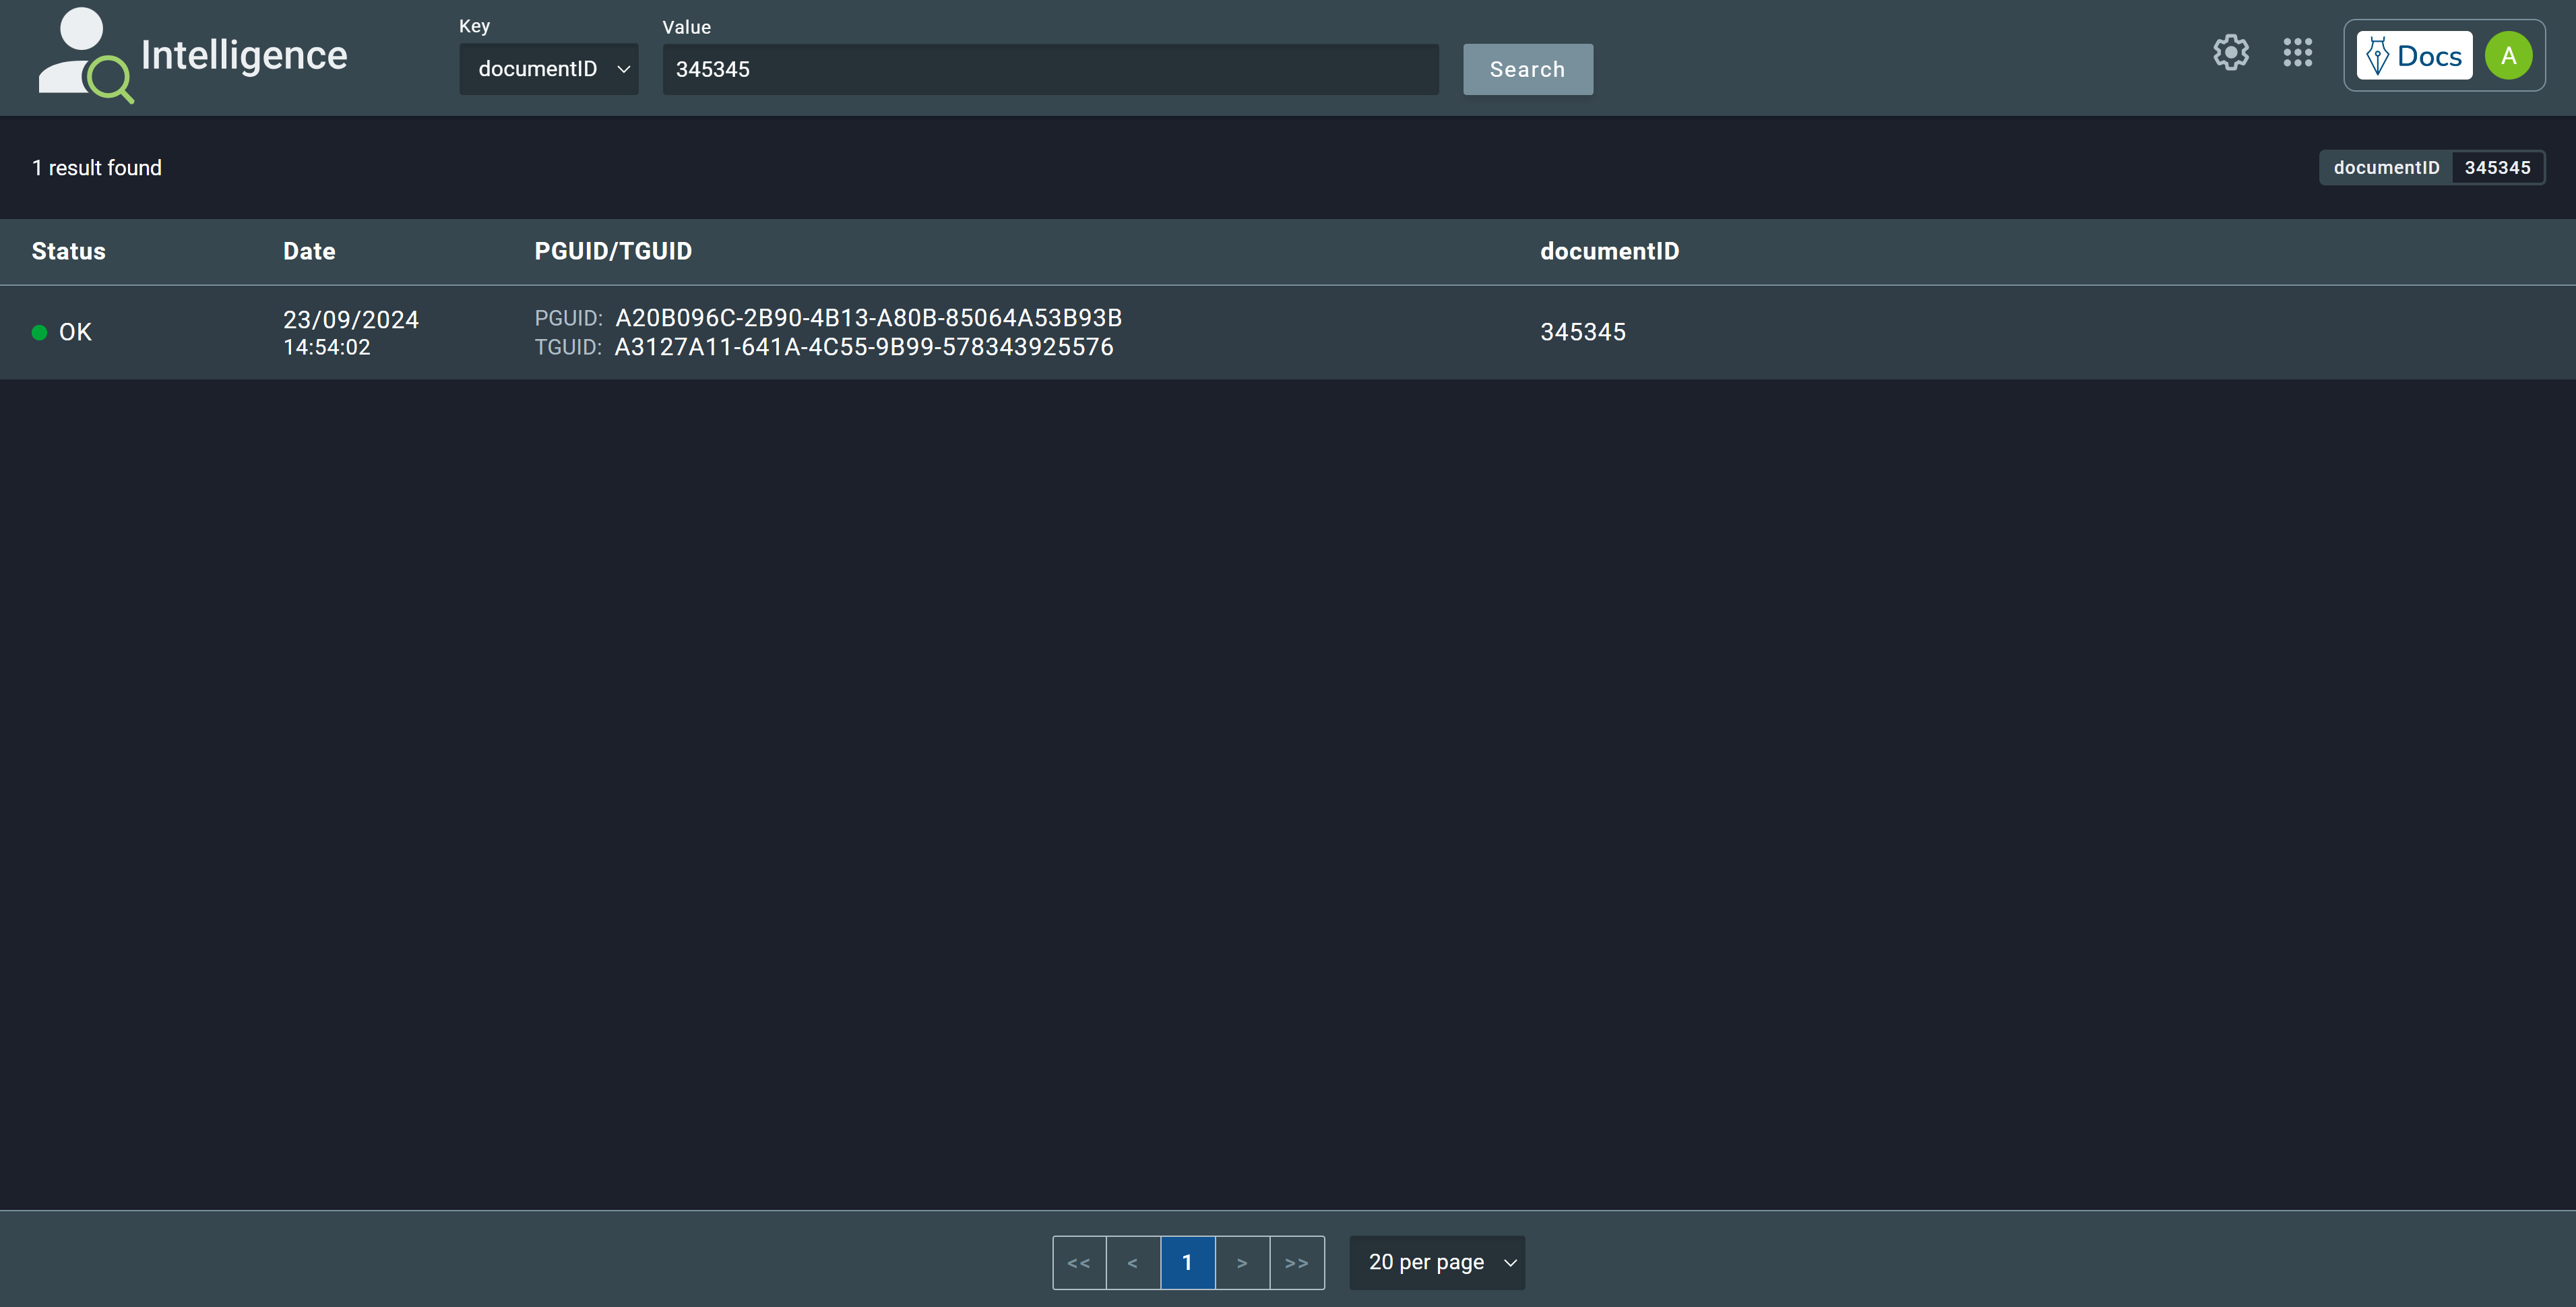
It is important to notice that, depending on the transaction status, the person associated to the transaction may not yet be available to be searched on Intelligence, which causes a scenario where a transaction search may return a valid PGUID number in its results, but performing a search with this PGUID will return no results until the GBDS status changes by the transaction processing workflow. Transaction status can be seen on the results list as well as in the ‘Transaction data’ on the transaction details page.
The result cards can be clicked to be open on a detailed page.
2.3. Transaction Screen
Clicking on a TGUID search result will lead to a new screen showing the transaction details:
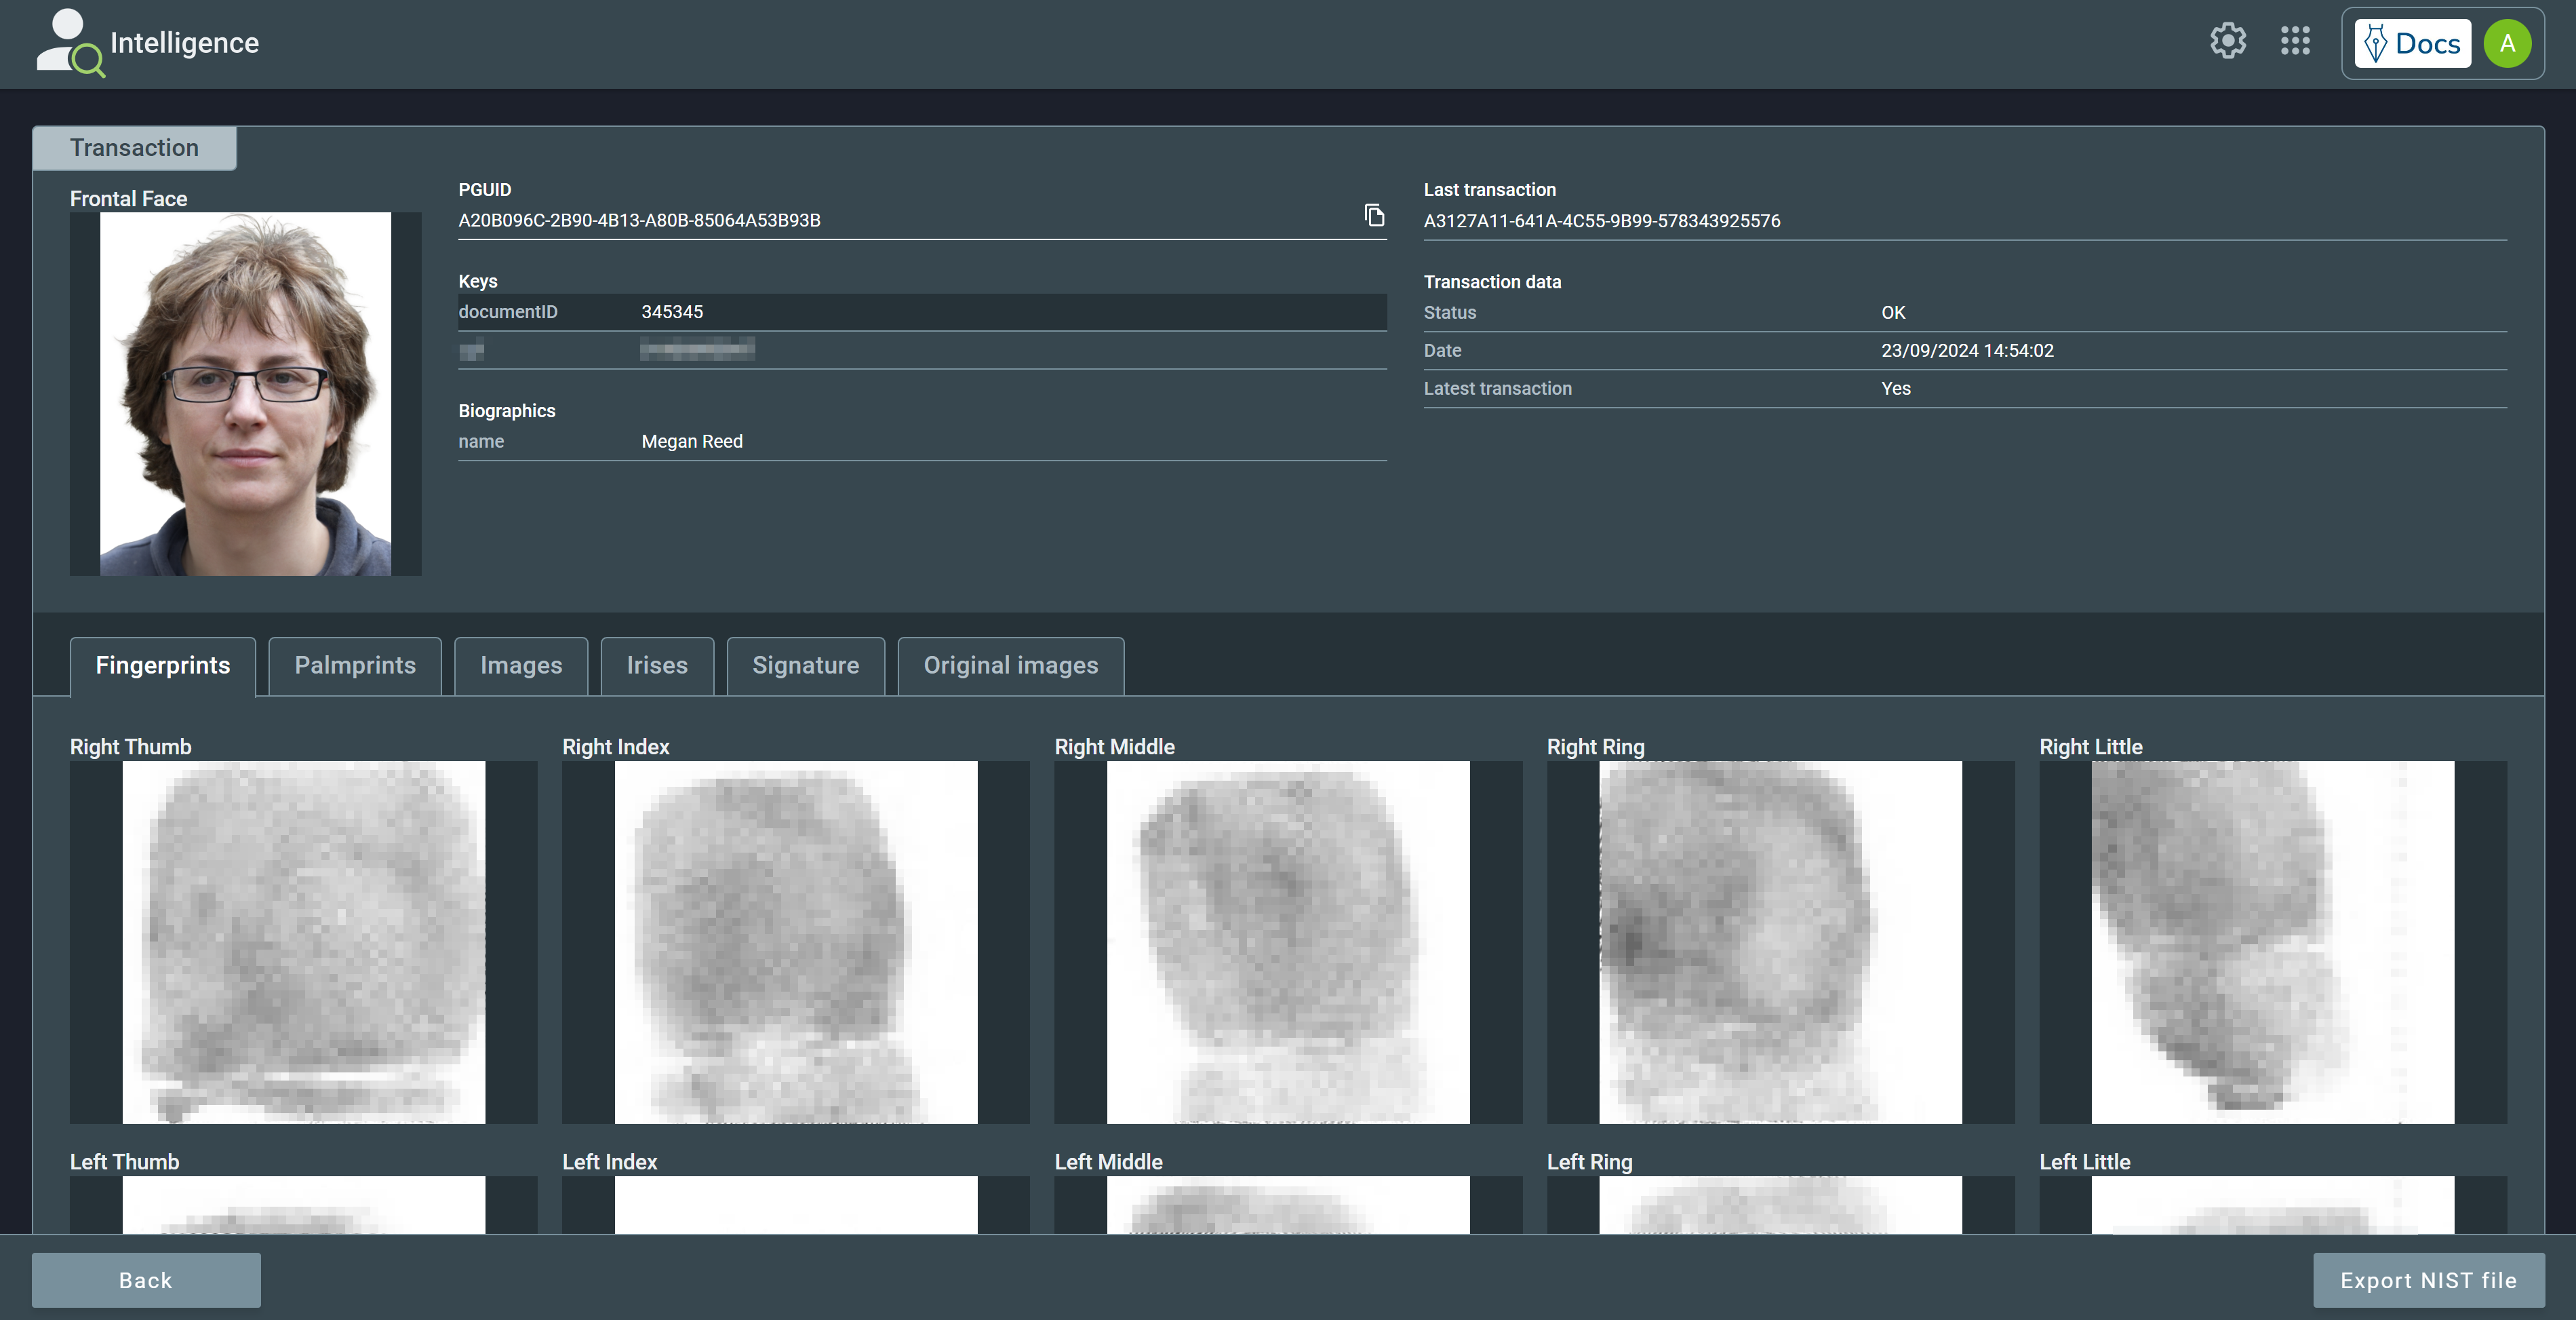
There are six possible statuses for a transaction:
| Status | Description |
|---|---|
| Sent to GBDS | Transaction was sent to the ABIS. |
| Processing | Transaction is being processed in the ABIS. |
| OK | Transaction was successfully processed by the ABIS. |
| Exception | Transaction is in an exception state awaiting treatment in GBS ETR. |
| Failed | Transaction processing failed in the ABIS. |
| Pending | Transaction is pending treatment in GBS MIR. |
On the bottom half of the page, the biometric data is shown and can be accessed by navigating through the tabs, depending on which modalities are present in the current transaction.
2.4. Profile Screen
Clicking on a PGUID or key search result will open a new screen showing the profile details:

As in the transaction screen, the biometric data of the profile can be viewed in one tab per modality. Also, on the top right corner of the card, the history of transactions involving this profile is shown. Clicking on one of its lines will perform a TGUID search with its value.
2.5. Settings and Shortcuts
In the top right corner of the screen, there are three icons that provide access to:
2.5.1. Settings
To access settings, click on the gear icon:
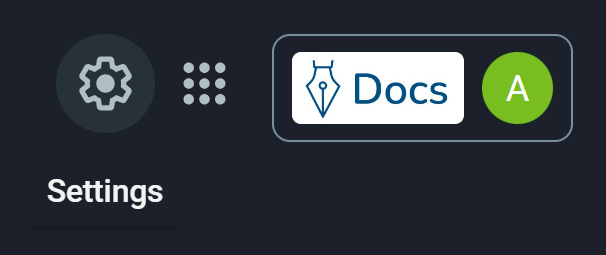
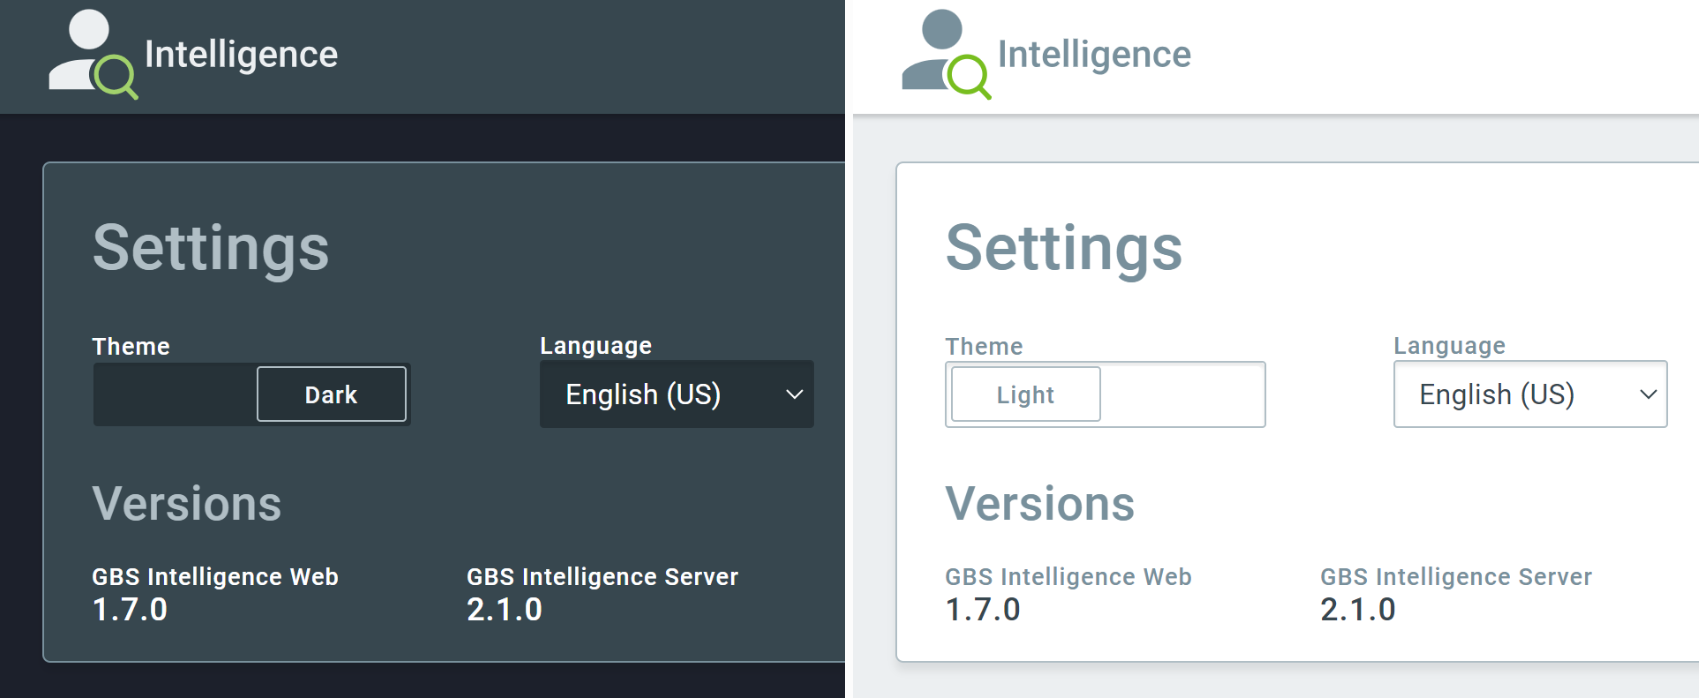
This section allows the user to change some aspects of the interface:

- Theme: Light or Dark;
- Language: Portuguese, English, or Spanish;
- Date Format: dd/mm/yyyy, mm/dd/yyyy, or yyyy/mm/dd;
- Time Format: 12-hour (AM/PM) or 24-hour clock.
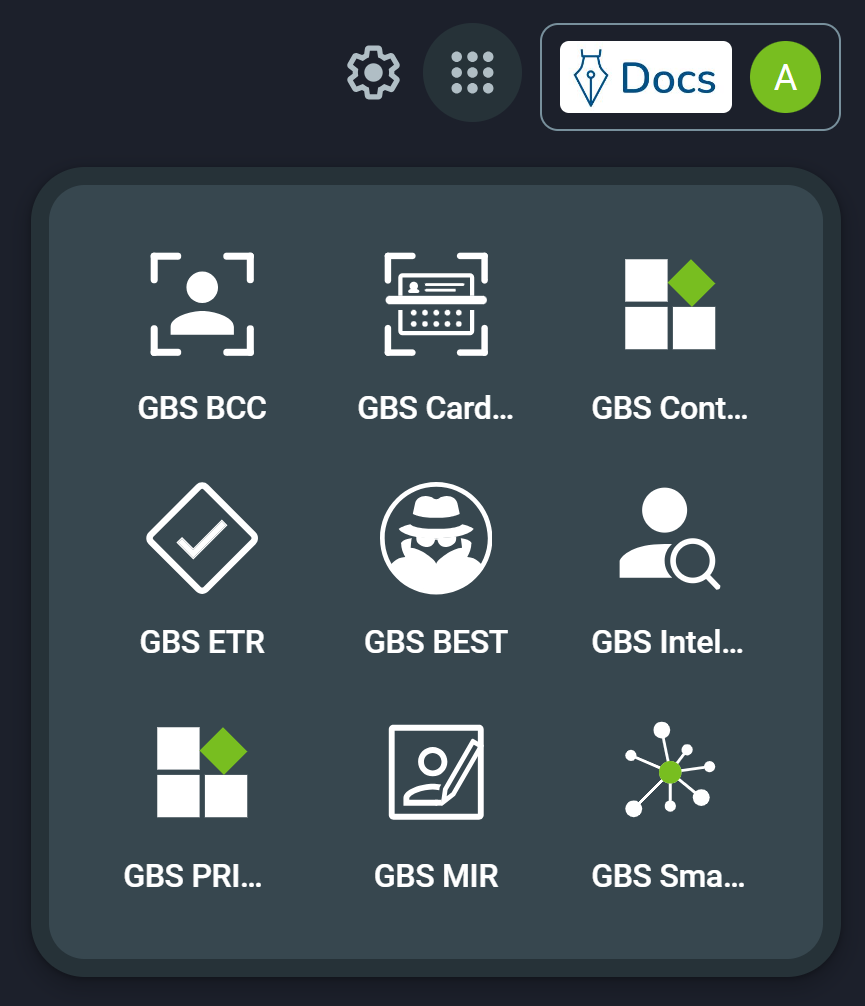
2.5.2. Applications
To access the shortcuts to other GBS applications, click on:
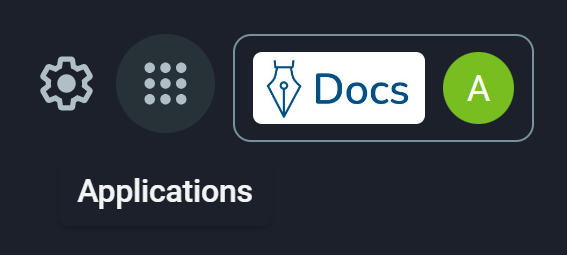
Then, click on the icon of the application you want to access:
Note
Only the icons for the applications the user has access to will be displayed.

