1. Introduction
GBS MIR (Manual Image Review) is an application designed to help examiners treat biometric enrollment transactions that require manual review. This step is necessary when the quality of the captured biometrics does not satisfy the minimum requirements, there are duplicated fingers, or any main fingerprint capture does not match the sequence control. You can choose to correct and approve or reject biometric enrollment transactions profiles using this application.
This manual is updated to GBS MIR version 1.5.1.
1.1. Access and Authentication
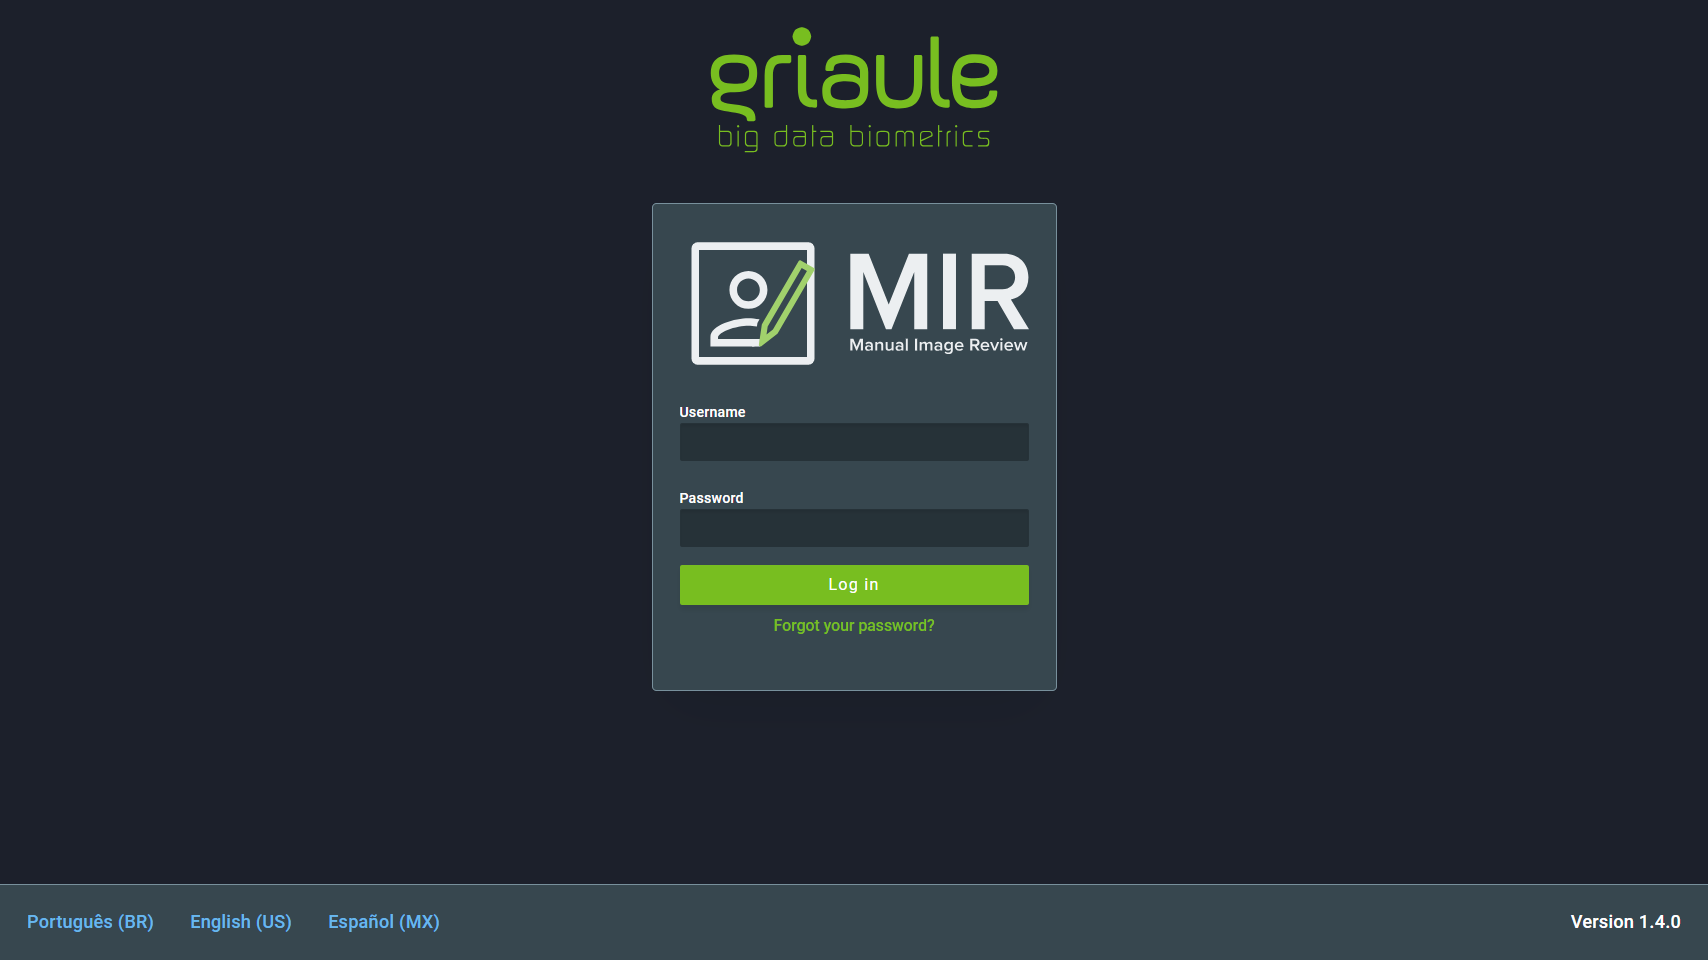
You should access MIR with a web browser, and we recommend Google Chrome. The URL for access is specific to each deployment.
Note
If necessary, contact the Griaule Support Team to obtain the correct URL.
Authentication is required to access the application. The credentials needed by MIR are username and password.
Note
At the bottom of the screen, there is an option to change the language to the desired one. This option is also available at the settings after login.
1.2. Two-factor Authentication (2FA)
When two-factor authentication (2FA) is turned on, the first time you try to log in, after entering your username and password, you’ll be shown a QR Code that must be registered in Google Authenticator.
Note
Google Authenticator is a time-based code generator that is available as an application for Android and iOS smartphones.
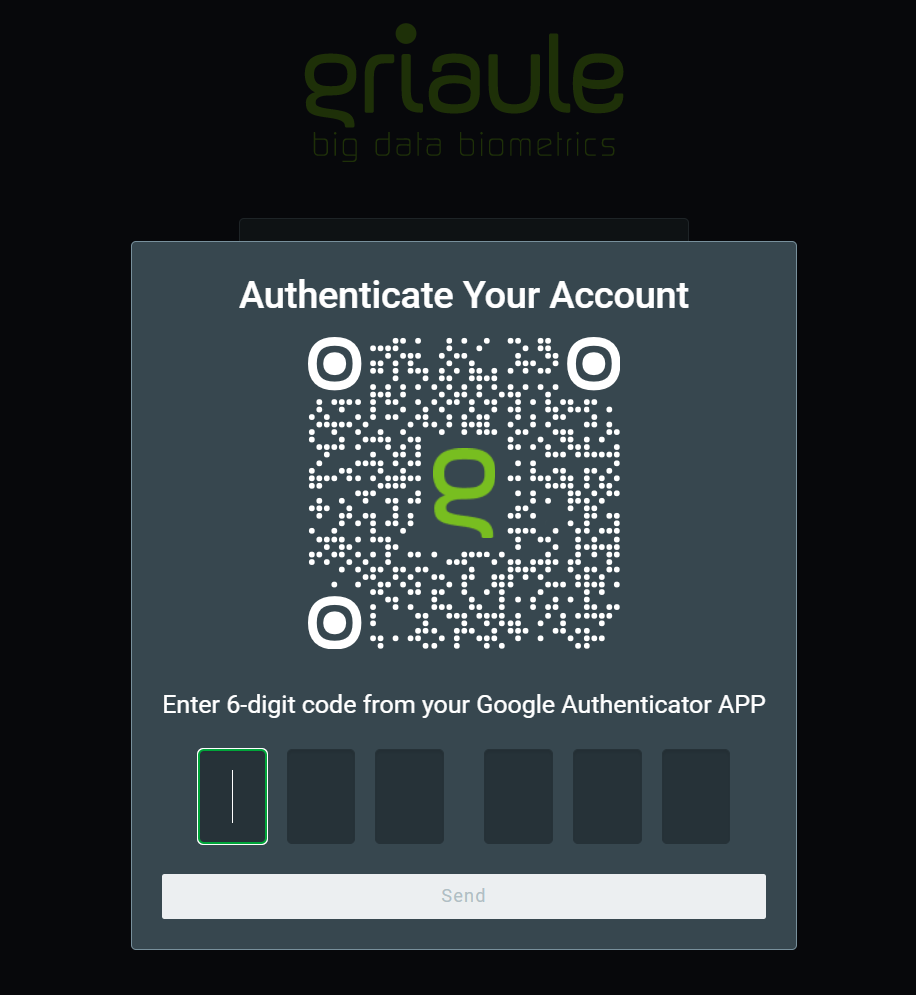
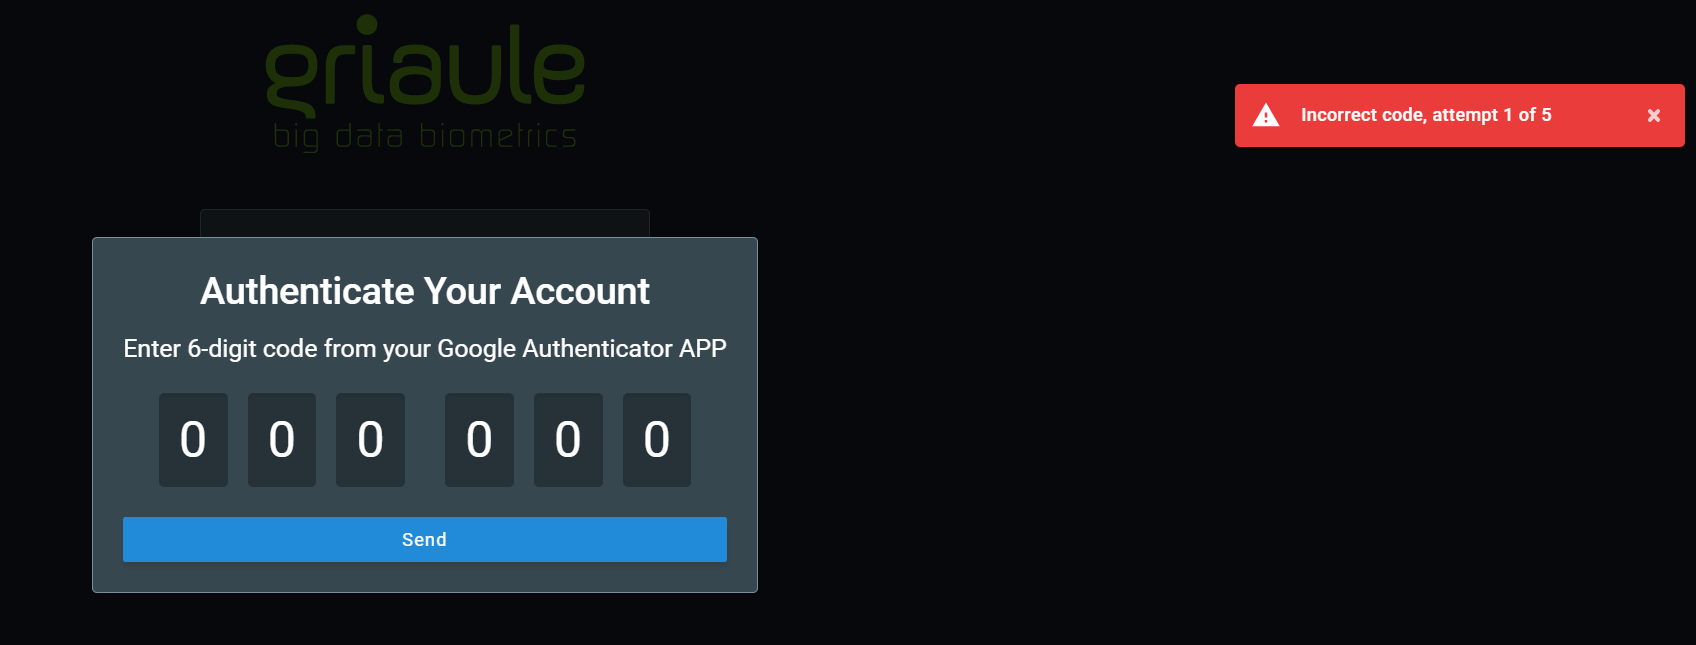
After successfully registering the QR Code in Google Authenticator, enter the unique time-sensitive 6-digit code and click on Send.
You will only need to register the QR Code once. But for each subsequent login, you will be asked to enter the 6-digit code generated by Google Authenticator.
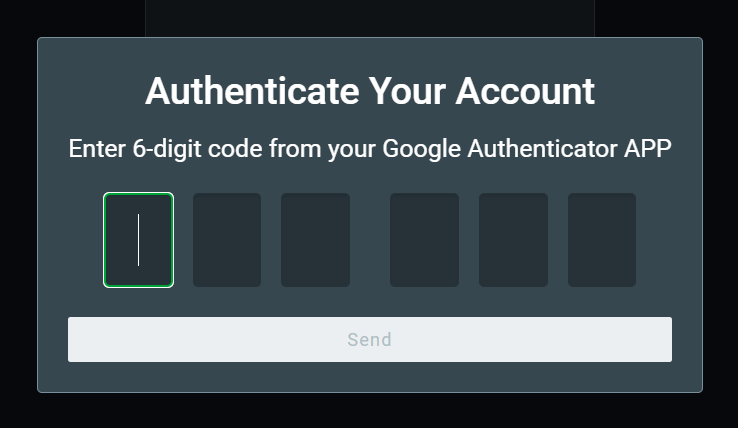
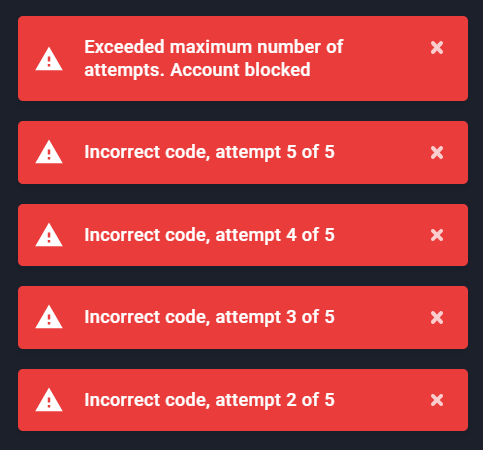
There is a limited number of unsuccessful login attempts a user can make. Every time an incorrect code is entered, an error message will be shown:
If you reach the maximum amount of unsuccessful login attempts, your account will be automatically blocked.
Warning
If your account is blocked, contact your system administrator.
1.3. Simultaneous Login and Browser Enrollment
Only one session per user is allowed. It is not possible to log in with the same profile more than once in the application. If an user is already logged in and another access happens using the same username and password, the user with the oldest session will be warned and logged out in their next action.
Also, only one browser may be used at a time. When trying to log in using a different browser, the user will be informed that it is necessary to authenticate the new browser. The authentication of a new browser will revoke the access from the previous one.
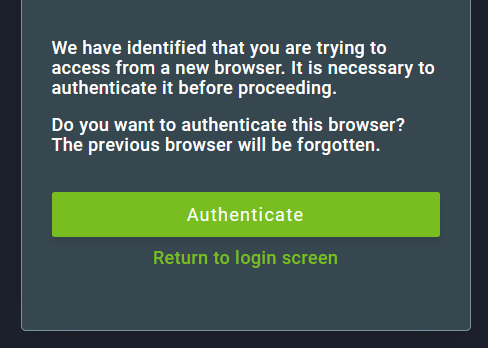
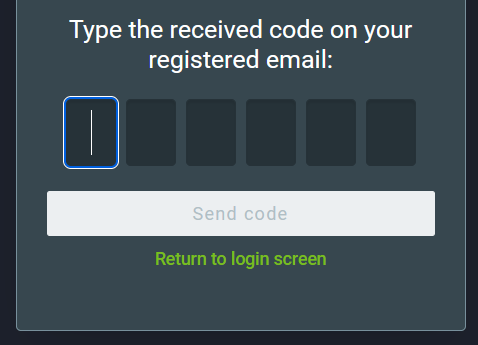
To authenticate a new browser, click on Authenticate and then enter the verification code that will be sent to the email linked to the user account.
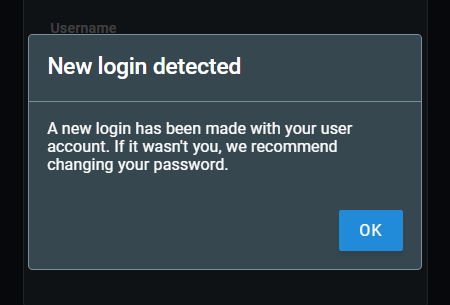
If the authentication is successful, a notification will appear on the upper-right corner of the screen after logging in.

1.4. Change or Reset your Password
For security reasons, you can change your password or reset it if you forget it.
1.4.1. Change your Password
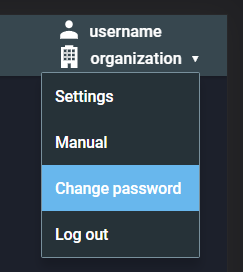
To change your password, after logging in, hover over your username on the upper-right corner of the screen and click on Change password.
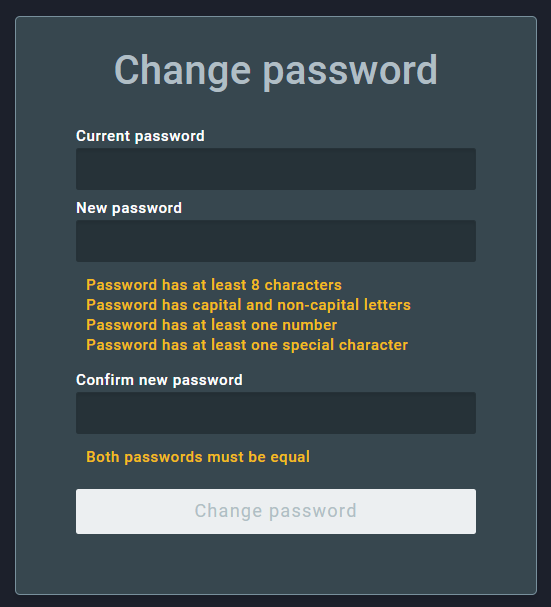
Then, enter the current password and the new password two times. Make sure to meet the password requirements, they are listed under the new password field and will turn green when met. Finally, to confirm the change, click on Change password.
1.4.2. Reset your Password
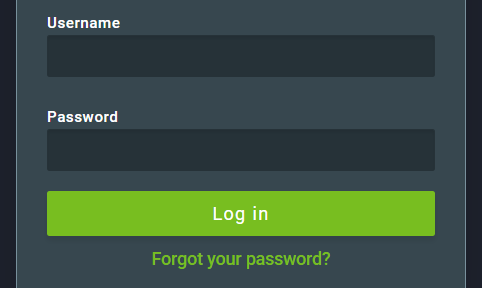
To reset your password, on the login screen, click on Forgot your password?:
Then, enter the profile username and click on Send.
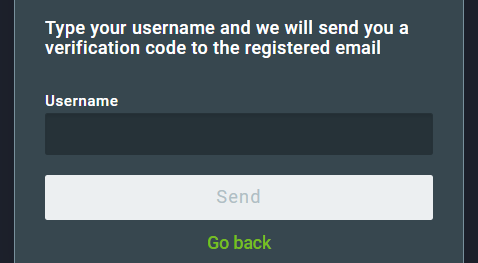
An email containing a verification code will be sent to the email address linked to that profile. Enter the verification code and click on Send code.

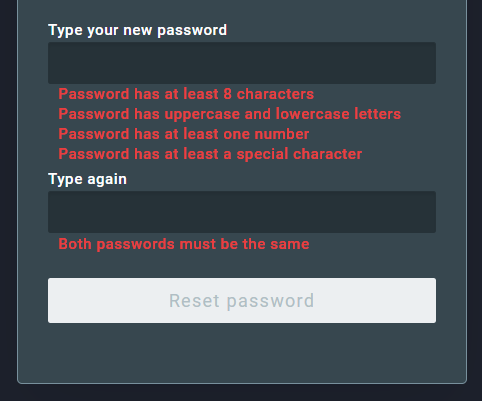
If the code is correct, you will be able to create a new password. Enter the new password two times. Make sure to meet the password requirements, they are listed under the new password field and will turn green when met. Finally, to confirm the reset, click on Reset password.
2. User Interface
When you log in, the list of pending profiles is displayed.
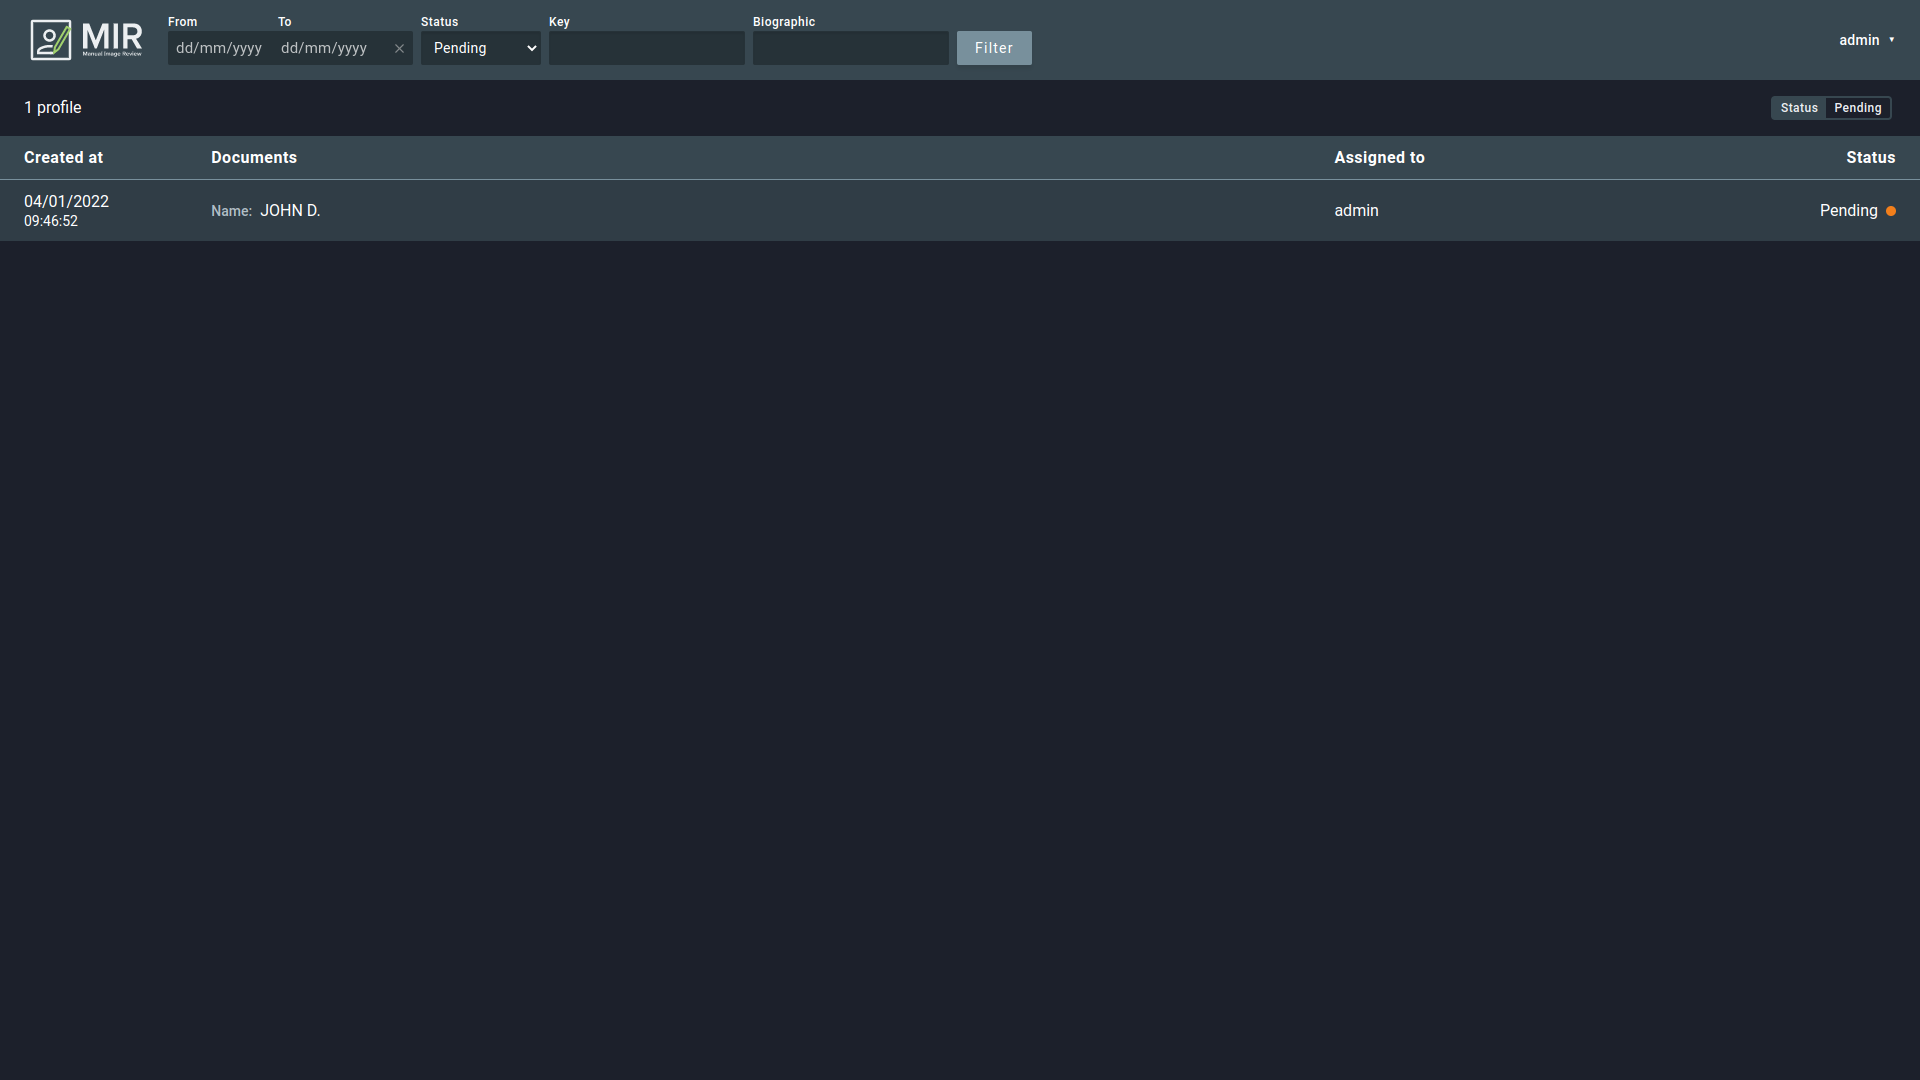
MIR shows the older profiles first. You can scroll down to access newer profiles or use the filters at the top menu to retrieve specific profiles. When scrolling down, a small blue arrow pointing upwards will appear at the bottom right of the page. Clicking it will bring the user back to the top.
To access a profile, click it.
2.1. Filtering Profiles
When searching for specific profiles, the user can add filters to the transactions.
The filter area is placed on the top menu, as seen in the image. The filtering options are:
Date time - Restricts the list to a date interval. There are also shortcuts for one day (today), last week, and last month.
Status of the transaction - Restricts the list to Approved, pending, or rejected profiles.
Approvedprofiles are identified by a green dot.Rejectedprofiles are identified by a red dot.Pendingprofiles are identified by an orange dot.
By key - Restricts the list by the given string.
By biographic - Restrict the list by the given string.
Caution
Key and Biographic filtering ignores the “Date” filter.
After confirming the filter conditions, the selected filters will be displayed on the right side. To clear filtering options, click on Clear filters.
3. Solving Pending Profiles
A pending profile is a profile whose GBDS detected issues with its enrolment, and it is needed a manual review to be validated. To access a profile, click it on the MIR main screen.
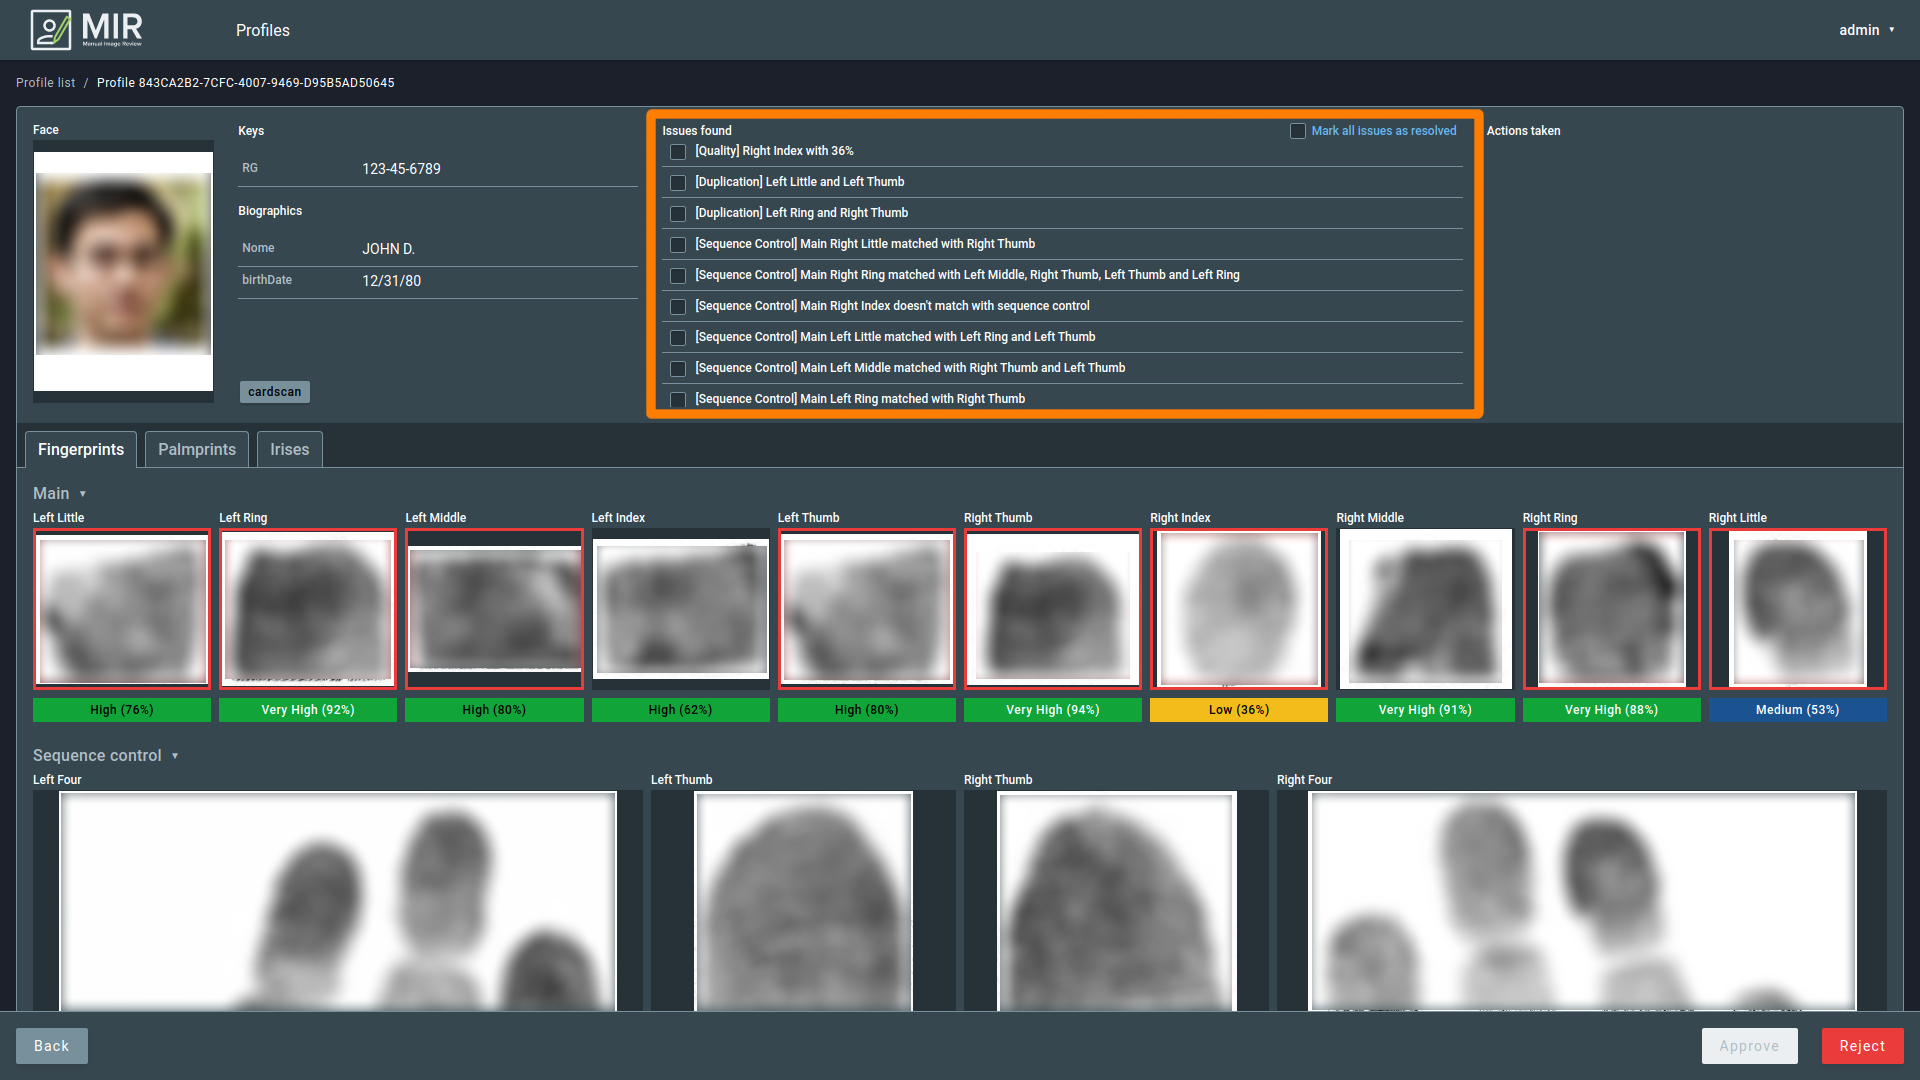
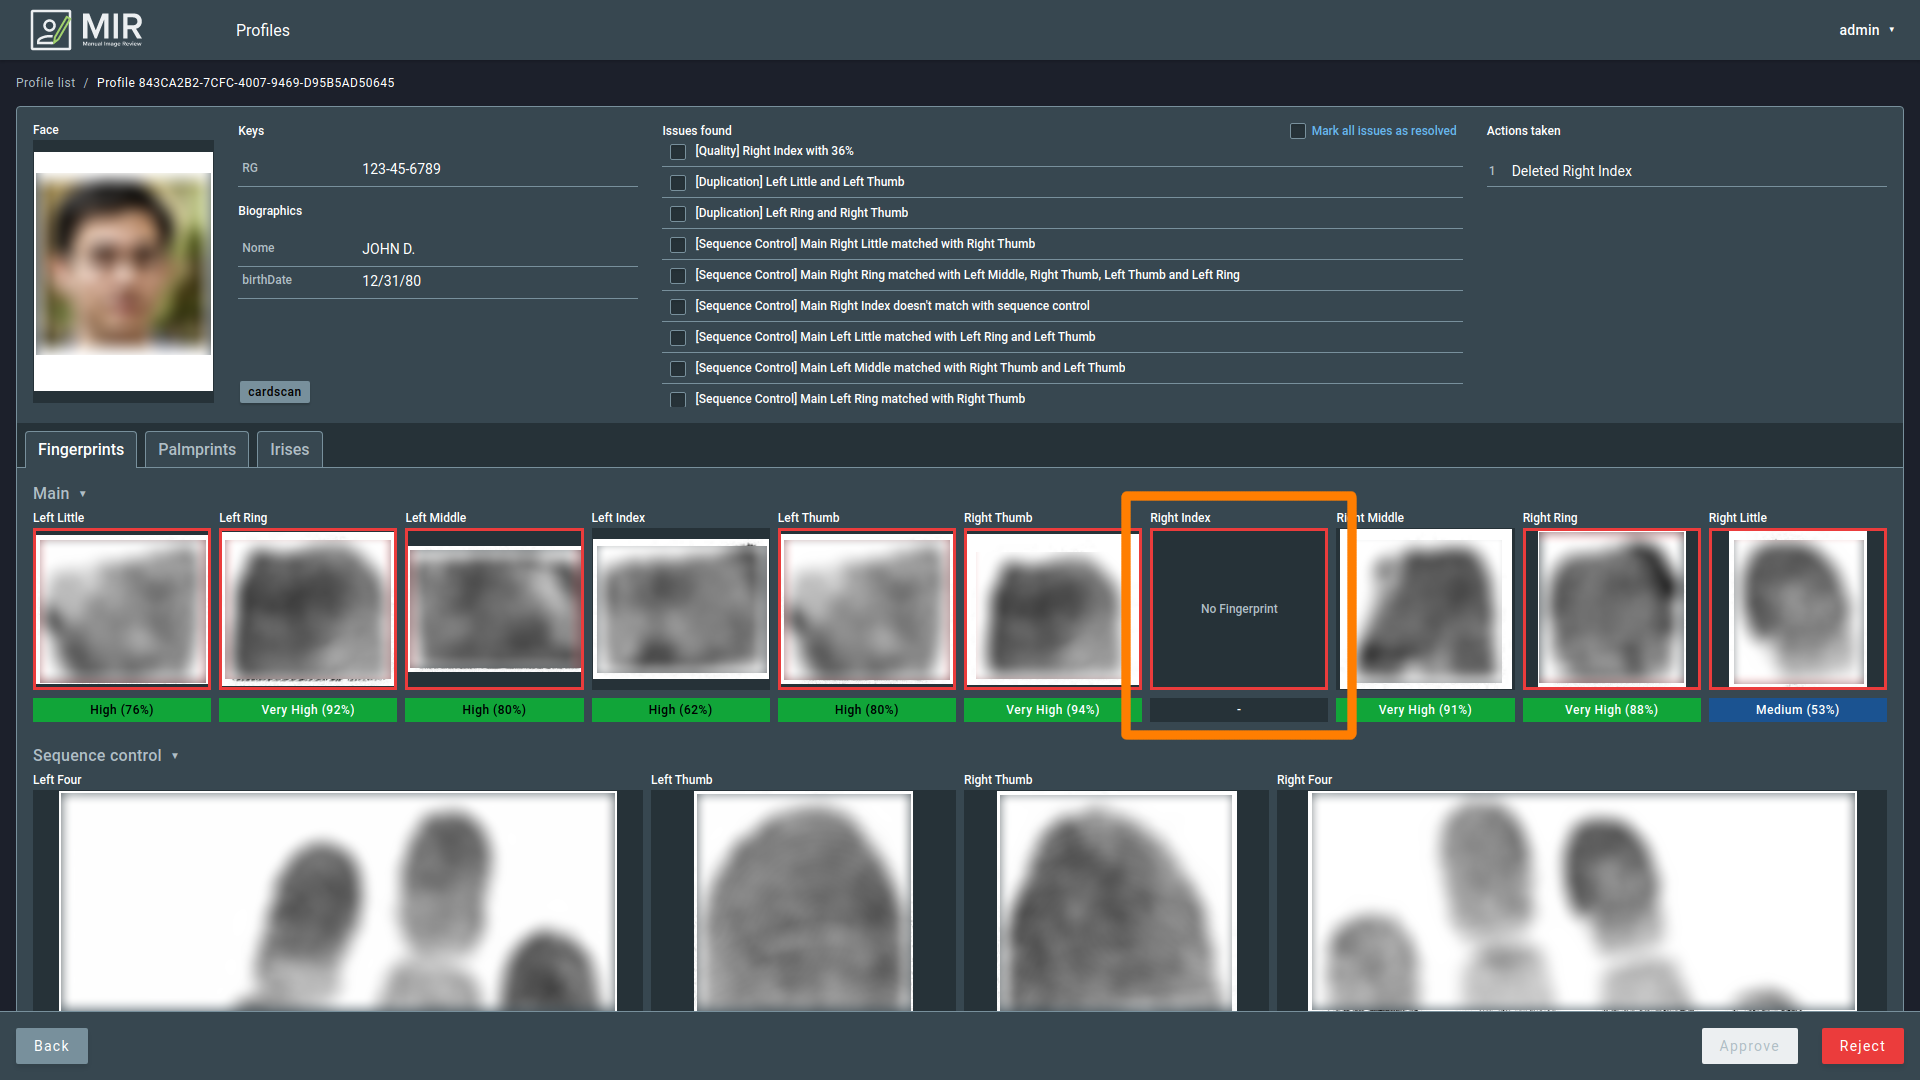
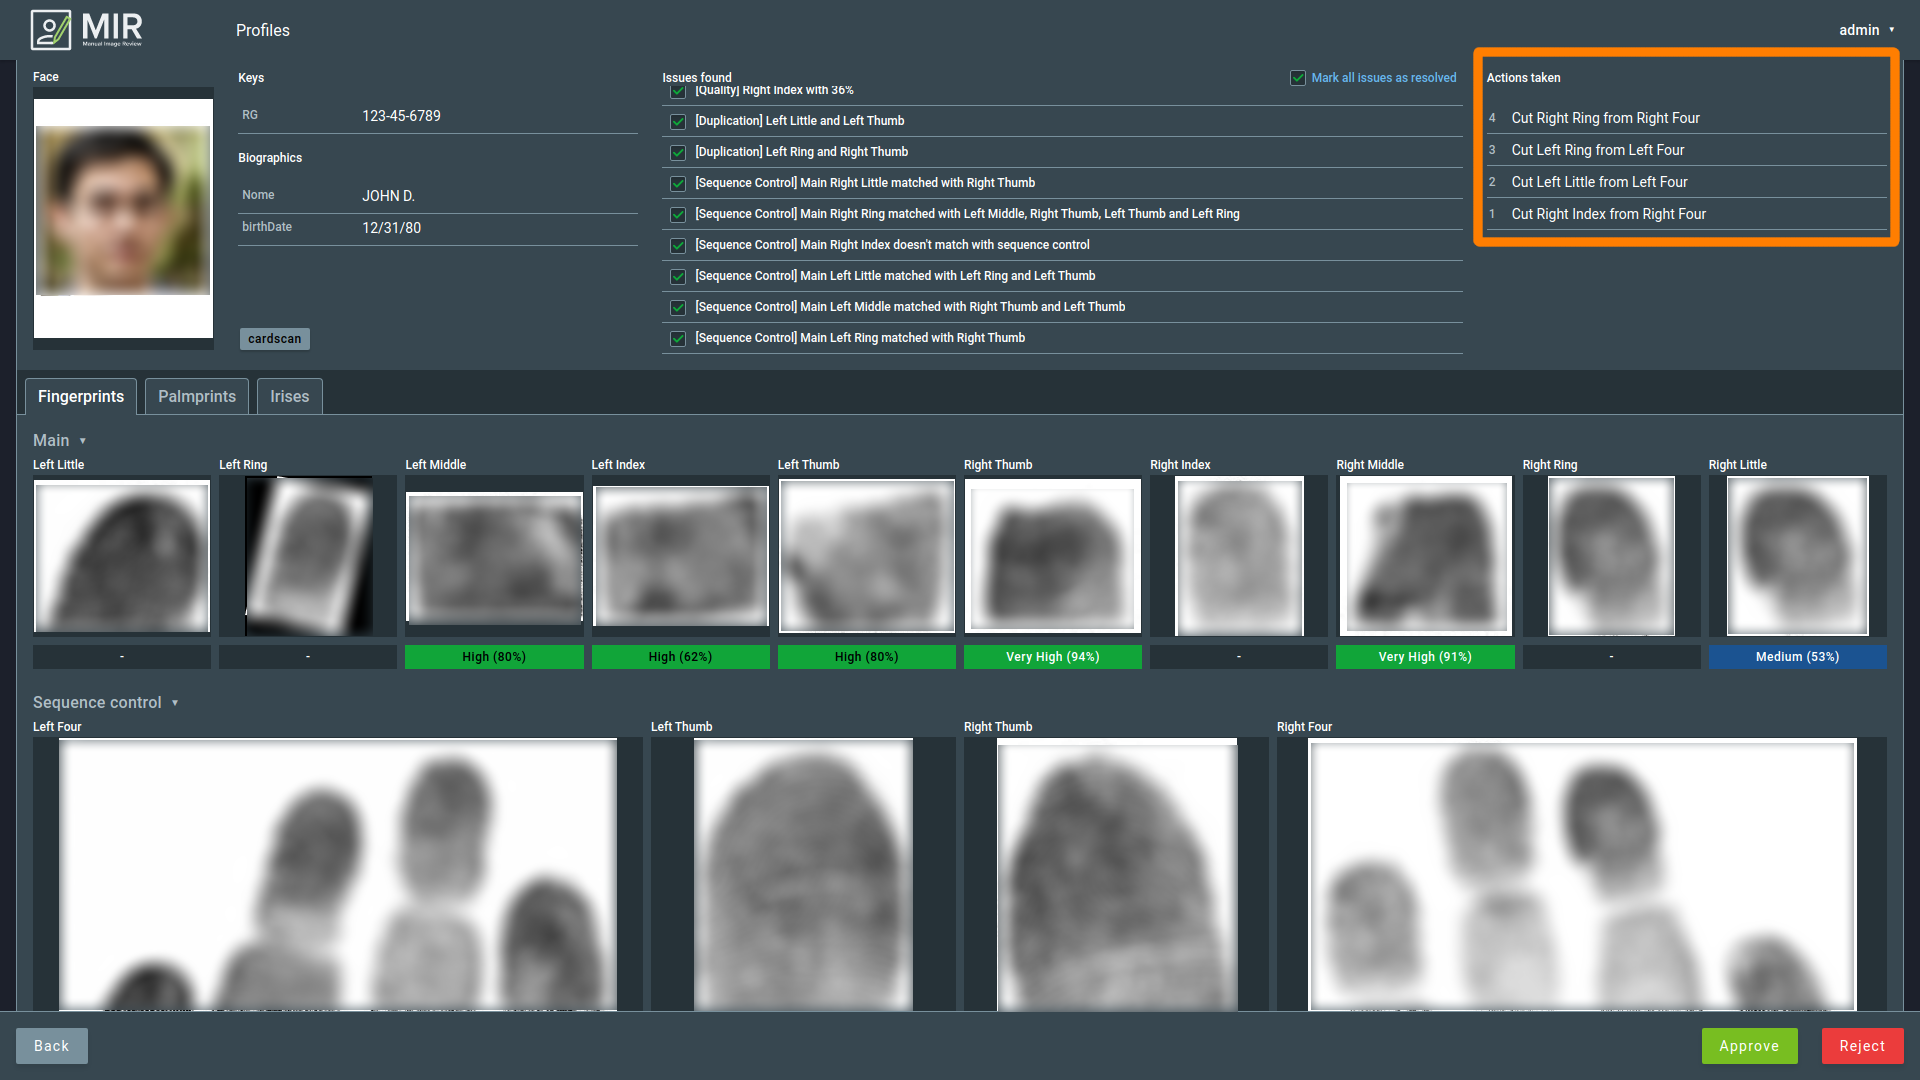
When you access a profile, a page with the person’s information will be displayed.
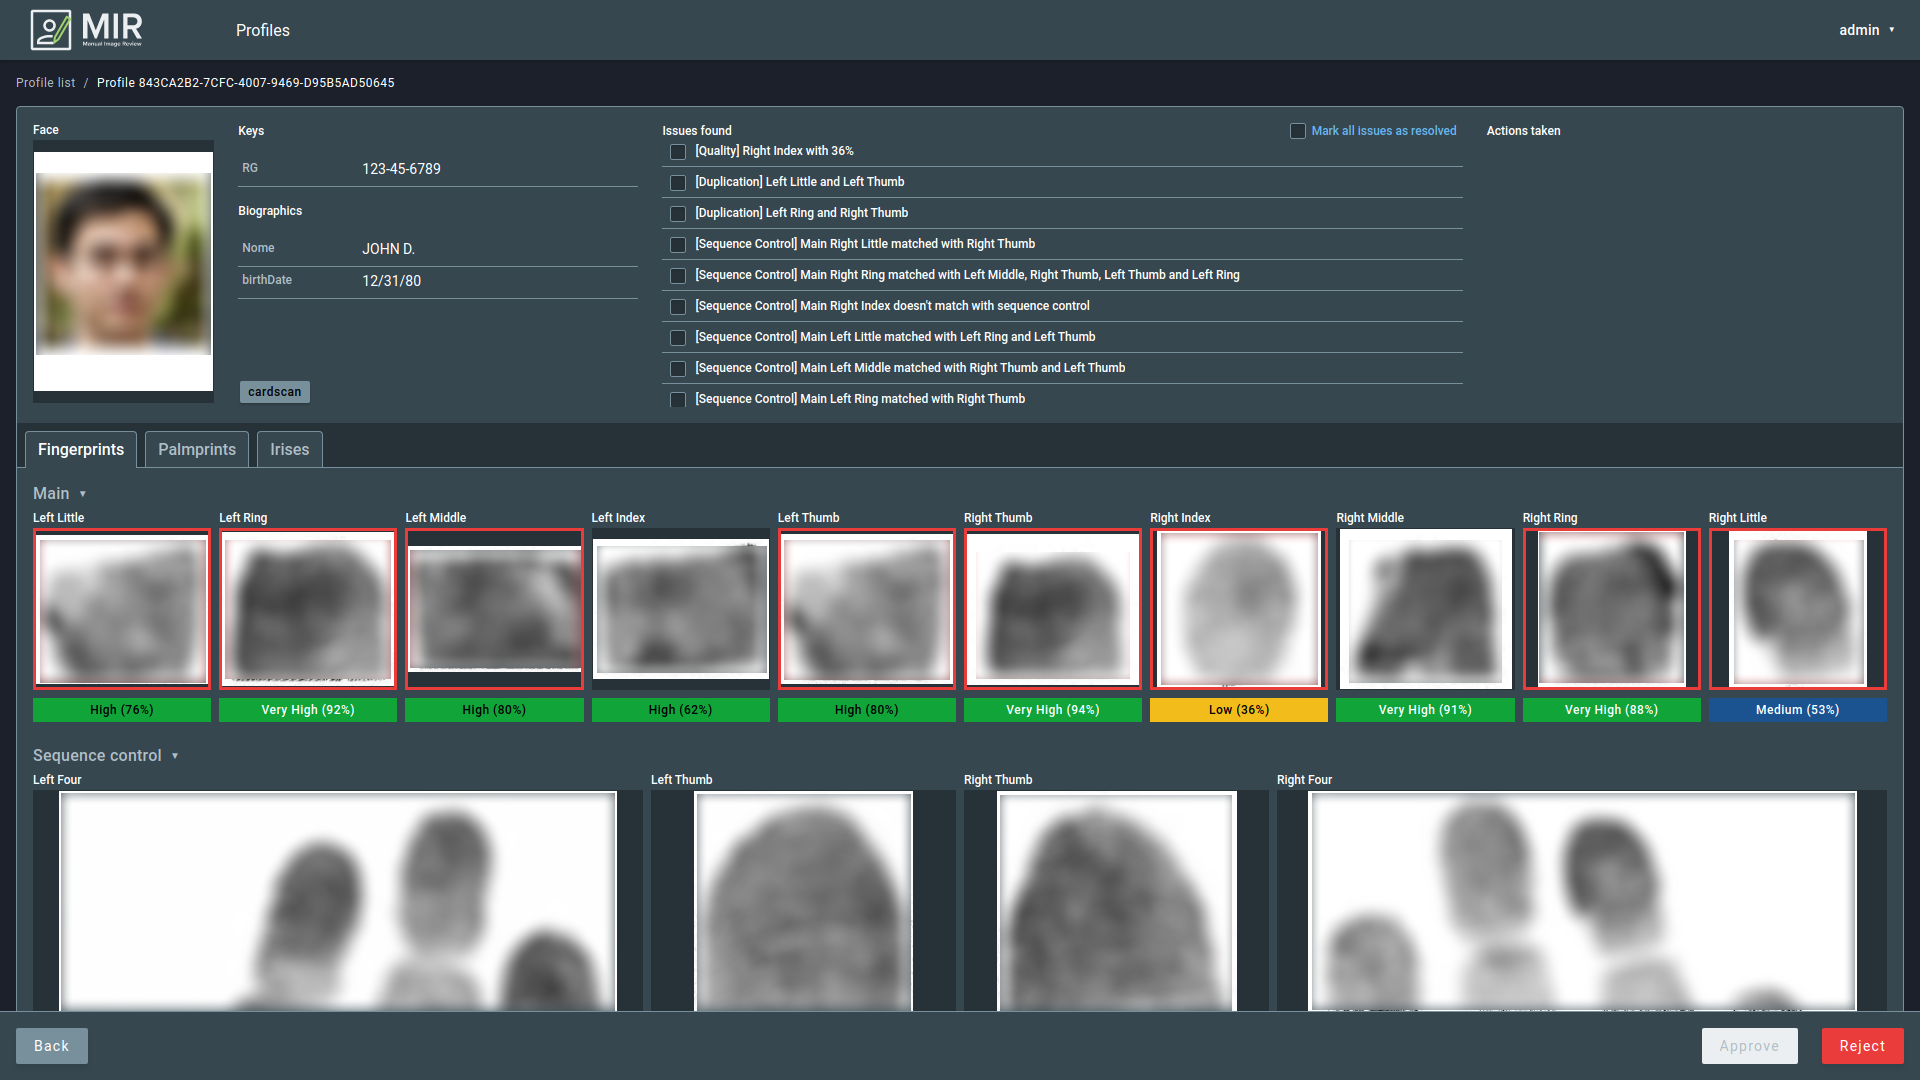
At the top of this screen, you can see the Face biometric, the biographic values, the key values, the labels, the issues found, and the actions taken.
Below you found the biometric tab selection for Fingerprint, Palmprint, and Irises. The problematic biometrics will be highlighted in red by default.
Attention
MIR only informs issues at fingerprints. It also shows the quality of palmprints but does not appoint issues with them.
3.1. Issues
If enrollment is in Quality Analysis, it means it has some issues. Knowing these issues can help you correct the enrollment.
All the issues detected can be seen in the “Issues Found” panel, where you can mark them as resolved or not. It is possible to mark/unmark all at once with the “Mark all issues as resolved” toggle, shown at the right side of the Issue found panel.
Important
The approve button will only be available if all issues are resolved.
To help identify the source object of an issue, MIR displays are colored borders around the fingerprints or face, indicating the presence of issues related to that image. The possible issues MIR can report are:
- Low-quality template (face and fingerprints)
- Duplicated fingerprints
- Sequence Control Issues:
- Not matched with the correspondent sequence control fingerprint
- Matched with another sequence control fingerprint
The following section will describe the MIR tools to solve those issues.
3.2. Solving Issues
MIR offers some tools to help you solve the issues. Those are:
- Compare and Swap Biometrics
- Edit Biometric
- Cut from Sequence Control
- Import from Sequence Control
- Remove Biometric
- Restore to Original
Except for Swap Biometrics, you can access all tools by hovering the mouse at a given biometric. Also, a tool for swapping the sides of all biometrics is provided.

Note
Low quality face templates cannot be treated and are just indications to help the user in the decision to approve or reject the profile.
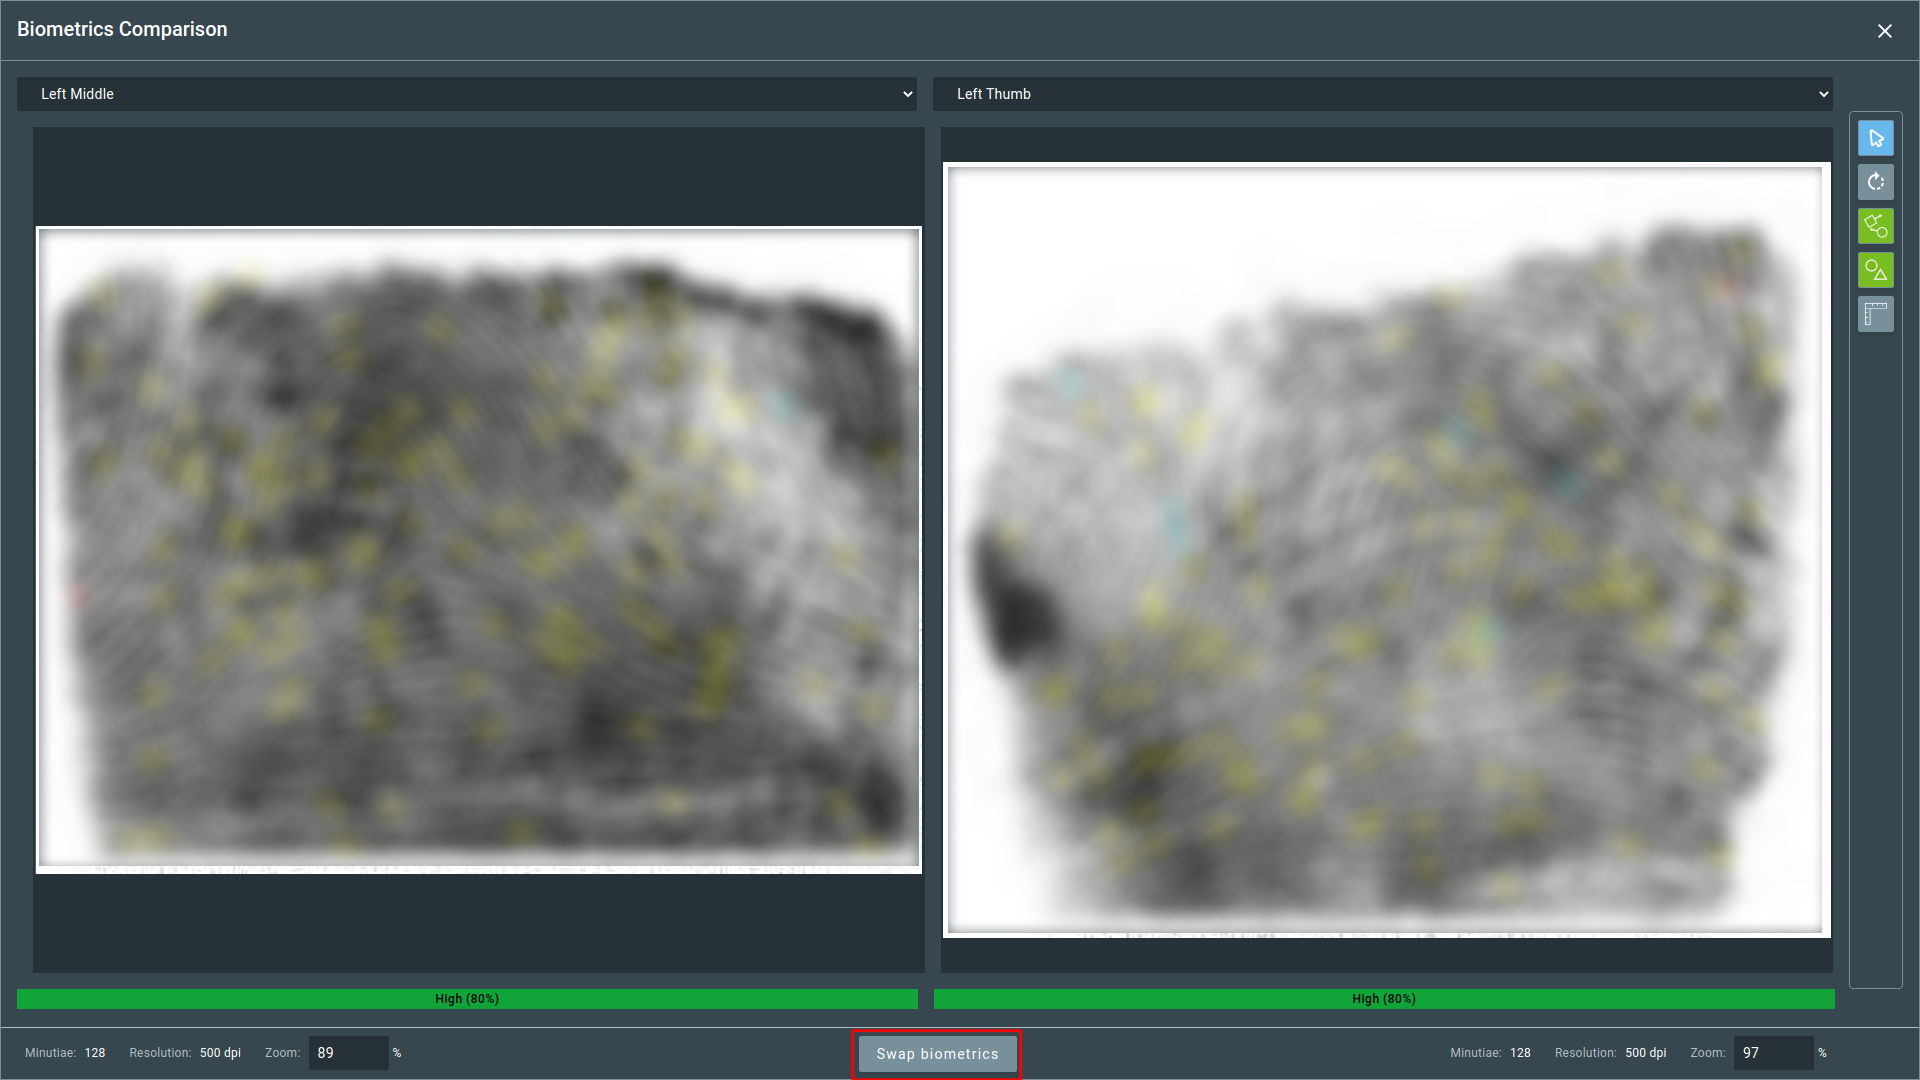
3.2.1. Compare and Swap Biometrics
You may compare and swap biometrics dragging one biometric over another. Doing so will open the “Biometrics Comparison” page. The Swap biometrics button will displayed at the bottom menu if you are comparing a main biometric with another main biometric.
Tip
Above each image, you can use a dropdown menu to navigate through other biometrics.
3.2.2. Swap Biometrics Side
MIR provides a tool to invert all biometrics. To access this tool, hover through the arrow indicator near the “Main” or “Sequence control” text on the profile page and click the button that appears, as indicated in the image.
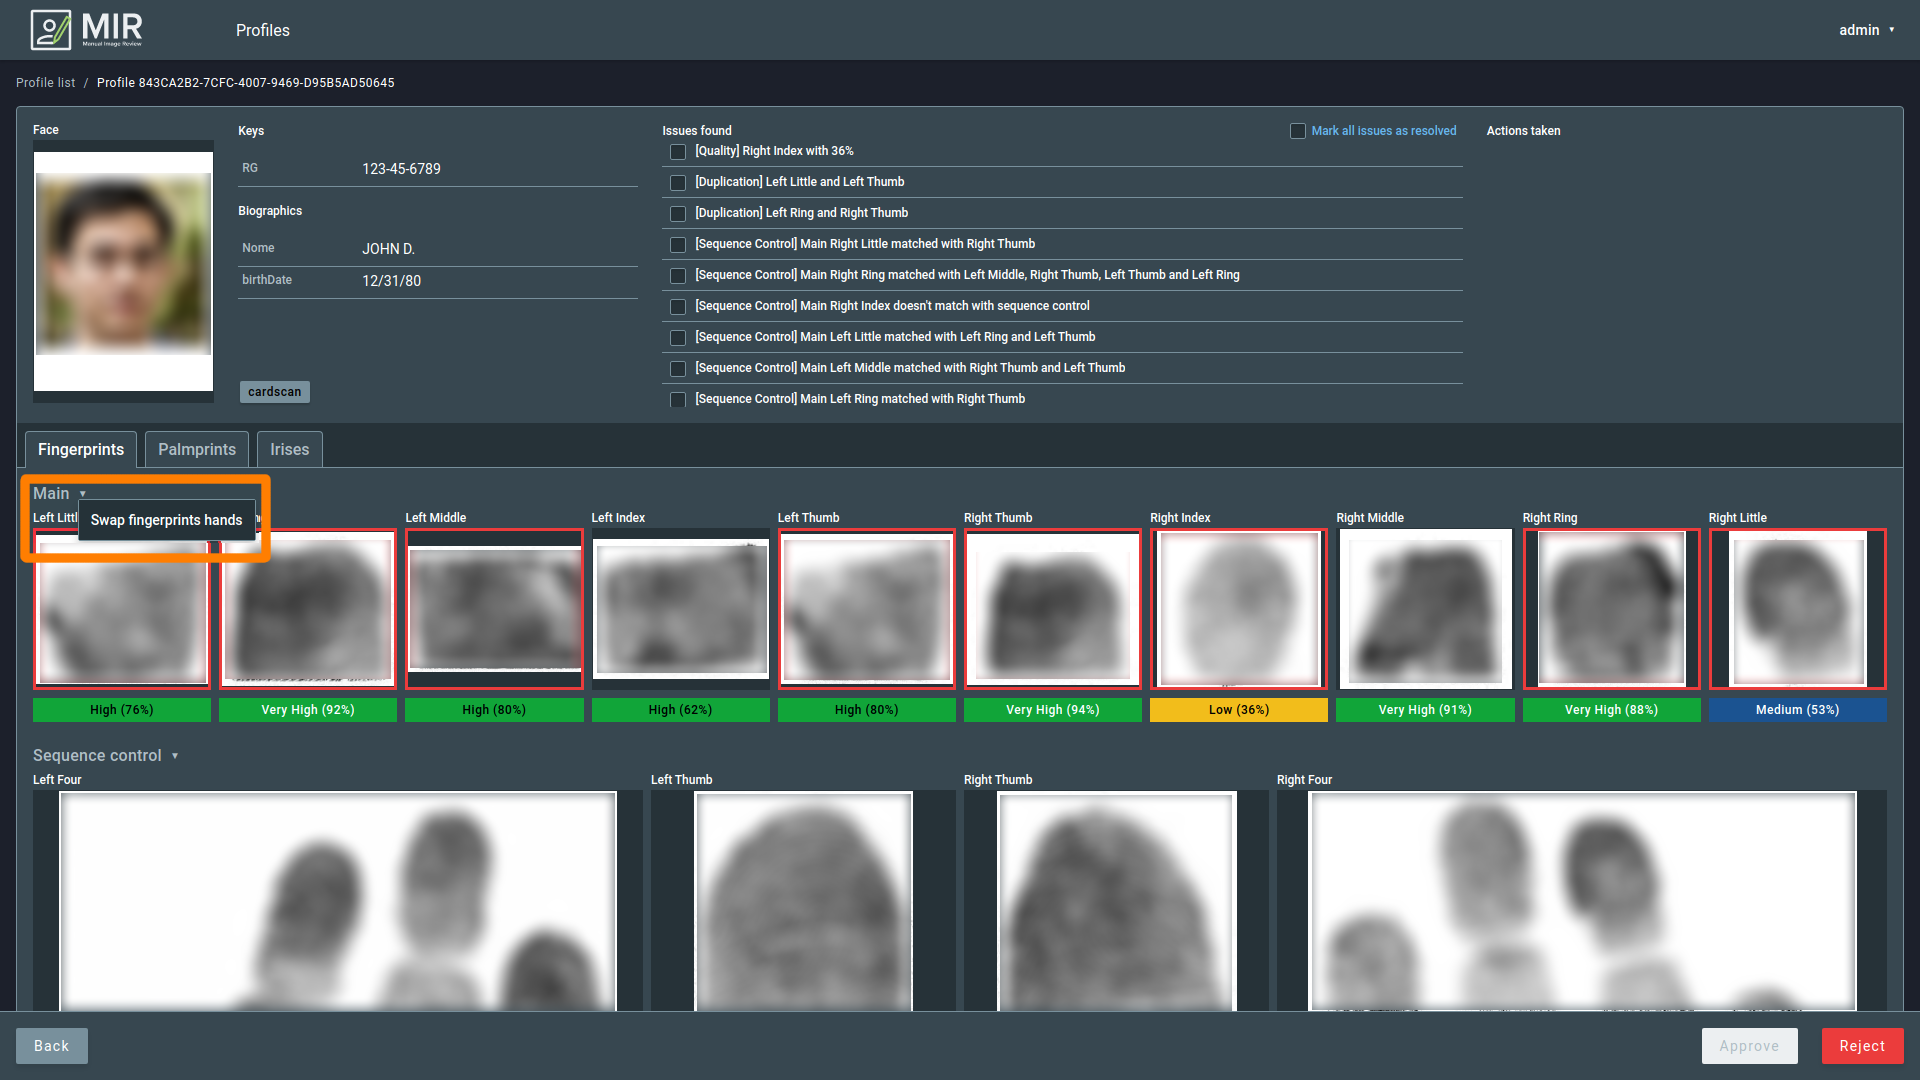
It will invert the biometric side. It means that the biometrics of one hand will become the biometric of the other hand, and vice-versa.
3.2.3. Edit Biometrics
You may edit a fingerprint to try to improve its quality. To do so, hover over the fingerprint image and click on the pencil icon. It will open the “Biometrics Edit” page. This page contains the editing tools for biometric fragments explained in the Editing Fragments Section in the BEST Manual.
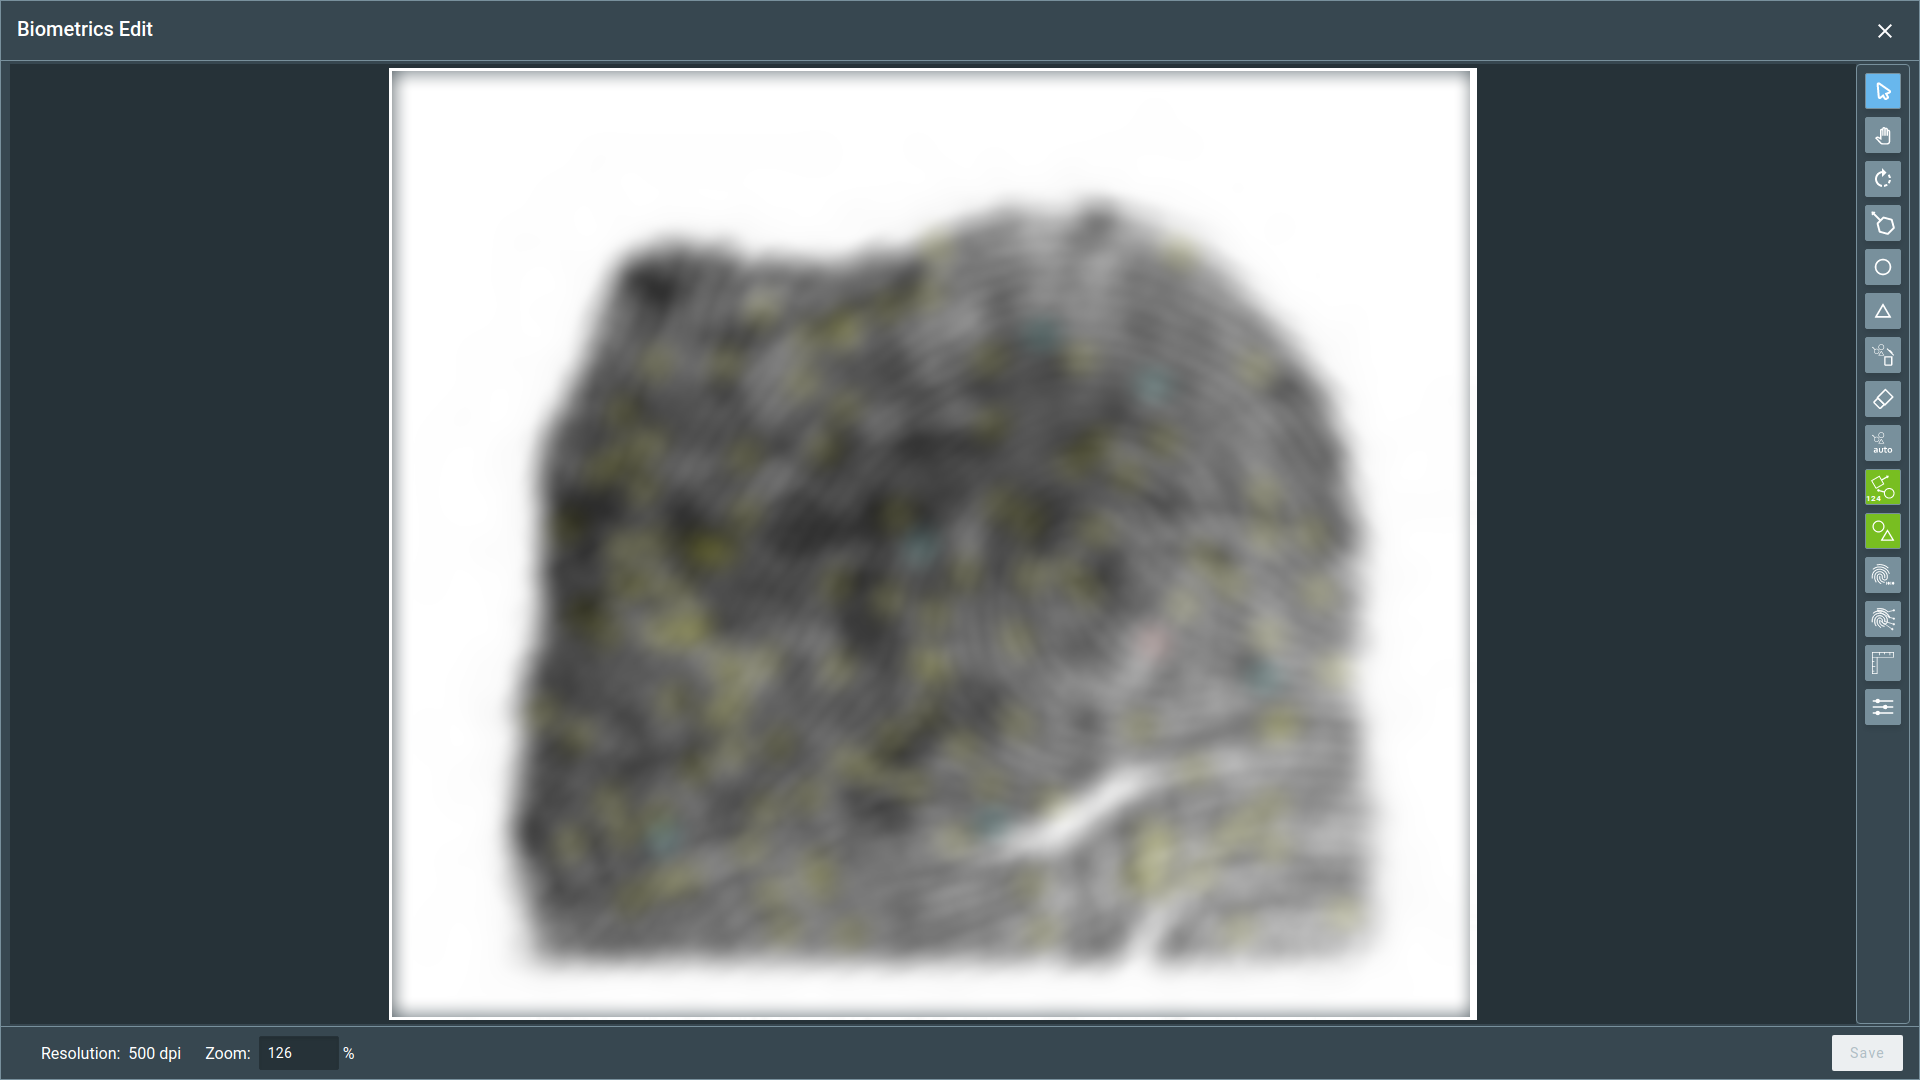
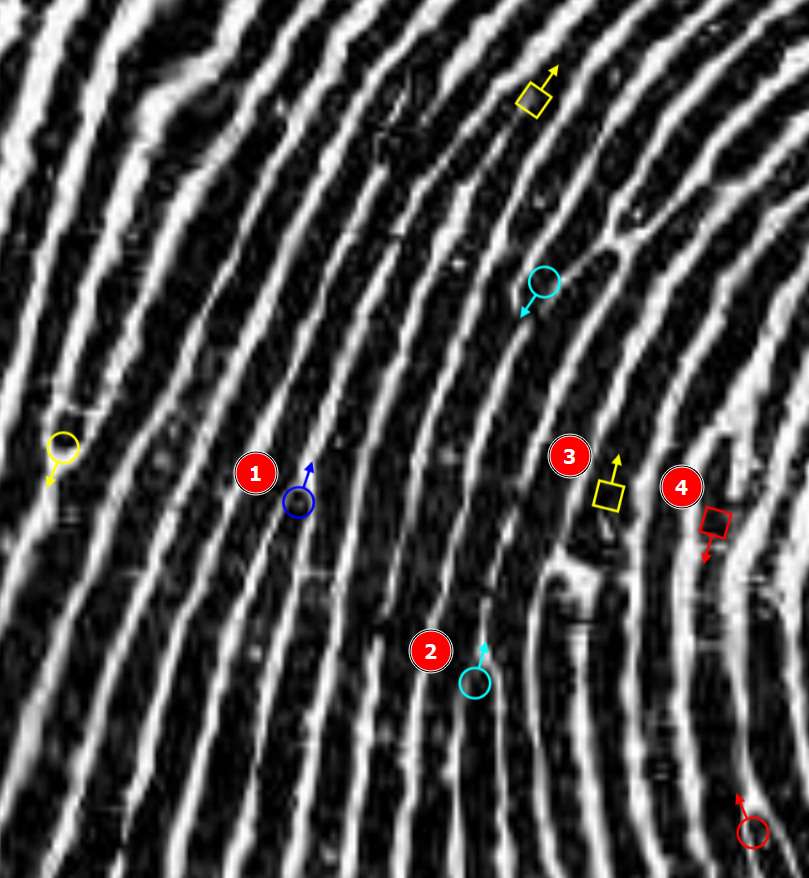
When displaying the minutiae, the colors indicate:
1Dark Blue: Manually created minutiae2Light Blue: High quality minutiae (automatically extracted)3Yellow: Medium quality minutiae (automatically extracted)4Red: Low quality minutiae (automatically extracted)
After editing, click the Save button to save the modifications. Click in the X button or press ESC to cancel editions. Trying to cancel editions will prompt a confirmation box.

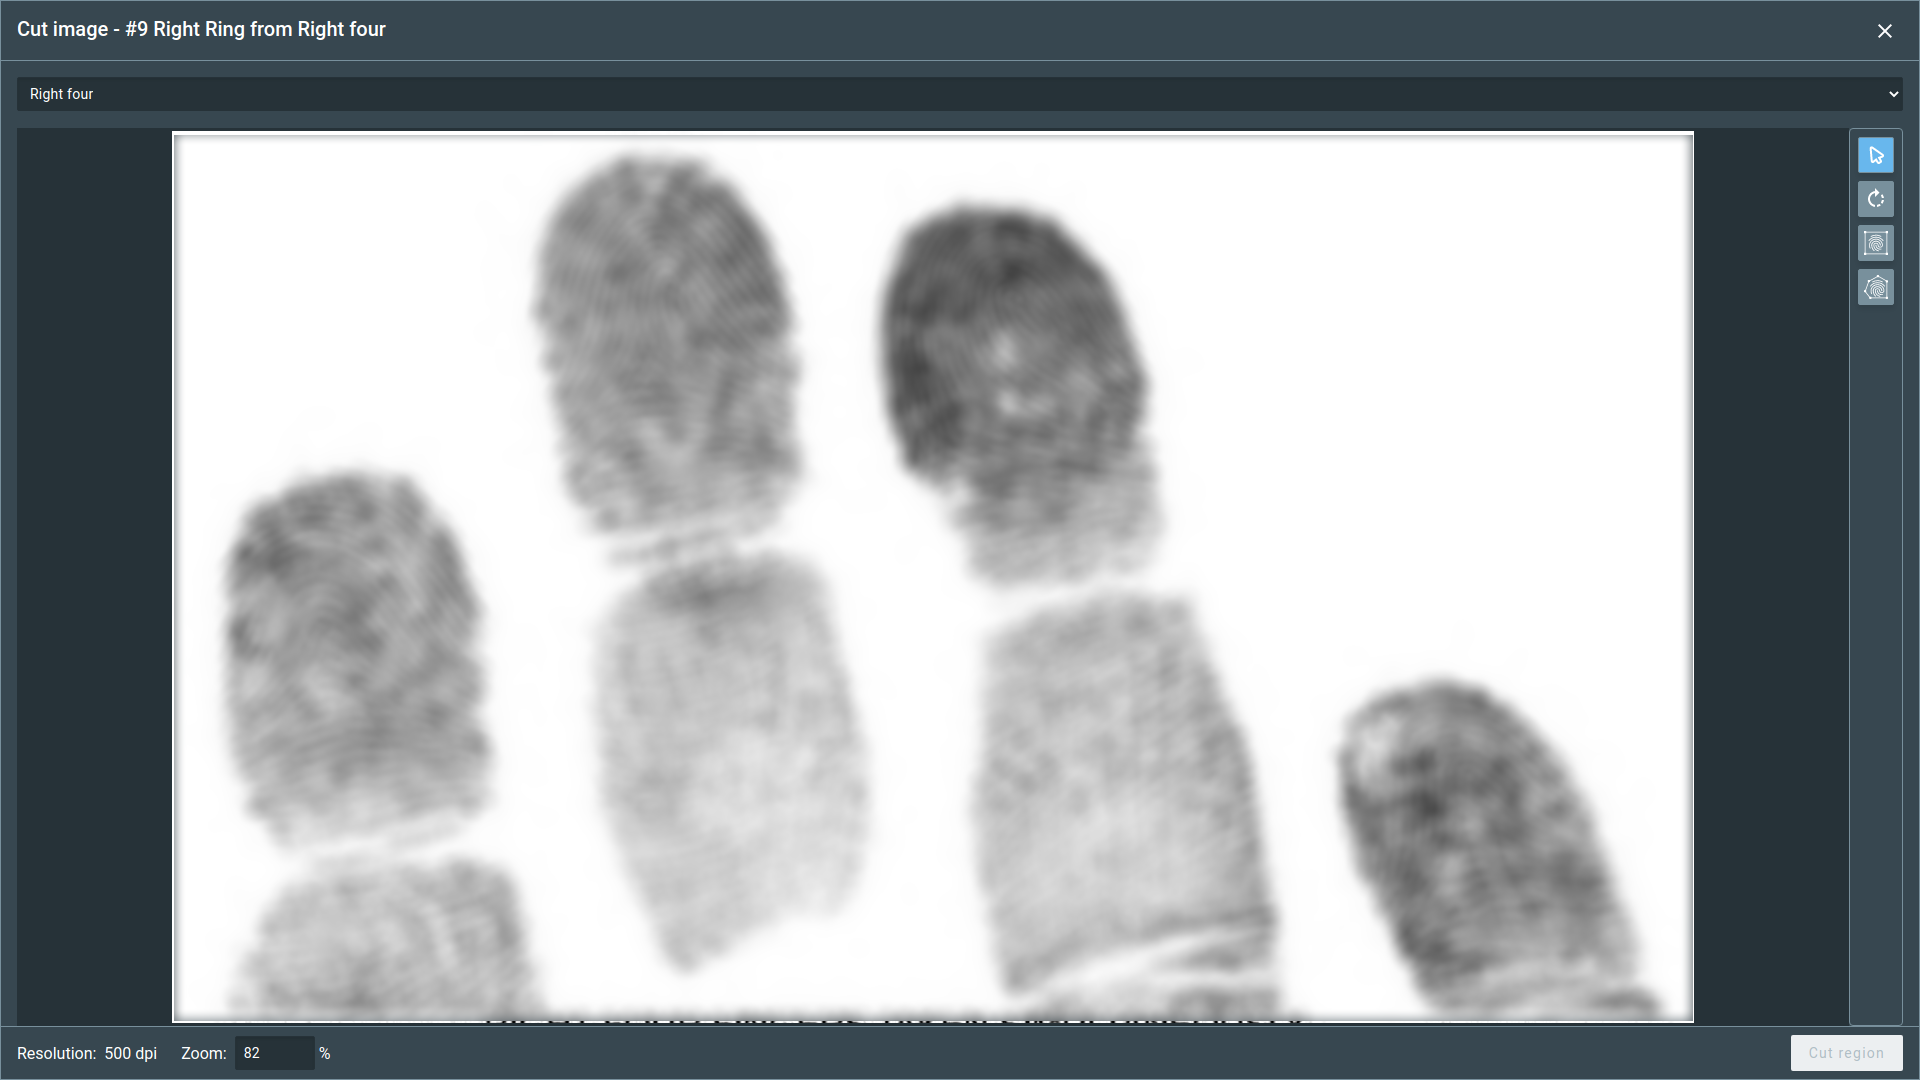
3.2.4. Cut from Sequence Control
The cut from sequence control tool allows you to select an area of the sequence control to substitute with the corresponding finger with a problem. When you click to open this tool, the cut screen will appear. Select one of the cropping tools (rectangular or polygon) and extract the image by clicking on Cut region.
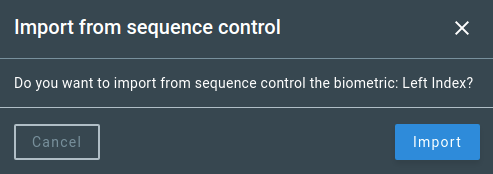
3.2.5. Import from Sequence Control
Importing a fingerprint from the sequence control auto-extract it and paste it in the main finger. To do so, click the icon and confirm the operation in the dialog box that will open.
Attention
Some fingerprints may present issues with the extraction feature and present incomplete biometrics. If it happens, use the Cut from Sequence Control tool.
3.2.6. Removing Biometric
To remove a biometric, click on the Trash icon. It will clear the biometric box area, and a message will appear indicating the box has no biometrics.
3.2.7. Restore to Original
The restore option reverts the modification in a biometric to the profile’s original biometric. This option appear in the opposite side of the other editing tools after any changes have been made to that biometric. Clicking will prompt a confirmation box to revert the biometric to its original state.

3.3. Approve or Reject a Profile
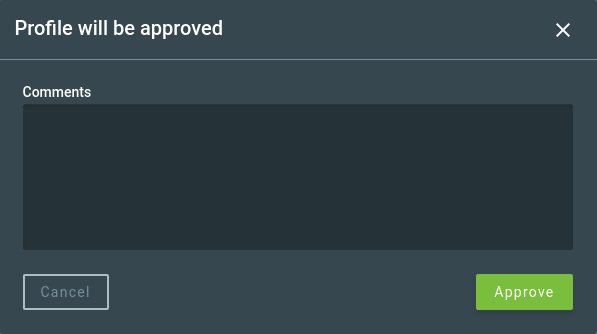
To approve a profile all issues MUST be marked as resolved. However, there are no restrictions to reject a profile. To take one of the actions, click on the corresponding button at the bottom center of the screen.
Either button will trigger a confirmation pop-up where the user can comment about the selected operation.

3.4. Actions Taken
The actions taken area shows the actions you - or other examiners - have taken in a profile. It shows the last action taken and enumerates all confirmed actions that caused any change to the profile.
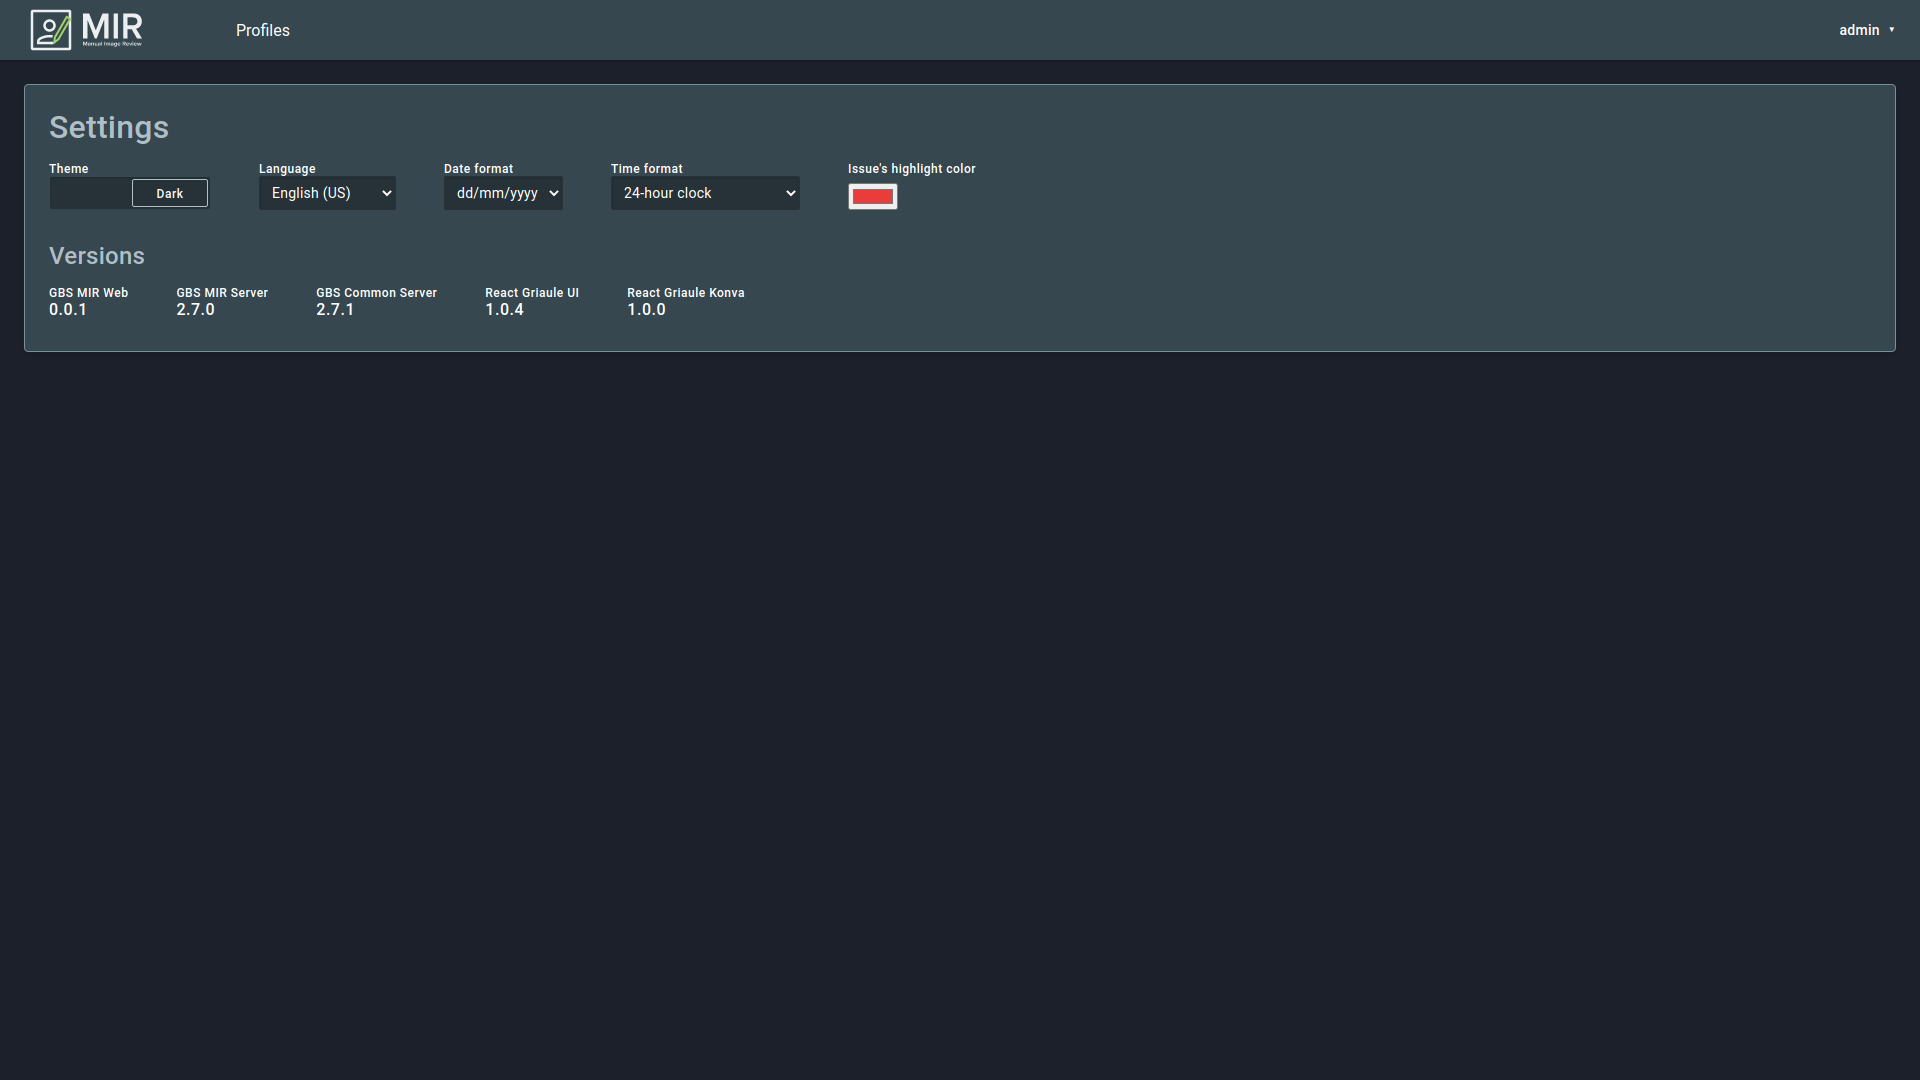
4. Settings
On this screen, there are five options so the users can choose their preferences:
- Theme: dark or light;
- Language
- Date format: dd/mm/yyyy, mm/dd/yyyy or yyyy/mm/dd;
- Time format: 12-hour clock (AM/PM) or 24-hour clock;
- Issue highlight color.
The version of the application is also shown below.